How to Create a Shareable Certificate for Your Online Course
Creating professional shareable certificates for your online course doesn't require design expertise or technical skills. With the right platform, you can automate the entire process—from design to delivery—in under an hour.
This guide walks you through creating, customizing, and automatically delivering shareable certificates that your students will proudly display on LinkedIn.
New to shareable certificates? Learn the fundamentals: What Is a Shareable Certificate?
Why Shareable Certificates Matter
Before diving into the how-to, understand why shareable certificates are essential:
Increase Completion Rates: Offering certificates increases course completion by 20-30%. Students are more motivated when there's a tangible credential at the finish line.
Generate Free Marketing: Every certificate shared on LinkedIn (typically to 500+ connections) exposes your course to potential new students.
Build Credibility: Shareable certificates with verification links signal professionalism and build trust with prospective students.
Now, let's create yours.
Step 1: Choose Your Certificate Platform
The right platform makes all the difference. Look for these essential features:
Must-Have Features
Design Tools:
- Professional templates
- Drag-and-drop customization
- Brand color and logo support
- Multiple font options
Verification System:
- Unique URL for each certificate
- Public verification page
- QR code generation
Automation:
- Bulk certificate generation
- CSV import
- Course platform integration
- Automatic email delivery
Social Integration:
- One-click LinkedIn sharing
- Optimized preview images
- PDF and PNG downloads
Recommended Platform
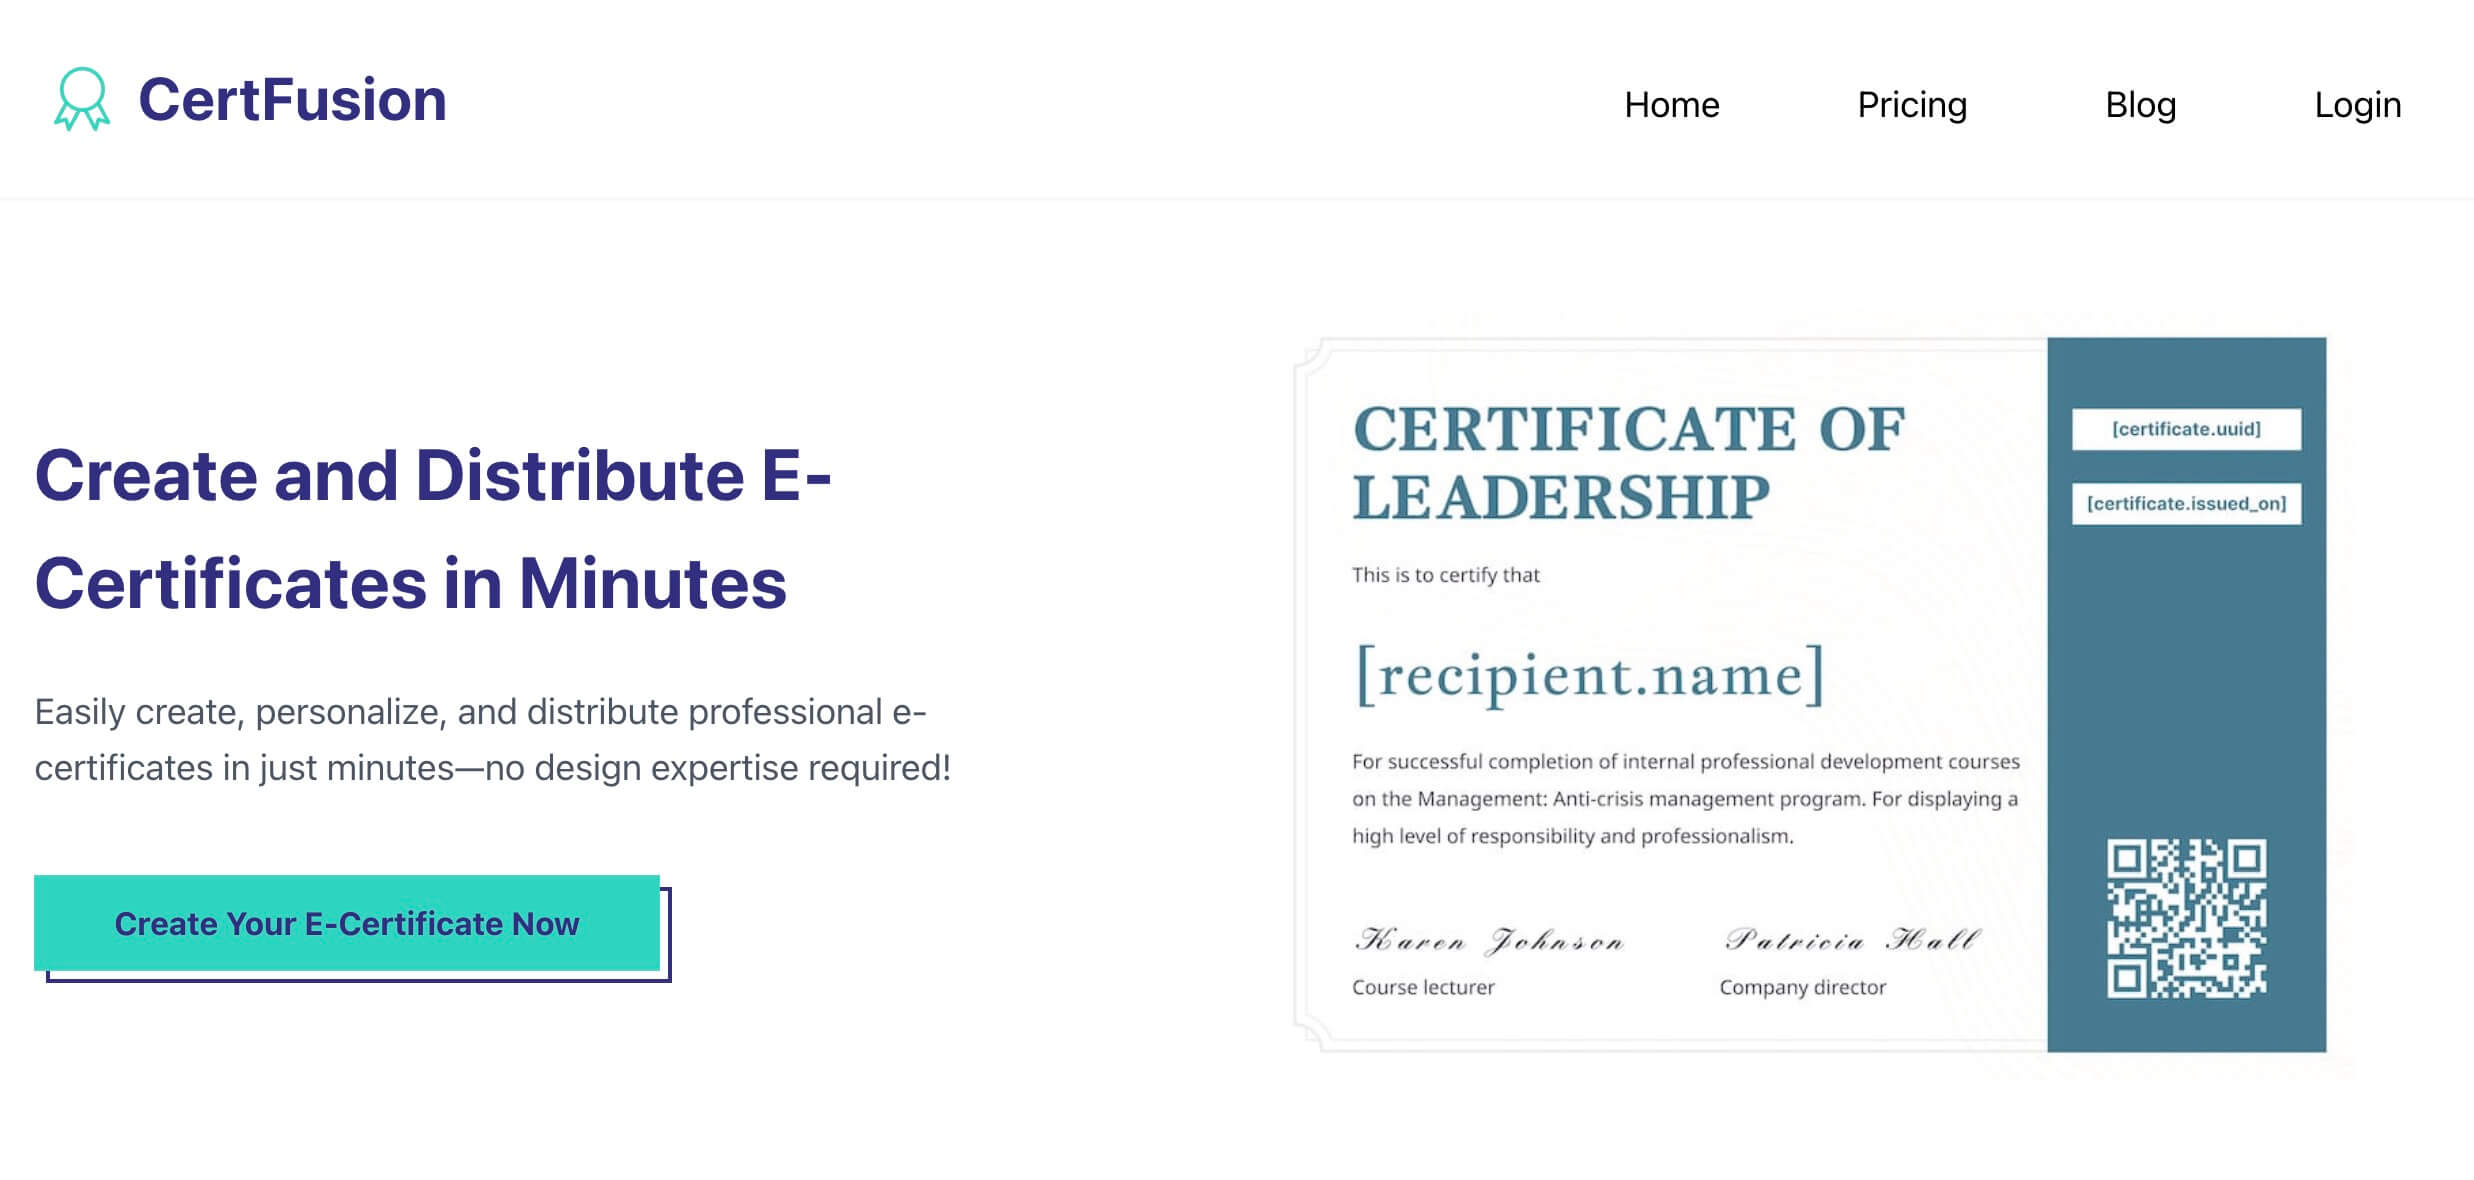
CertFusion offers the best balance for course creators:
- Integrates with Zoom, Google Meet, Google Forms
- Zapier connectivity (8,000+ apps)
- Professional templates included
- Built-in verification and analytics
- Unlimited certificates on paid plans
Step 2: Design Your Certificate
Professional design builds credibility. Follow these guidelines:
Essential Elements
Every shareable certificate needs:
- Certificate Title - "Certificate of Completion" or "Certificate of Achievement"
- Recipient Name - Use variable
{student_name}for automation - Course Name - Clear statement of what was completed
- Completion Date - Use
{completion_date}variable - Organization Name - Your brand prominently displayed
- Logo - PNG with transparent background
- Signature - Scanned or digital signature
- Verification Elements - Unique URL and QR code
Design Best Practices
Keep It Balanced: Don't overcrowd. White space looks professional.
Use Brand Colors: Incorporate 2-3 colors from your palette. Avoid too many colors.
Professional Fonts:
- Serif for elegance: Playfair Display, Merriweather
- Sans-serif for modern: Montserrat, Lato
- Script sparingly: Decorative elements only
High Contrast: Ensure text is readable on all devices.
Consistent Alignment: Center most elements for a balanced look.
Pro Tip: Start with a template and customize rather than designing from scratch.

Step 3: Set Up Student Data Import
Choose the method that fits your scale:
For Small Classes (Under 20 Students)
Manual entry works fine:
- Enter name, email, completion date
- Add any custom fields
For Larger Classes (Recommended)
Use CSV upload with columns:
first_name, last_name, email, course_name, completion_date
John, Smith, john@email.com, Digital Marketing 101, 2025-10-15
CSV Tips:
- Include column headers
- Use consistent date formats (YYYY-MM-DD)
- Double-check email addresses
- Save as UTF-8 encoding

Step 4: Configure Verification & Delivery
Verification Settings
Your verification page should display:
- Student name and certificate details
- Issue date
- Organization information
- "Verified" badge
- Optional: Course description or learning outcomes
Verification Options:
- Public: Anyone can verify (recommended)
- Never expires: Best for skill courses
- QR code enabled: For printed versions
Email Delivery Setup
Customize your certificate email:
Subject Line Examples:
- "Congratulations! Your [Course Name] Certificate"
- "You've Earned Your Certificate 🎓"
Email Template:
Hi {student_name},

Congratulations on completing [Course Name]!

View your certificate: [Certificate Link]

What's Next:
✓ Add it to your LinkedIn profile (one click)
✓ Share it with your network
✓ Download a print-ready PDF

[Your Name/Organization]
Timing Options:
- Immediate: Send as soon as course completes (recommended)
- Scheduled: Batch weekly or monthly
- Manual approval: For instructor-verified completions
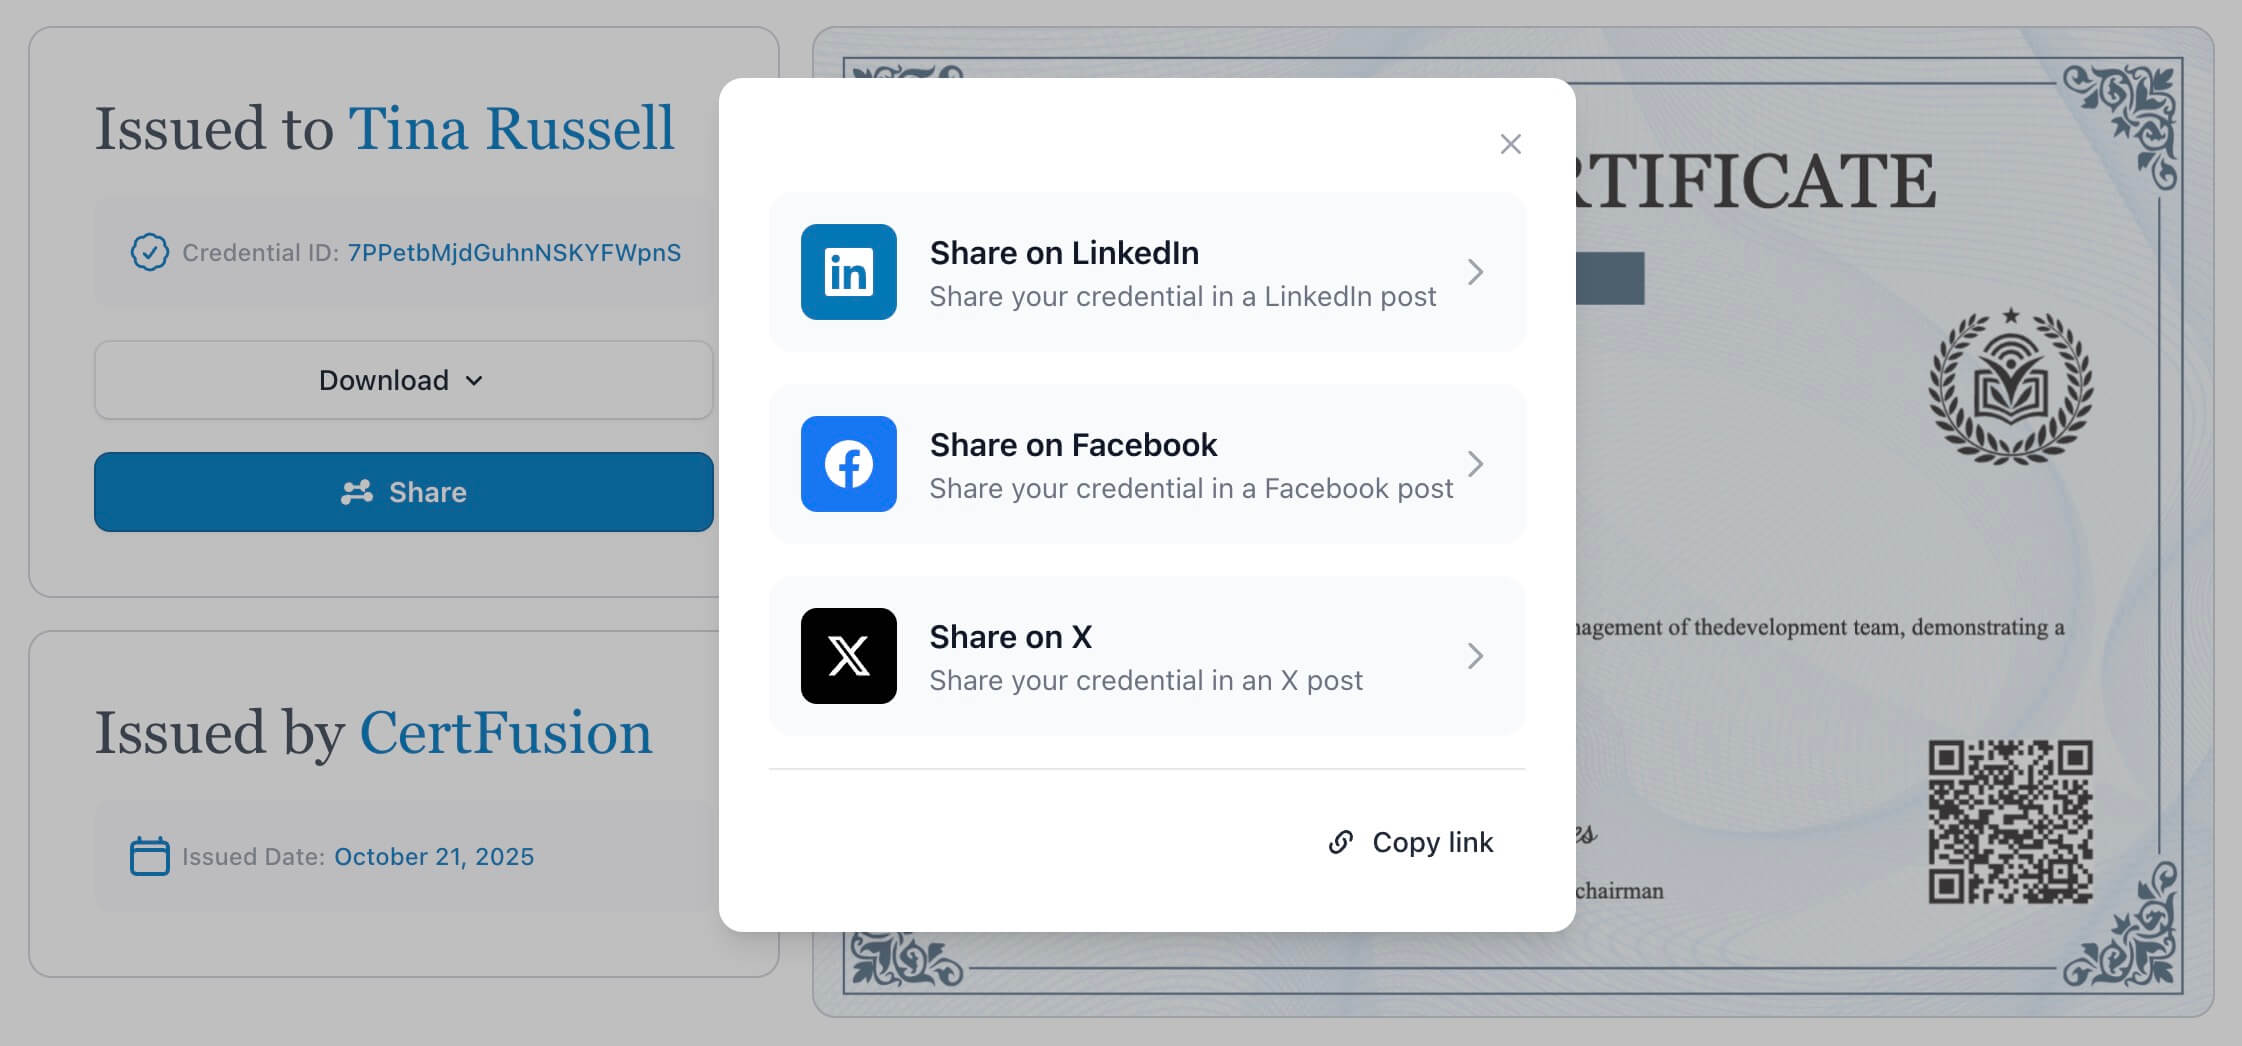
Step 5: Enable LinkedIn Sharing
Make sharing effortless for students.
LinkedIn Integration
Ensure your platform provides:
- Direct "Add to LinkedIn" button
- Pre-filled credential information
- Proper metadata for preview
- Your organization as issuing authority
Sharing Instructions
Include in your email:
How to Add to LinkedIn:
- Click "Add to LinkedIn" in your certificate email
- Confirm credential details
- Click "Add to profile"
- Share a post announcing your achievement
Clear instructions increase sharing rates significantly.
Best Practices & Common Mistakes
Do's
✓ Personalize beyond names: Include specific course details ✓ Make verification prominent: Display links clearly ✓ Celebrate achievements: Use congratulatory language ✓ Provide next steps: Tell students how to share ✓ Track analytics: Monitor which courses generate most shares
Don'ts
✗ Don't rush design: Poor design undermines credibility ✗ Don't skip testing: Errors damage your reputation ✗ Don't forget mobile: 50%+ of views are mobile ✗ Don't use low-res logos: Keep everything crisp (300 DPI) ✗ Don't assume students know how: Provide sharing instructions
Top Mistake: Misspelling Names
This is the #1 complaint. Double-check your student list and consider asking students to confirm their preferred name format.
Frequently Asked Questions
How long does setup take?
Initial setup takes 1-2 hours. After that, generating certificates takes just minutes with automation.
Do I need design skills?
No. Modern platforms provide professional templates with drag-and-drop editors.
How much does it cost?
Platforms typically charge $20-200+ monthly for unlimited certificates. Most course creators find monthly subscriptions offer better value than per-certificate pricing.
Can students print certificates?
Yes. Shareable certificates can be downloaded as high-resolution PDFs optimized for printing.
How do I integrate with my course platform?
Most integrations use Zapier or direct APIs. Setup takes 15-30 minutes with no coding required.
The Quick Start Summary
To create shareable certificates for your online course:
- Choose a platform with automation and LinkedIn integration (CertFusion recommended)
- Design your certificate using professional templates
- Set up data import via CSV or platform integration
- Configure verification and automated email delivery
- Enable LinkedIn sharing with clear instructions
- Test thoroughly before launching to students
Initial setup: 1-2 hours. Ongoing time: minutes per cohort with automation.
Create Certificates with CertFusion
CertFusion is built specifically for course creators who want professional certificates without complexity.
Why Course Creators Choose CertFusion
Quick Setup: Design your first certificate in 15 minutes
Full Automation: Connect via Zapier to automatically issue certificates when students complete courses
Built-In Verification: Every certificate includes a unique verification page
LinkedIn Ready: One-click sharing with proper credential formatting
Unlimited Certificates: No per-certificate fees on paid plans
Get Started Today
Create your first shareable certificate in under 30 minutes. No credit card required.
Start Creating Certificates Free →
Continue Learning
- What Is a Shareable Certificate? → Complete guide to digital credentials
- Printable vs Shareable Certificates → Understand the differences
- How to Add a Certificate to LinkedIn → Help your students showcase achievements
Table of Contents
Related Articles
Discover more insights and stories that might interest you