Google Forms Integration Guide
Connect your Google Forms to CertFusion and automatically issue digital certificates when users submit your forms. This guide walks you through installing the add-on and setting up automated certificate workflows.
1. How to Install the CertFusion Google Forms Add-on
Follow these steps to set up CertFusion with Google Forms:
- Open Google Forms and create or open an existing form.
-
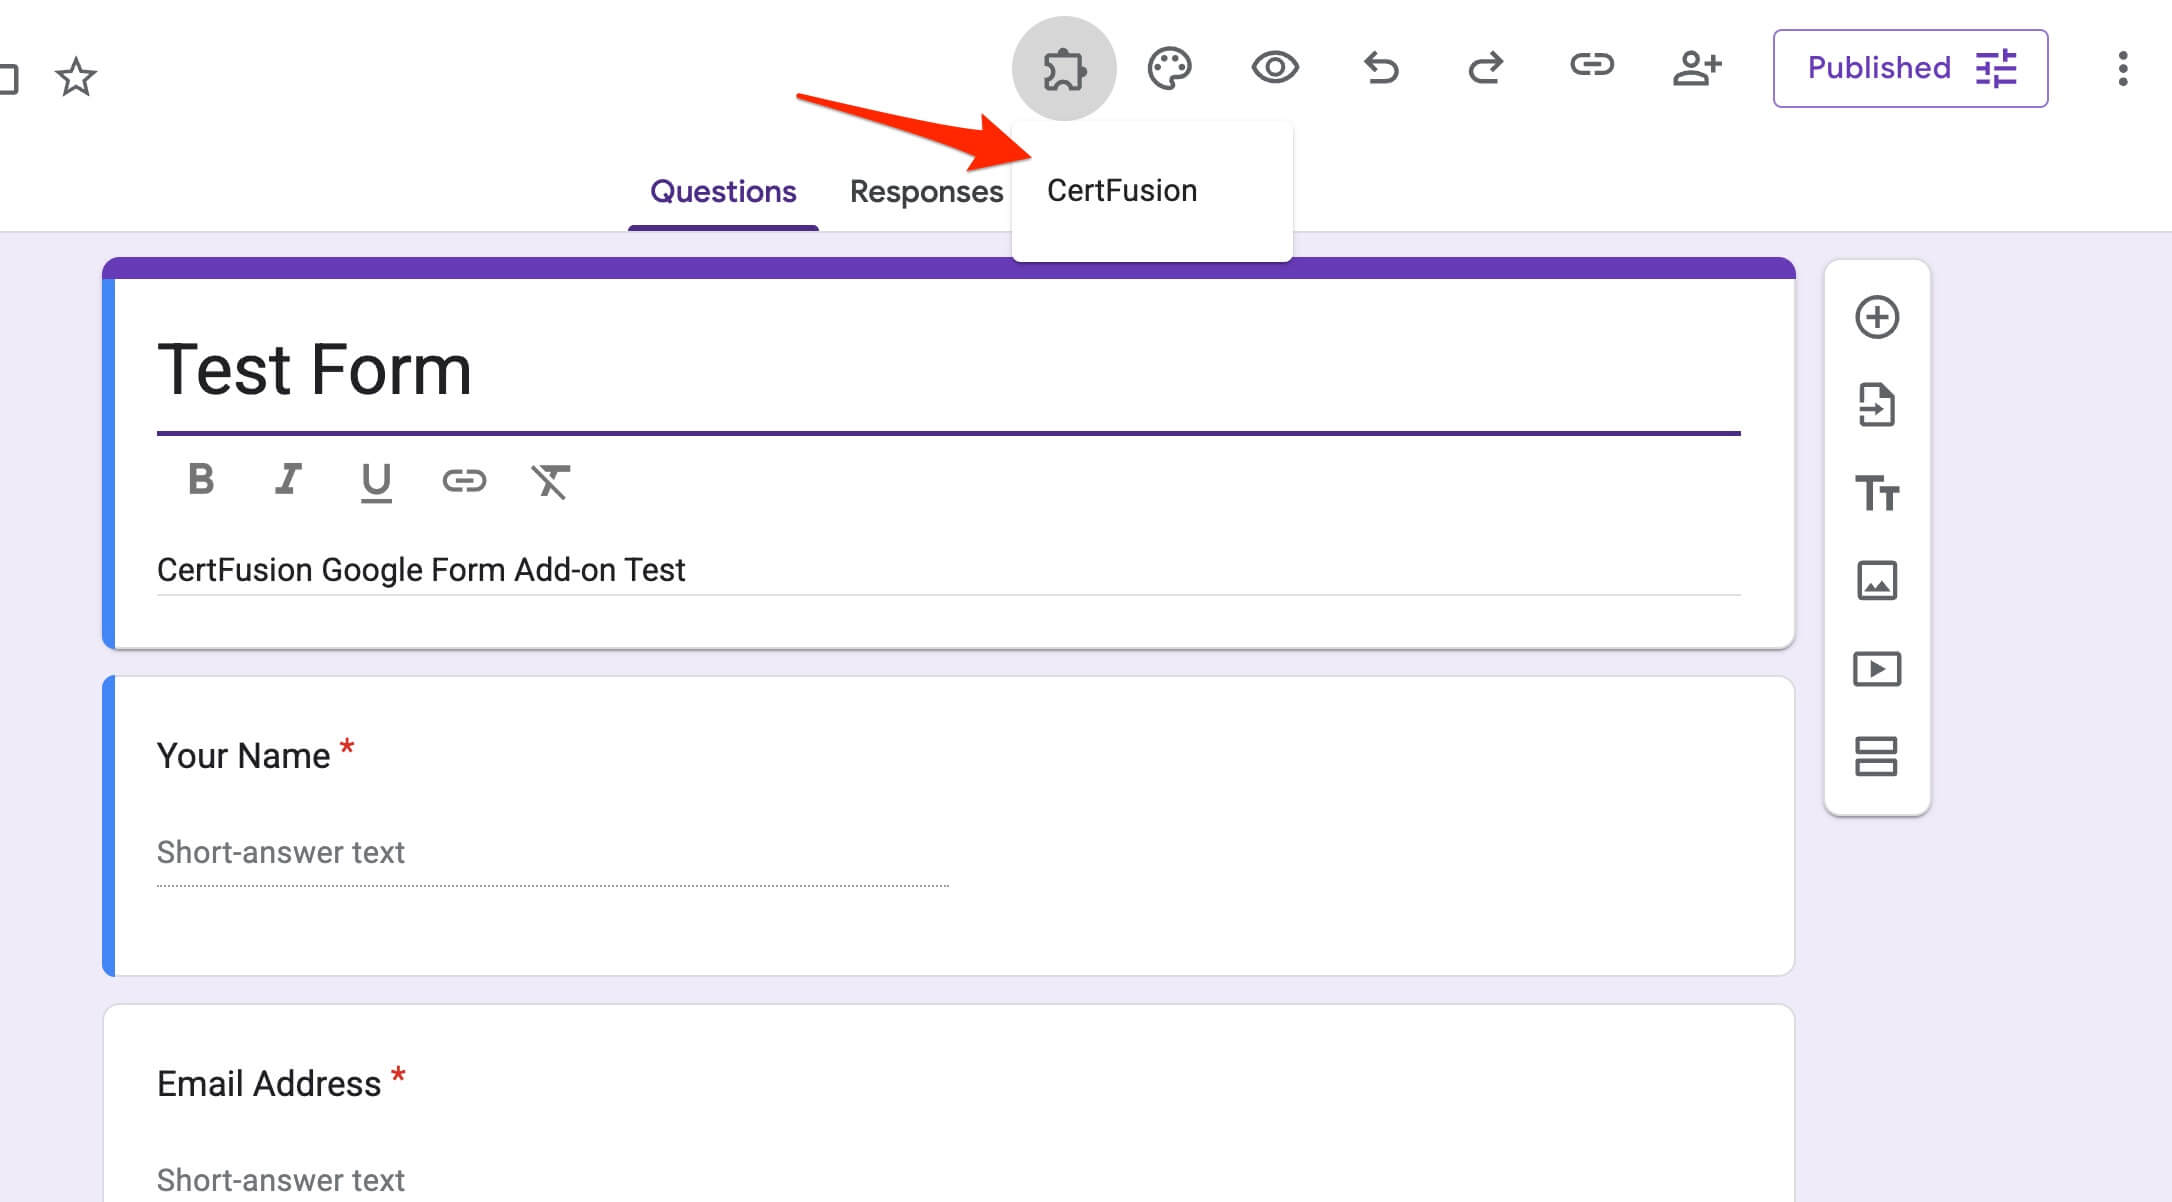
Click the Add-ons button (puzzle piece icon) in the top-right corner of the
form editor.

-
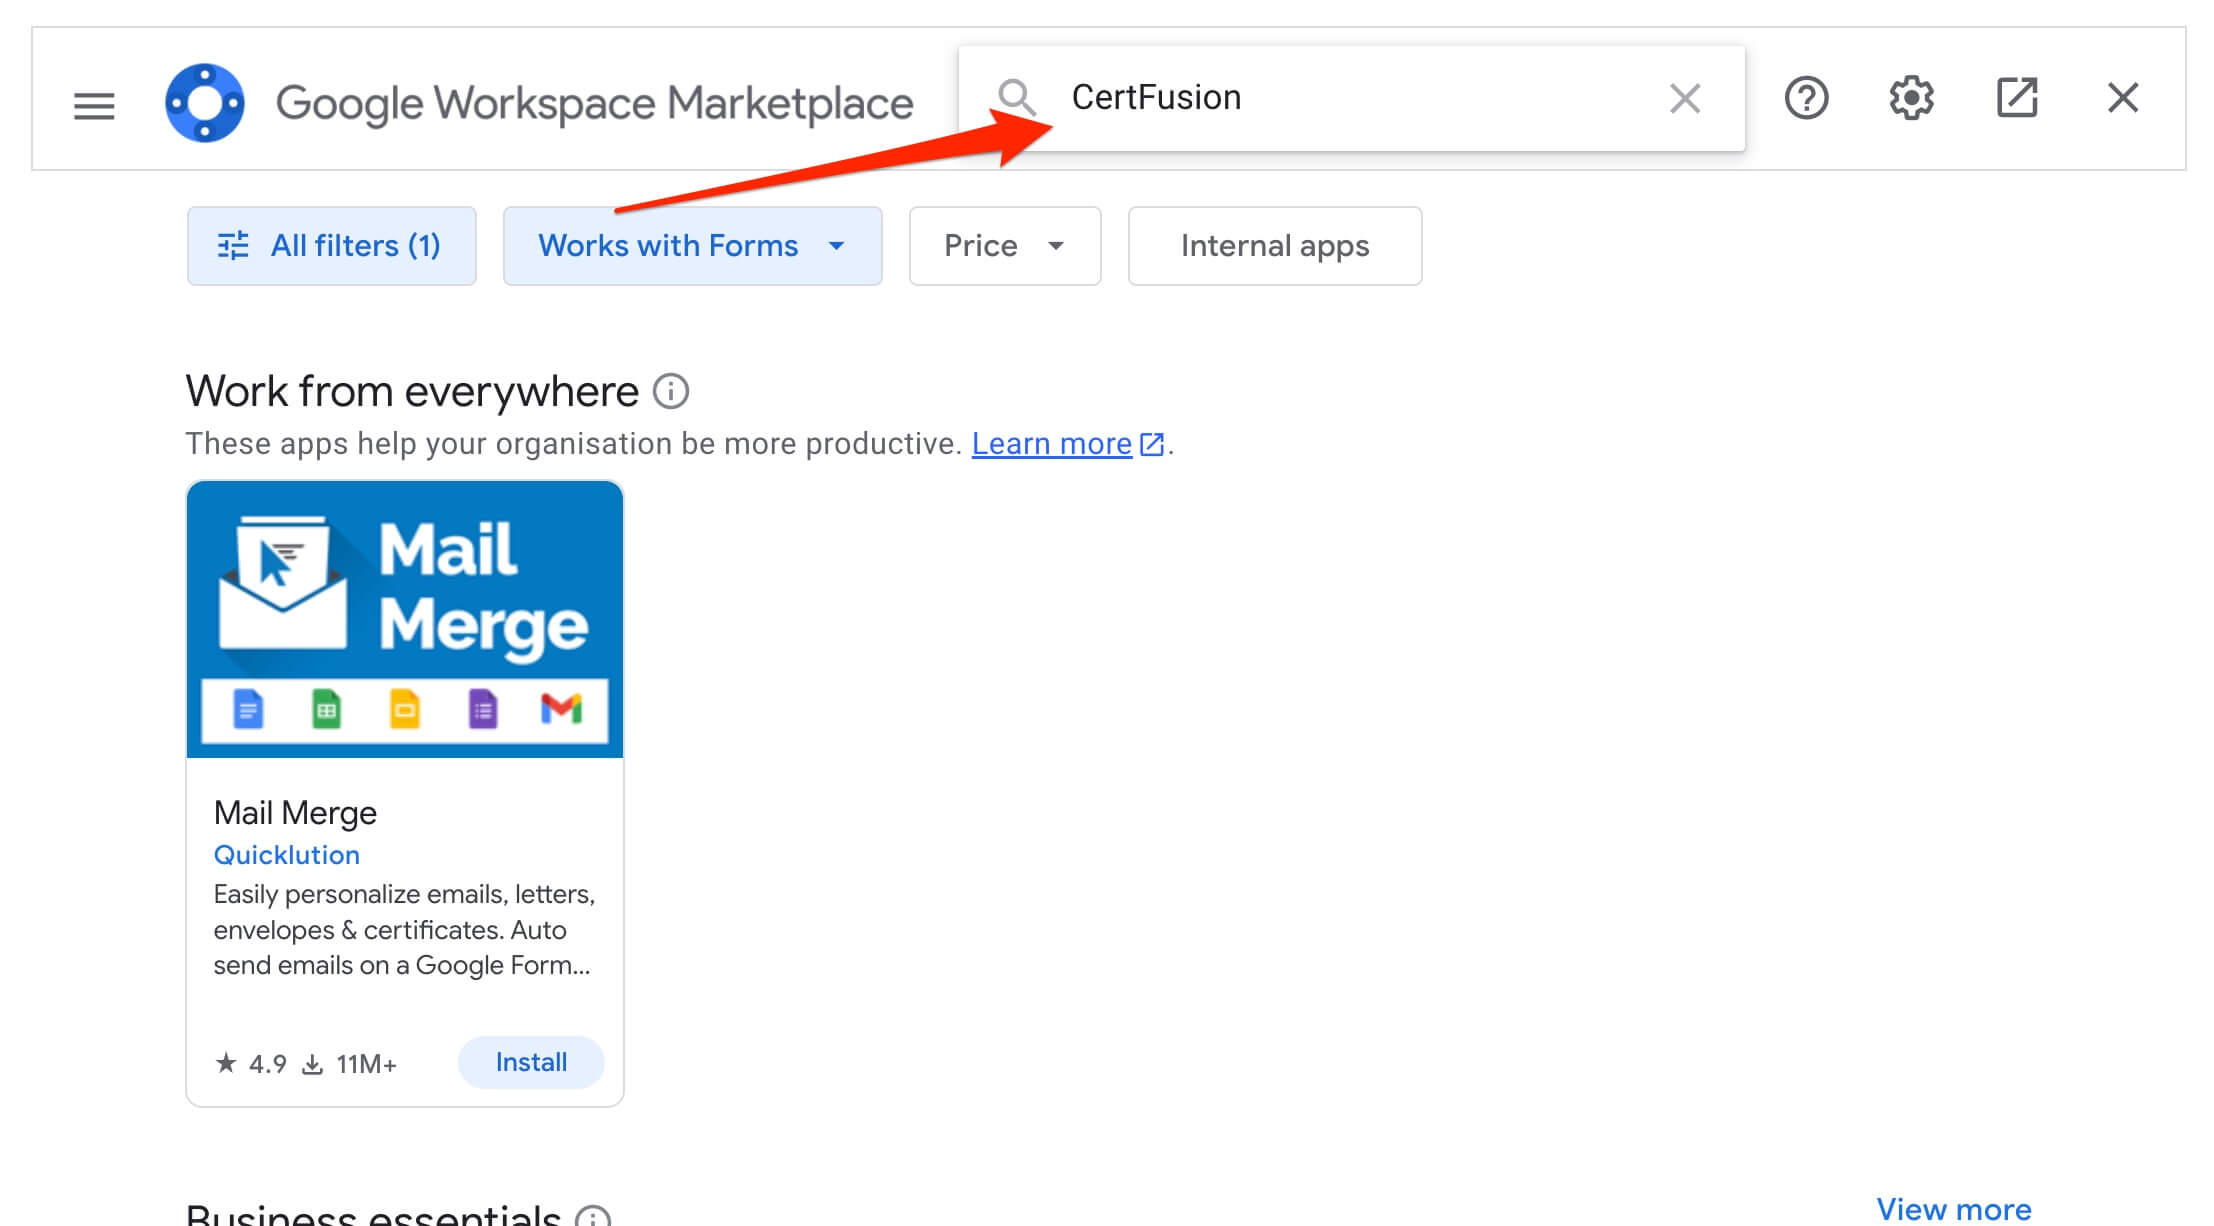
Search for CertFusion in the Google Workspace Marketplace and install the
add-on.
-
Click Install and grant all requested permissions. This is required for the add-on to function correctly.

-
Once installed, you'll see the CertFusion menu in your form editor toolbar.
CertFusion only accesses your form structure and responses to enable certificate automation. We securely store your API credentials and do not access other Google account data.
2. Setting Up Your Certificate Integration
-
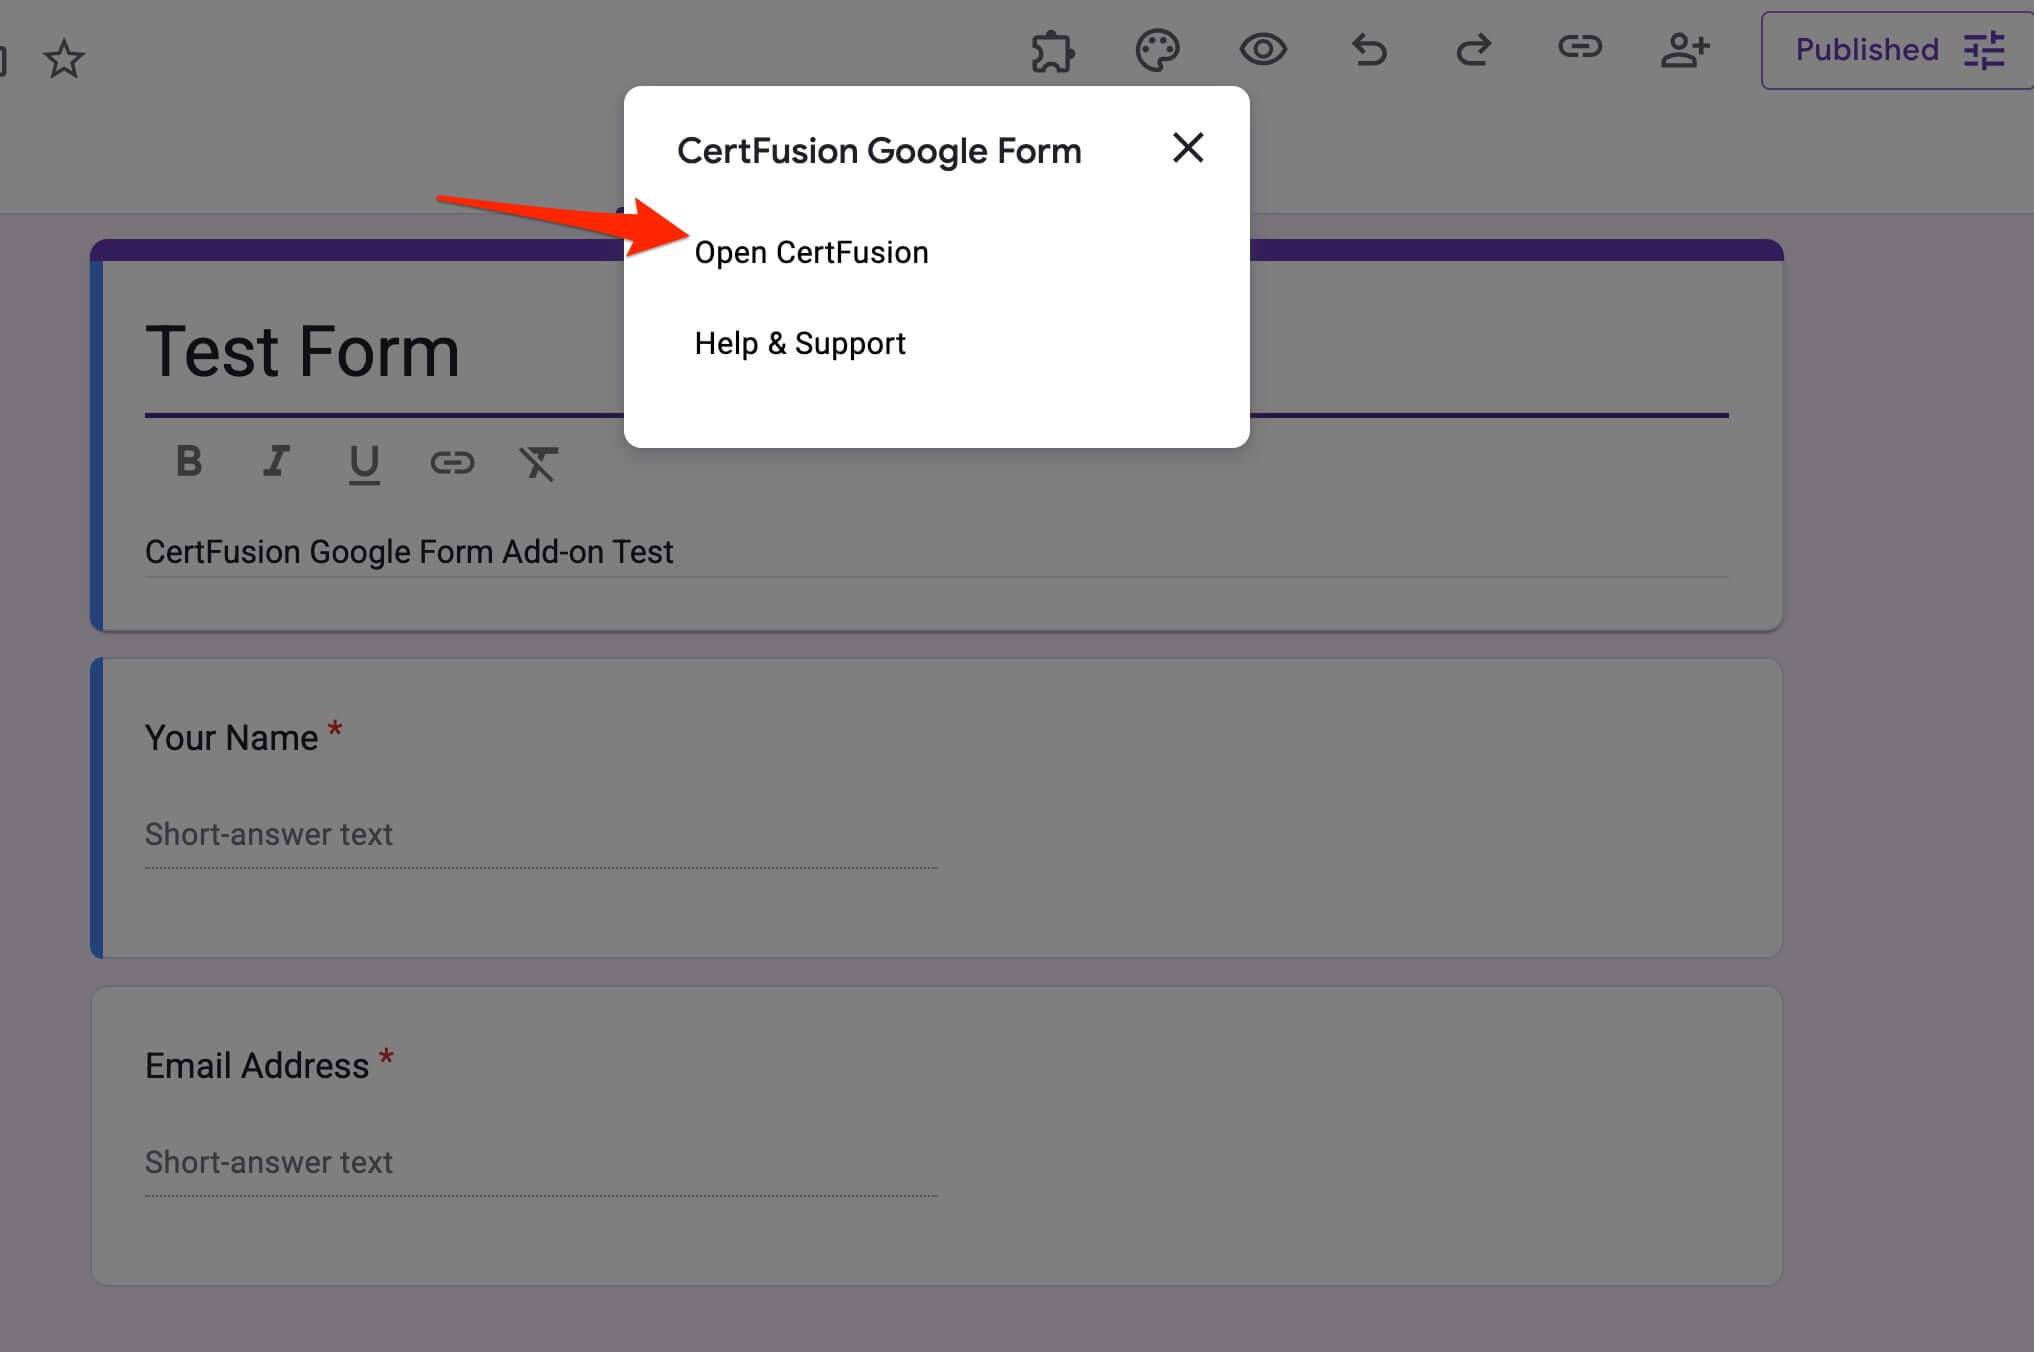
In your form editor, click the CertFusion menu and select Open
CertFusion.
-
The CertFusion sidebar will open on the right side of your screen.
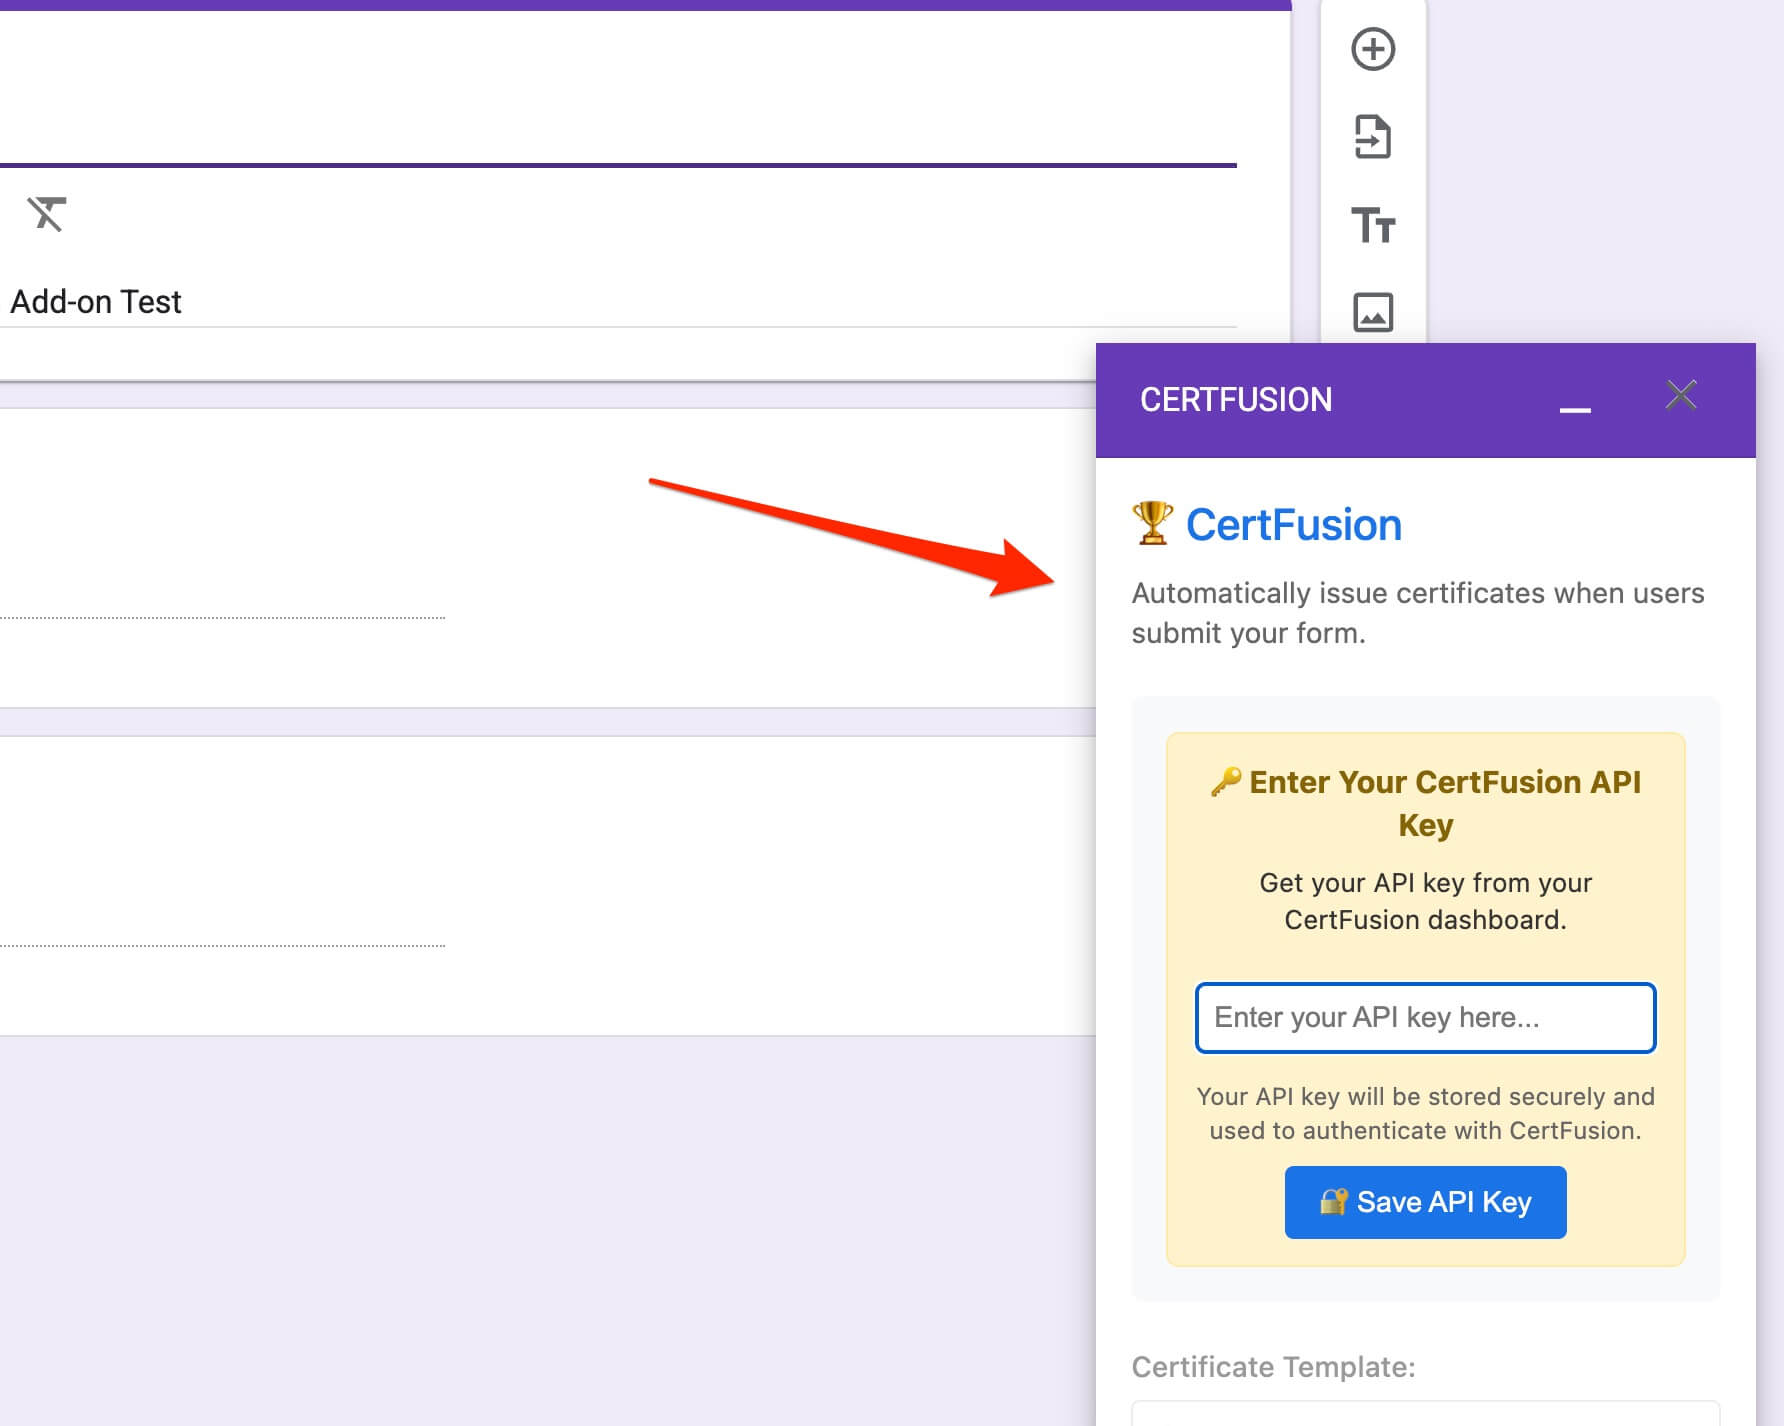
- Enter your CertFusion API key in the provided field. You can find your API key in your CertFusion dashboard.
-
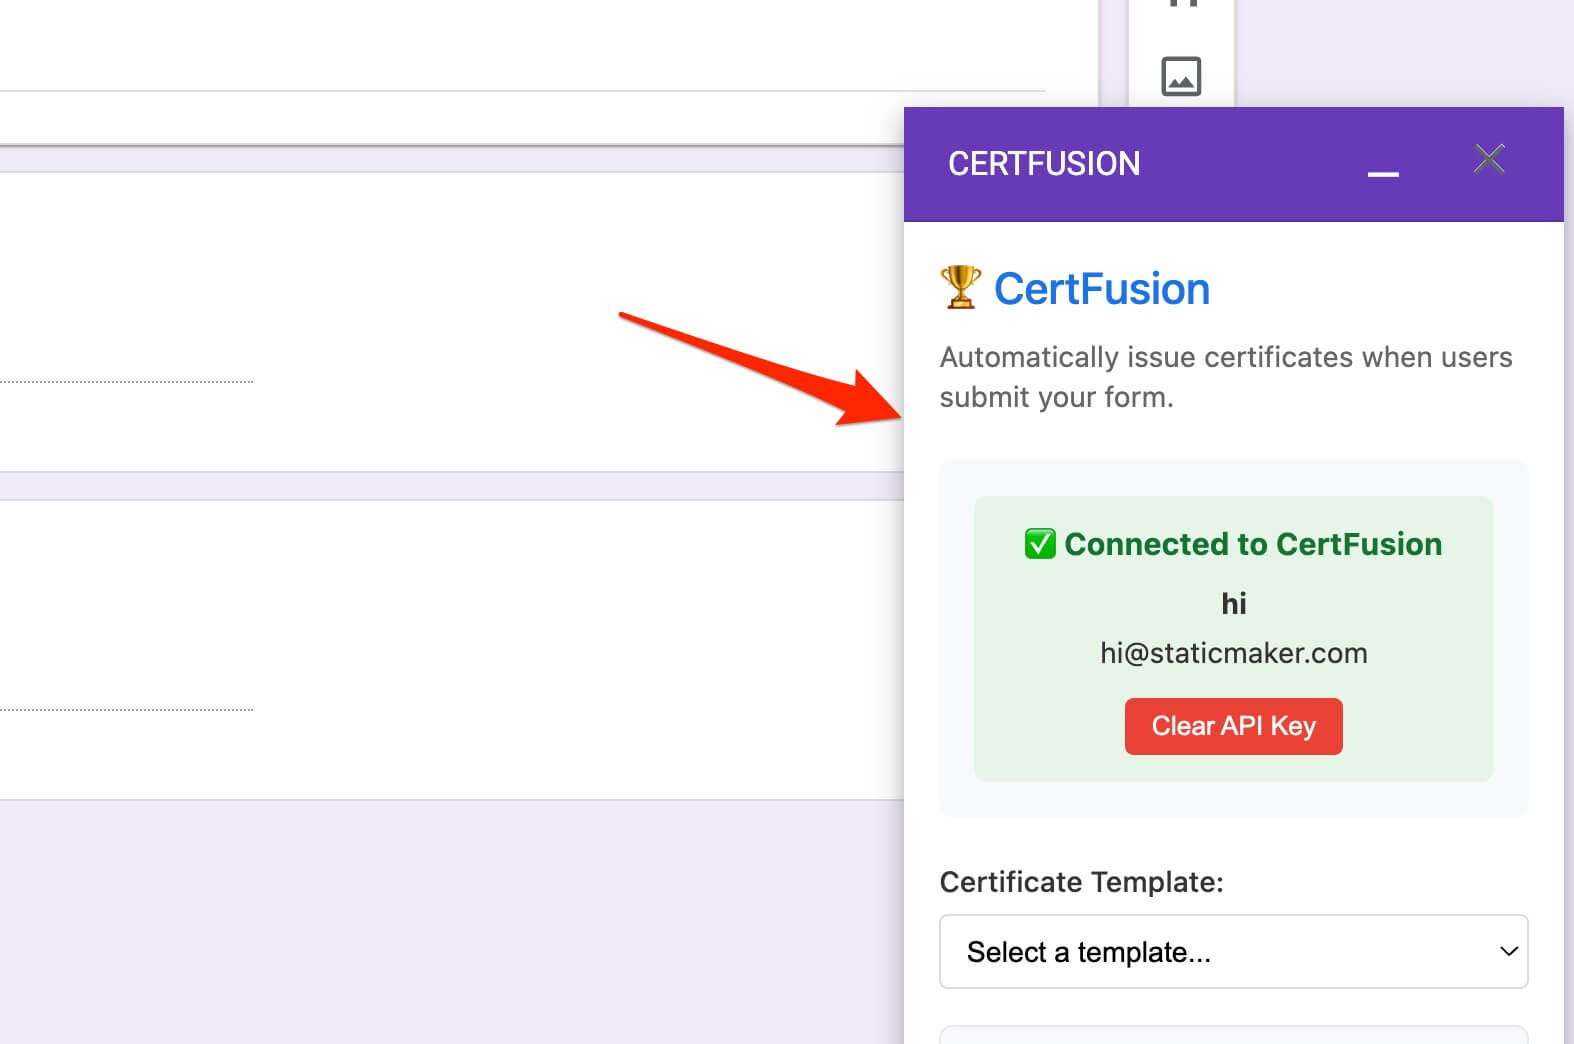
Click Save API Key to authenticate your account.
-
Select a certificate template from the dropdown menu. This will be the certificate design issued
to form respondents.
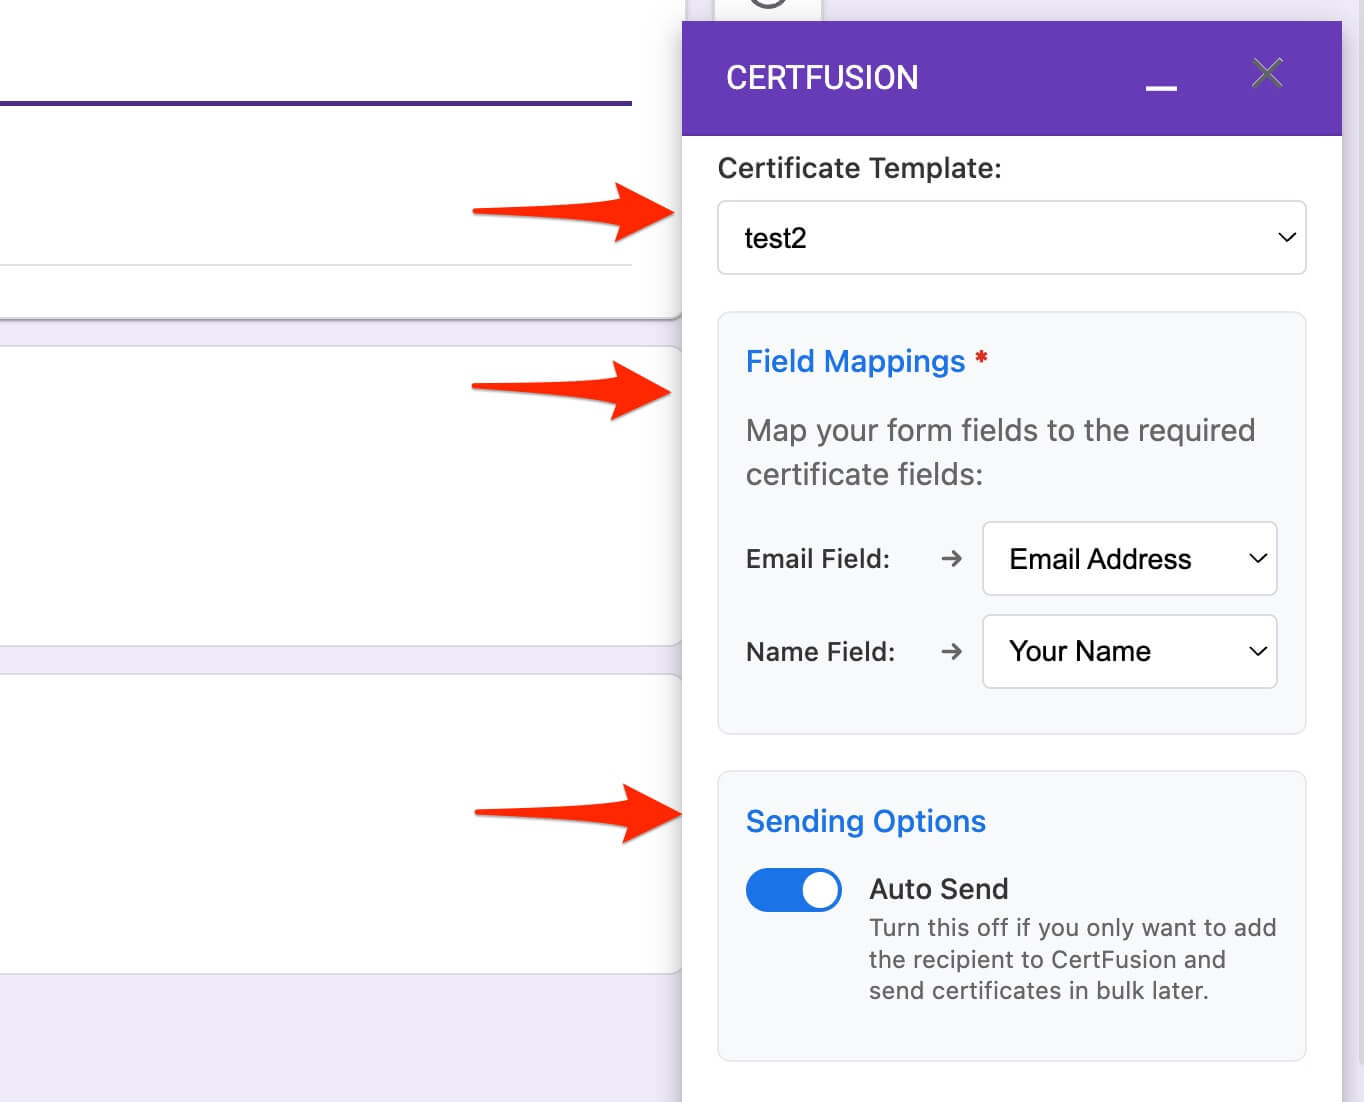
-
Map your form fields to certificate recipient data:
- Email Field: Select which form question collects the recipient's email address
- Name Field: Select which form question collects the recipient's name
-
Configure sending options:
- Auto Send: Toggle on to automatically issue certificates upon form submission
- Toggle off if you prefer to manually issue certificates in bulk later
-
Click Save Configuration to activate the integration.
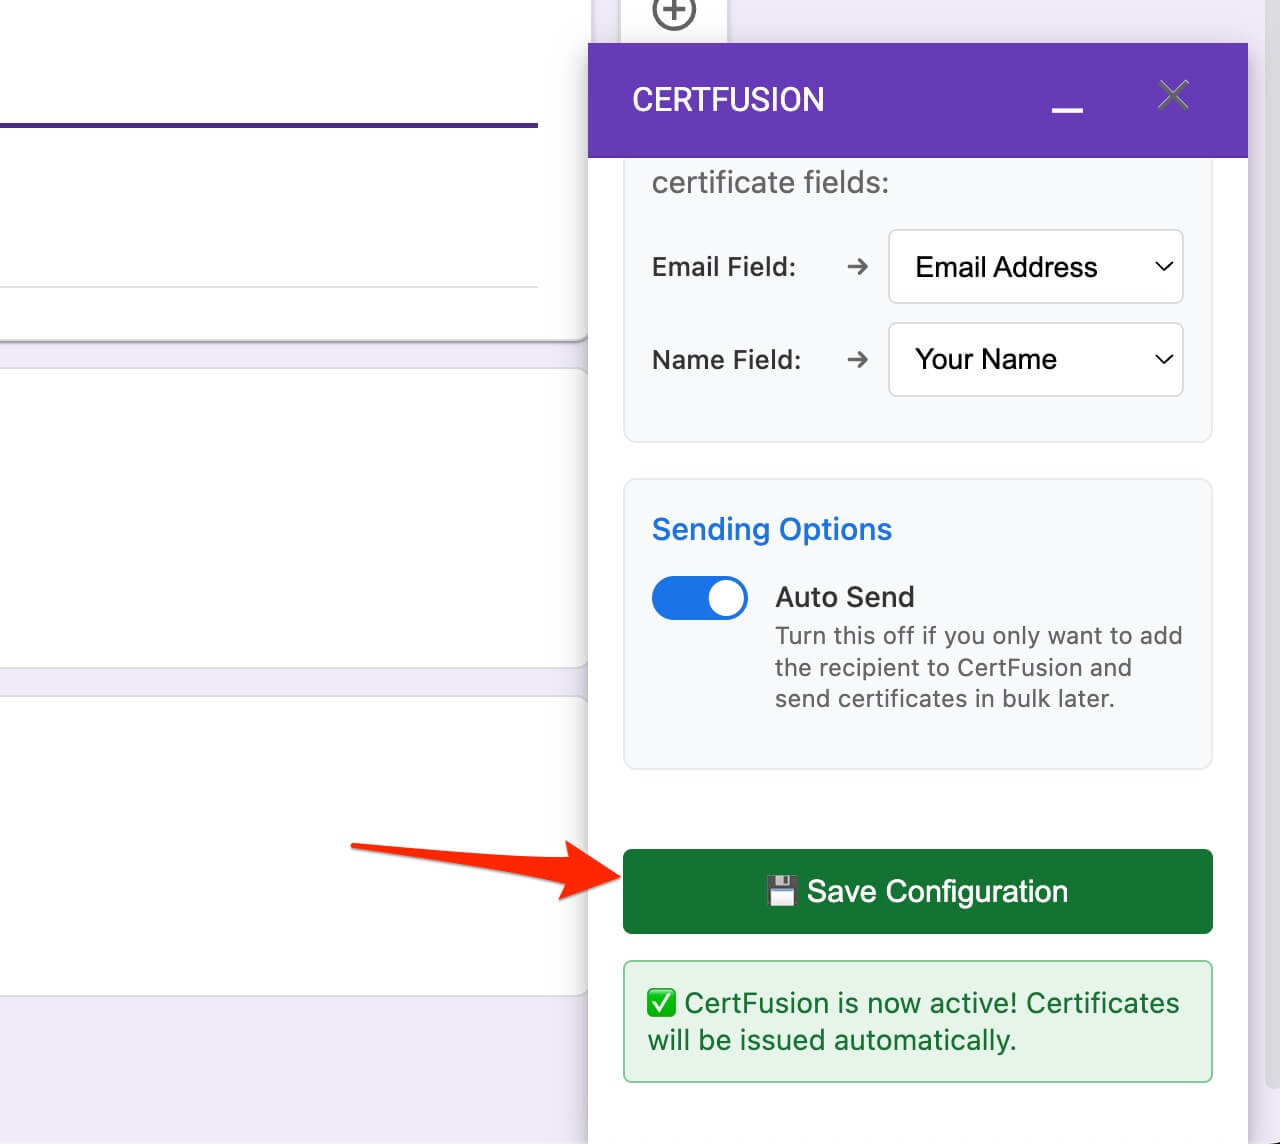
Once configured, your form will automatically create certificate recipients and issue certificates (if auto-send is enabled) every time someone submits a response.
3. Testing Your Integration
- Fill out and submit your form using test data to ensure the integration works correctly.
- Check your CertFusion dashboard to verify that a new recipient was created.
- If auto-send is enabled, verify that a certificate was issued automatically.
- Test recipients should receive an email with their certificate link (if auto-send is on).
4. Managing Your Integration
To modify your integration settings:
- Open your form in the Google Forms editor.
- Click CertFusion > Open CertFusion to access the sidebar.
- Make your desired changes to template selection, field mappings, or auto-send settings.
- Click Save Configuration to update your integration.
5. Troubleshooting Common Issues
- Certificates not being issued: Verify that your form has the required email and name fields mapped correctly.
- API key errors: Ensure your API key is valid and has the necessary permissions in your CertFusion account.
- Missing recipients: Check that form responses contain valid email addresses and names in the mapped fields.
- Duplicate field mappings: Make sure you haven't selected the same form field for both email and name mappings.
-
Permission error (
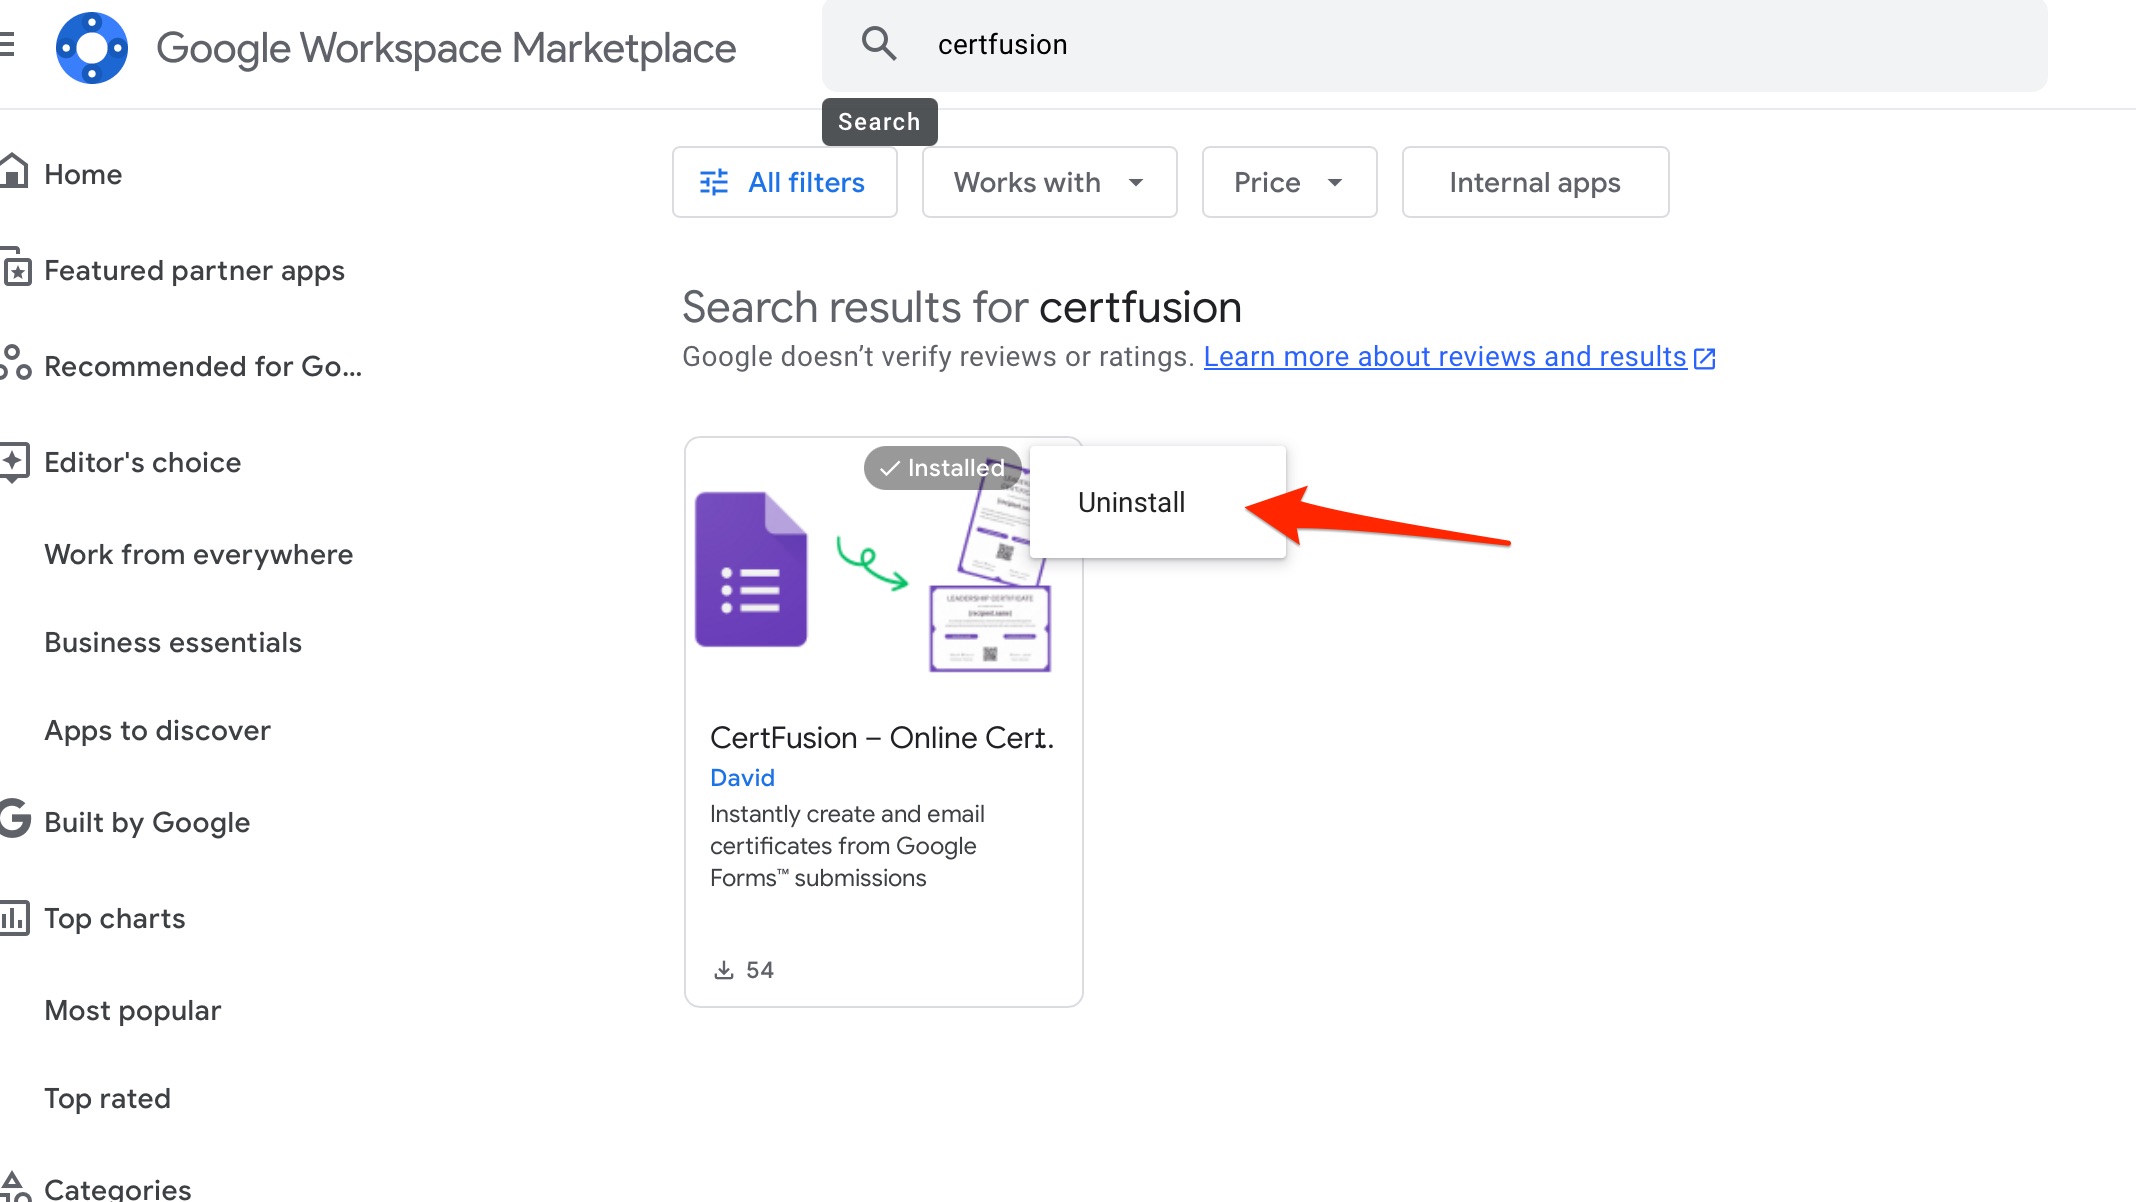
You do not have permission to call UrlFetchApp.fetch): This error occurs when permissions were not fully granted during initial installation. To resolve this:-
Visit the Google Workspace Marketplace and uninstall the CertFusion add-on.
-
Reinstall the add-on and make sure to select all permissions requested during the setup process.
-
Visit the Google Workspace Marketplace and uninstall the CertFusion add-on.
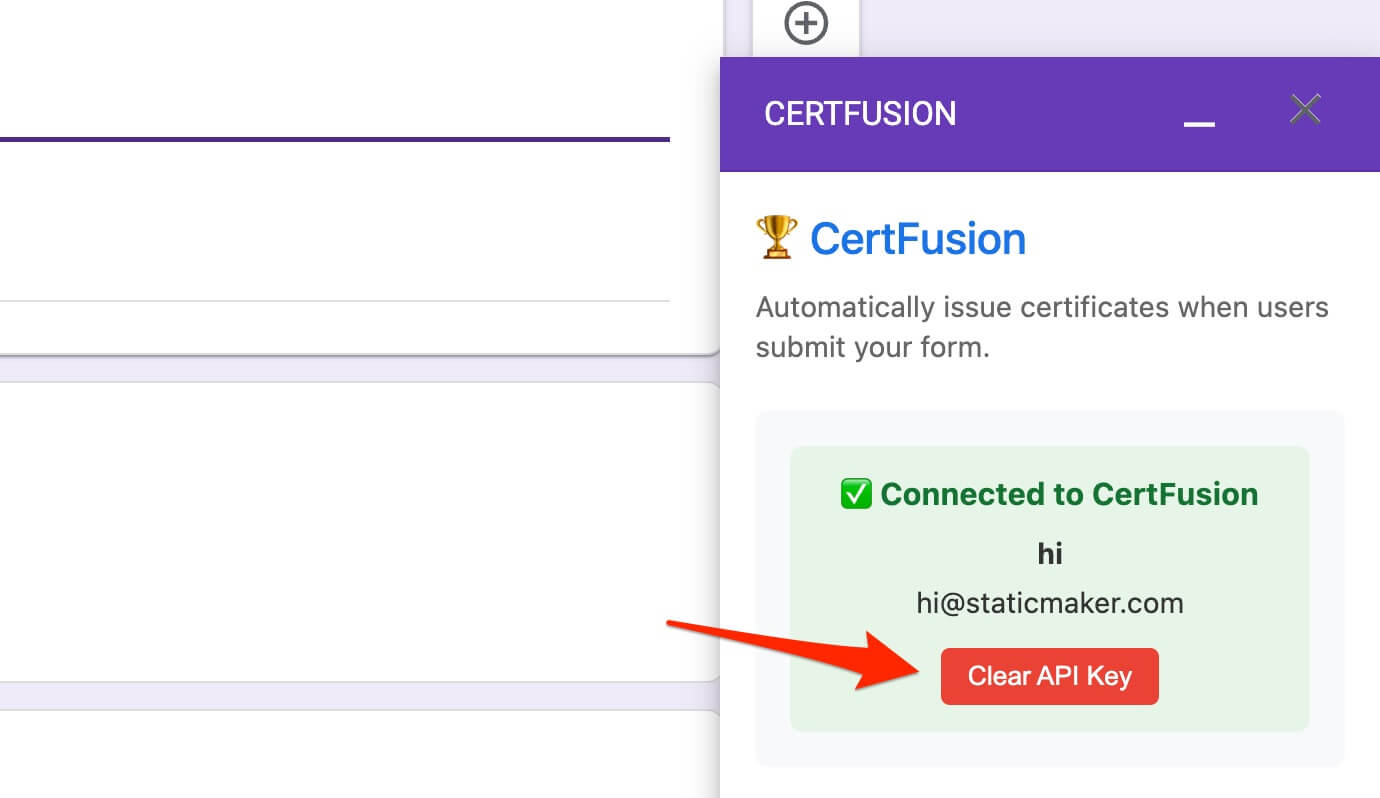
6. How to Remove the CertFusion Integration
- In your form editor, open the CertFusion sidebar.
-
Click Clear API Key to remove your stored credentials and configuration.
- To completely uninstall the add-on, go to Add-ons > Manage add-ons and remove CertFusion.
You can reconnect your CertFusion account at any time by following the setup steps above.
Need help? Reach us from our support page.