How to Print a Certificate of Completion (Step-by-Step)
Once you’ve finished designing your certificate of completion, the next step is getting a high-quality printout or digital version that looks professional.
Whether you’re using Microsoft Word, a PDF editor, or an online certificate generator, this guide will show you how to print your certificate the right way — crisp, clean, and ready to present.
1. Choose the Right Template Format
Before printing, confirm what file type your certificate is in.
| Format | Best For | Notes |
|---|---|---|
| Word (.docx) | Editable certificates with text placeholders | Ideal for quick edits before printing |
| PDF (.pdf) | Locked, ready-to-print layout | Keeps design consistent on all devices |
| Online Generator | Automated creation & email delivery | No manual printing needed, perfect for virtual events |
💡 Tip: If you don’t have a ready-to-print design yet, grab a free editable template from our Certificate of Completion Templates collection.
2. Set Up the Page Layout
If you’re printing from Word:
- Go to Layout → Page Orientation → Landscape for a wider format.
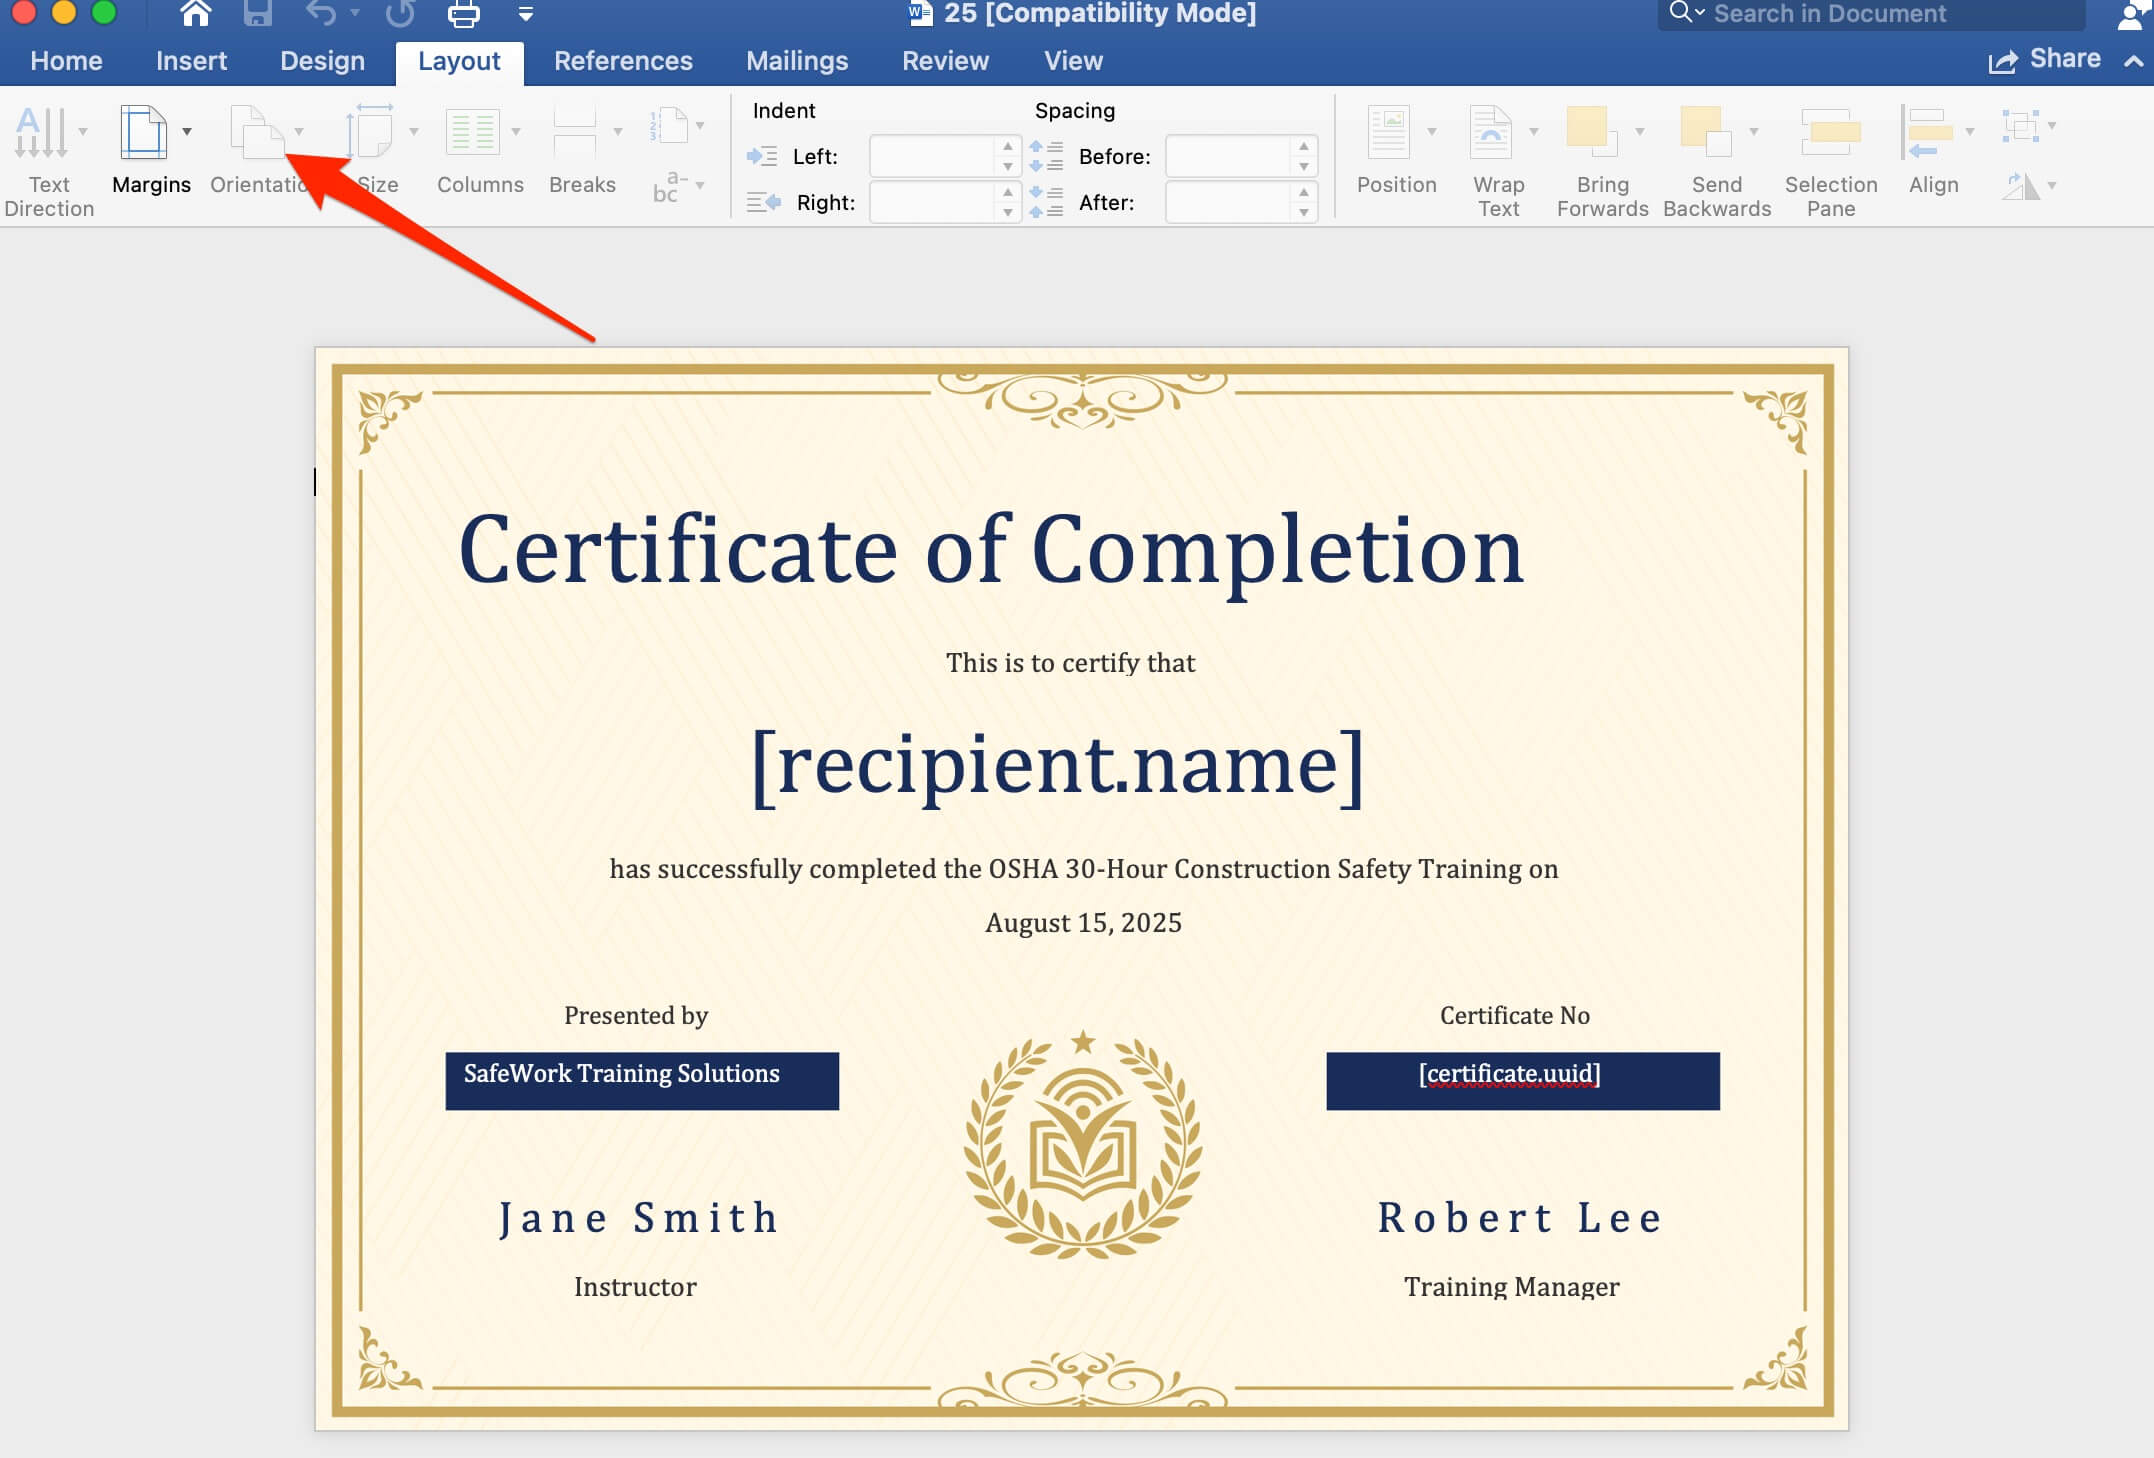
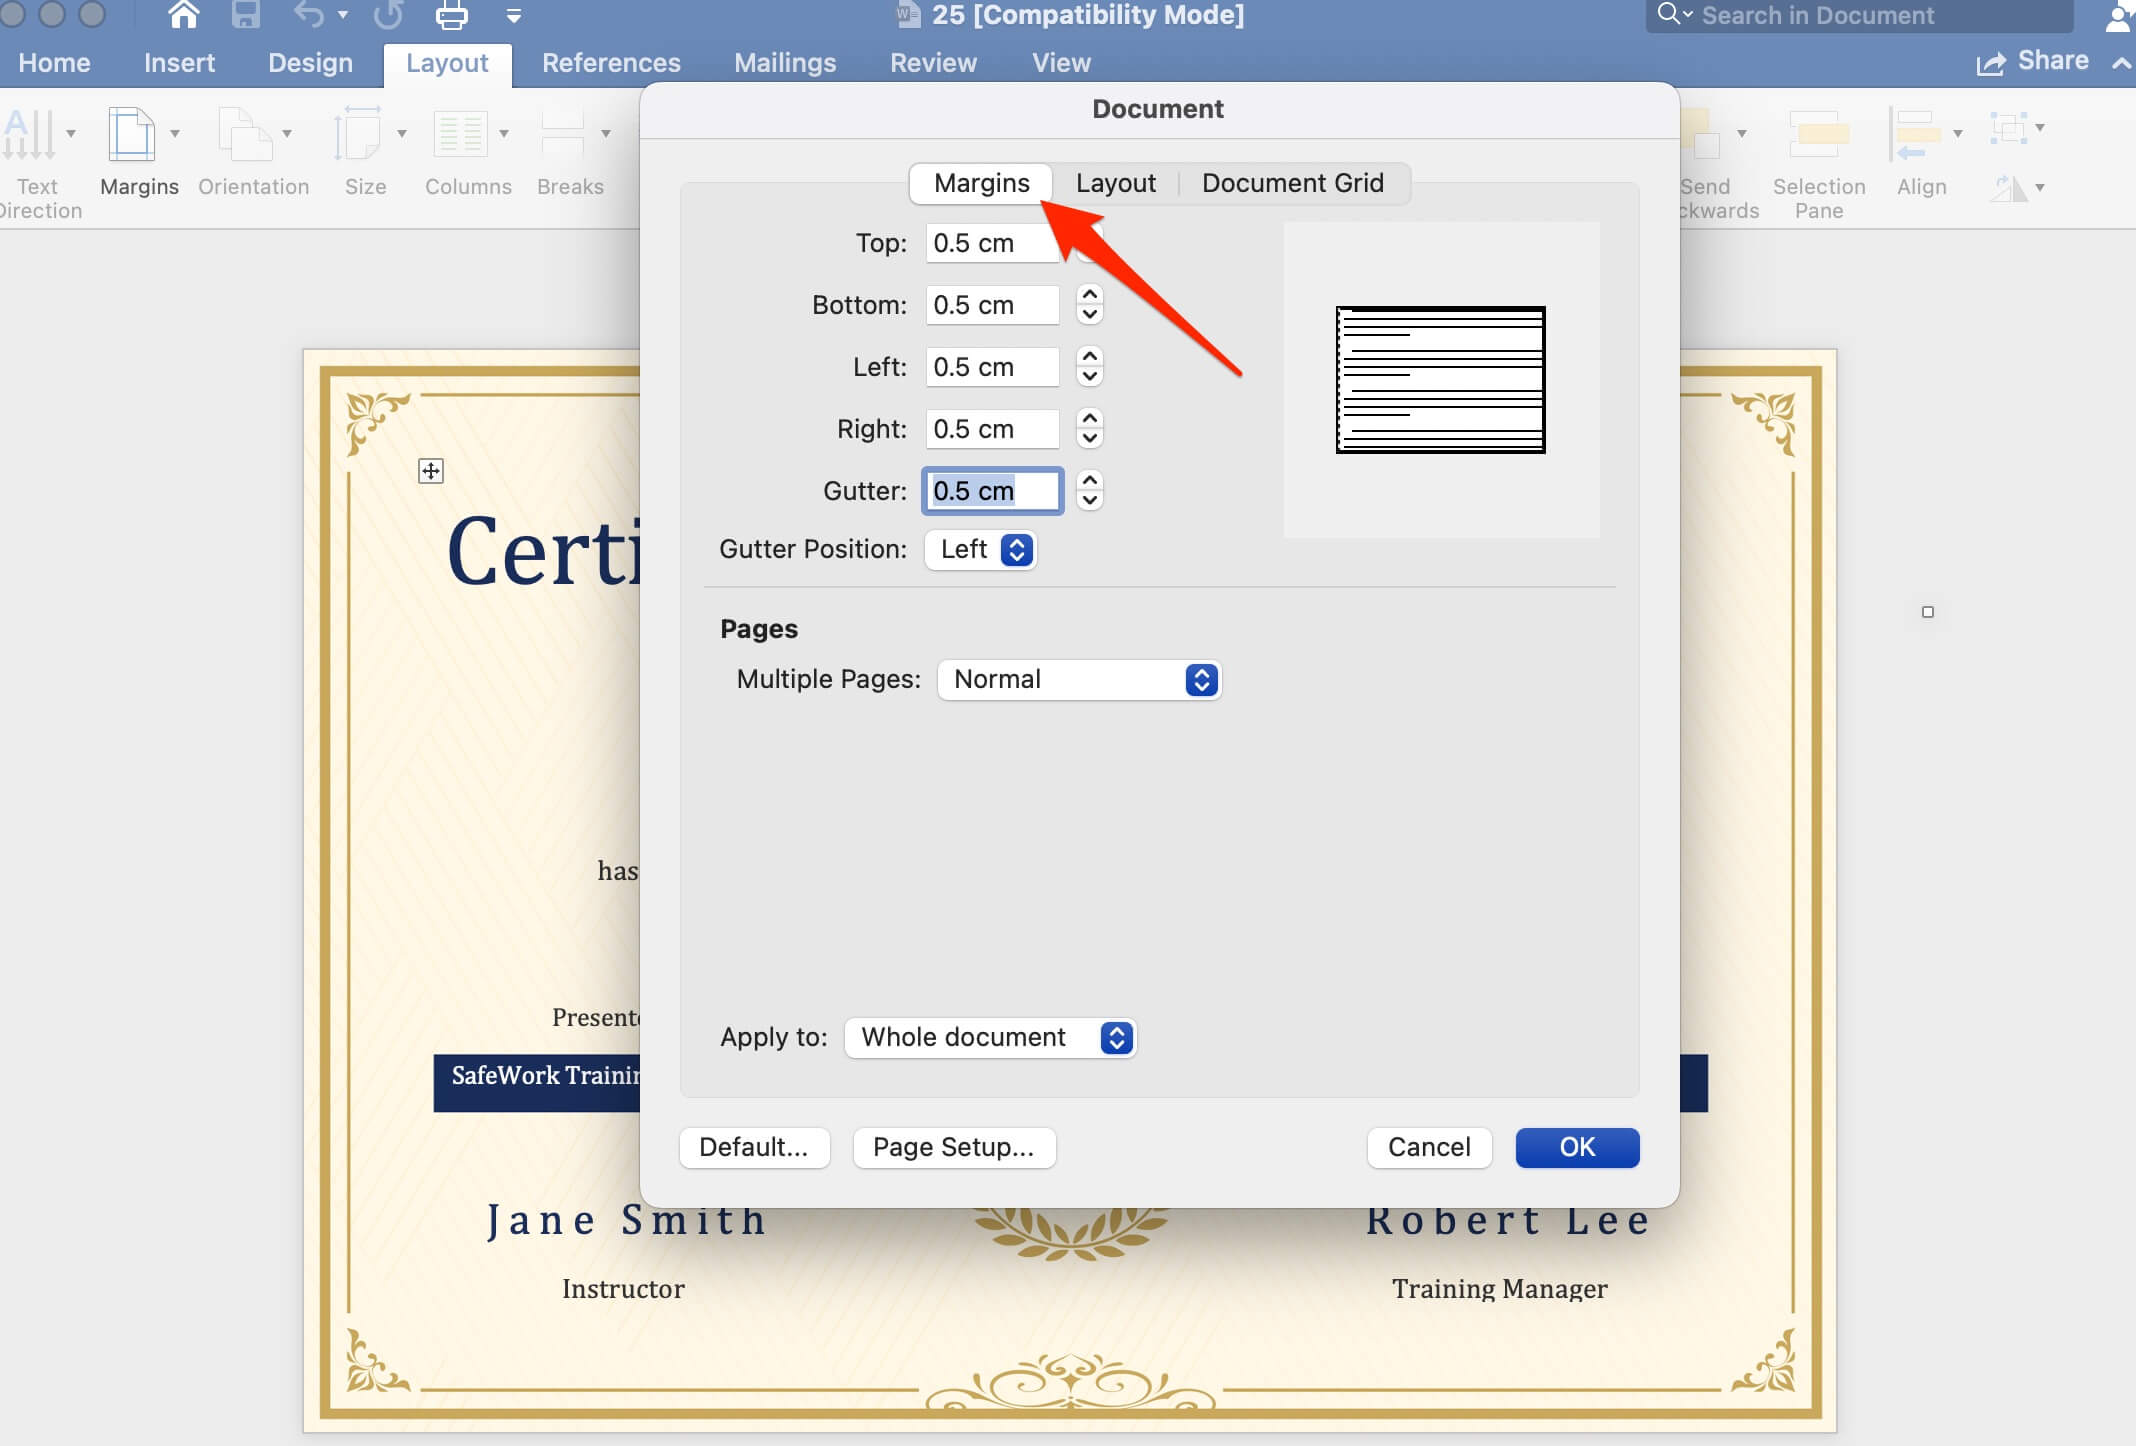
- Set margins to 0.5 inch for balance.
- Use A4 or Letter size, depending on your region.
- Test-print on plain paper before using certificate paper.
3. Adjust Colors and Fonts Before Printing
Printed colors can appear darker or lighter than they do on screen.
- ✅ Use high-contrast text (black, navy, or dark gray)
- ✅ Avoid bright colors or light backgrounds
- ✅ Stick to readable fonts like Times New Roman, Lato, or Playfair Display
💡 Pro Tip: Print a small sample first — even professional printers can shift colors slightly depending on ink and paper texture.
4. Select the Right Paper Type
The paper you use can make a big difference in perceived quality.
Recommended options:
- 200–250 gsm matte paper: Clean and professional
- Textured parchment paper: Adds formality and texture
- Glossy photo paper: Best for colorful certificates or logo-heavy designs
🖨️ Avoid standard copier paper — it often looks too thin and unprofessional.

5. Print Settings (for the Perfect Finish)
When you’re ready to print:
- File → Print (or
Ctrl/Cmd + P) - Select your printer and choose Best / High Quality print mode
- Ensure Actual Size is selected (not “Fit to Page”)
- Check preview before final printing
If you’re printing from a PDF:
- Use Adobe Acrobat Reader → Print → “Fit” OFF → “Actual Size” ON
- Select Landscape orientation if your design is wide

6. Printing Certificates Online (Digital Delivery)
If you’re using an online certificate generator:
- Design and preview the certificate online
- Download as PDF for print or PNG for digital sharing
- Use the platform’s built-in email or batch delivery feature
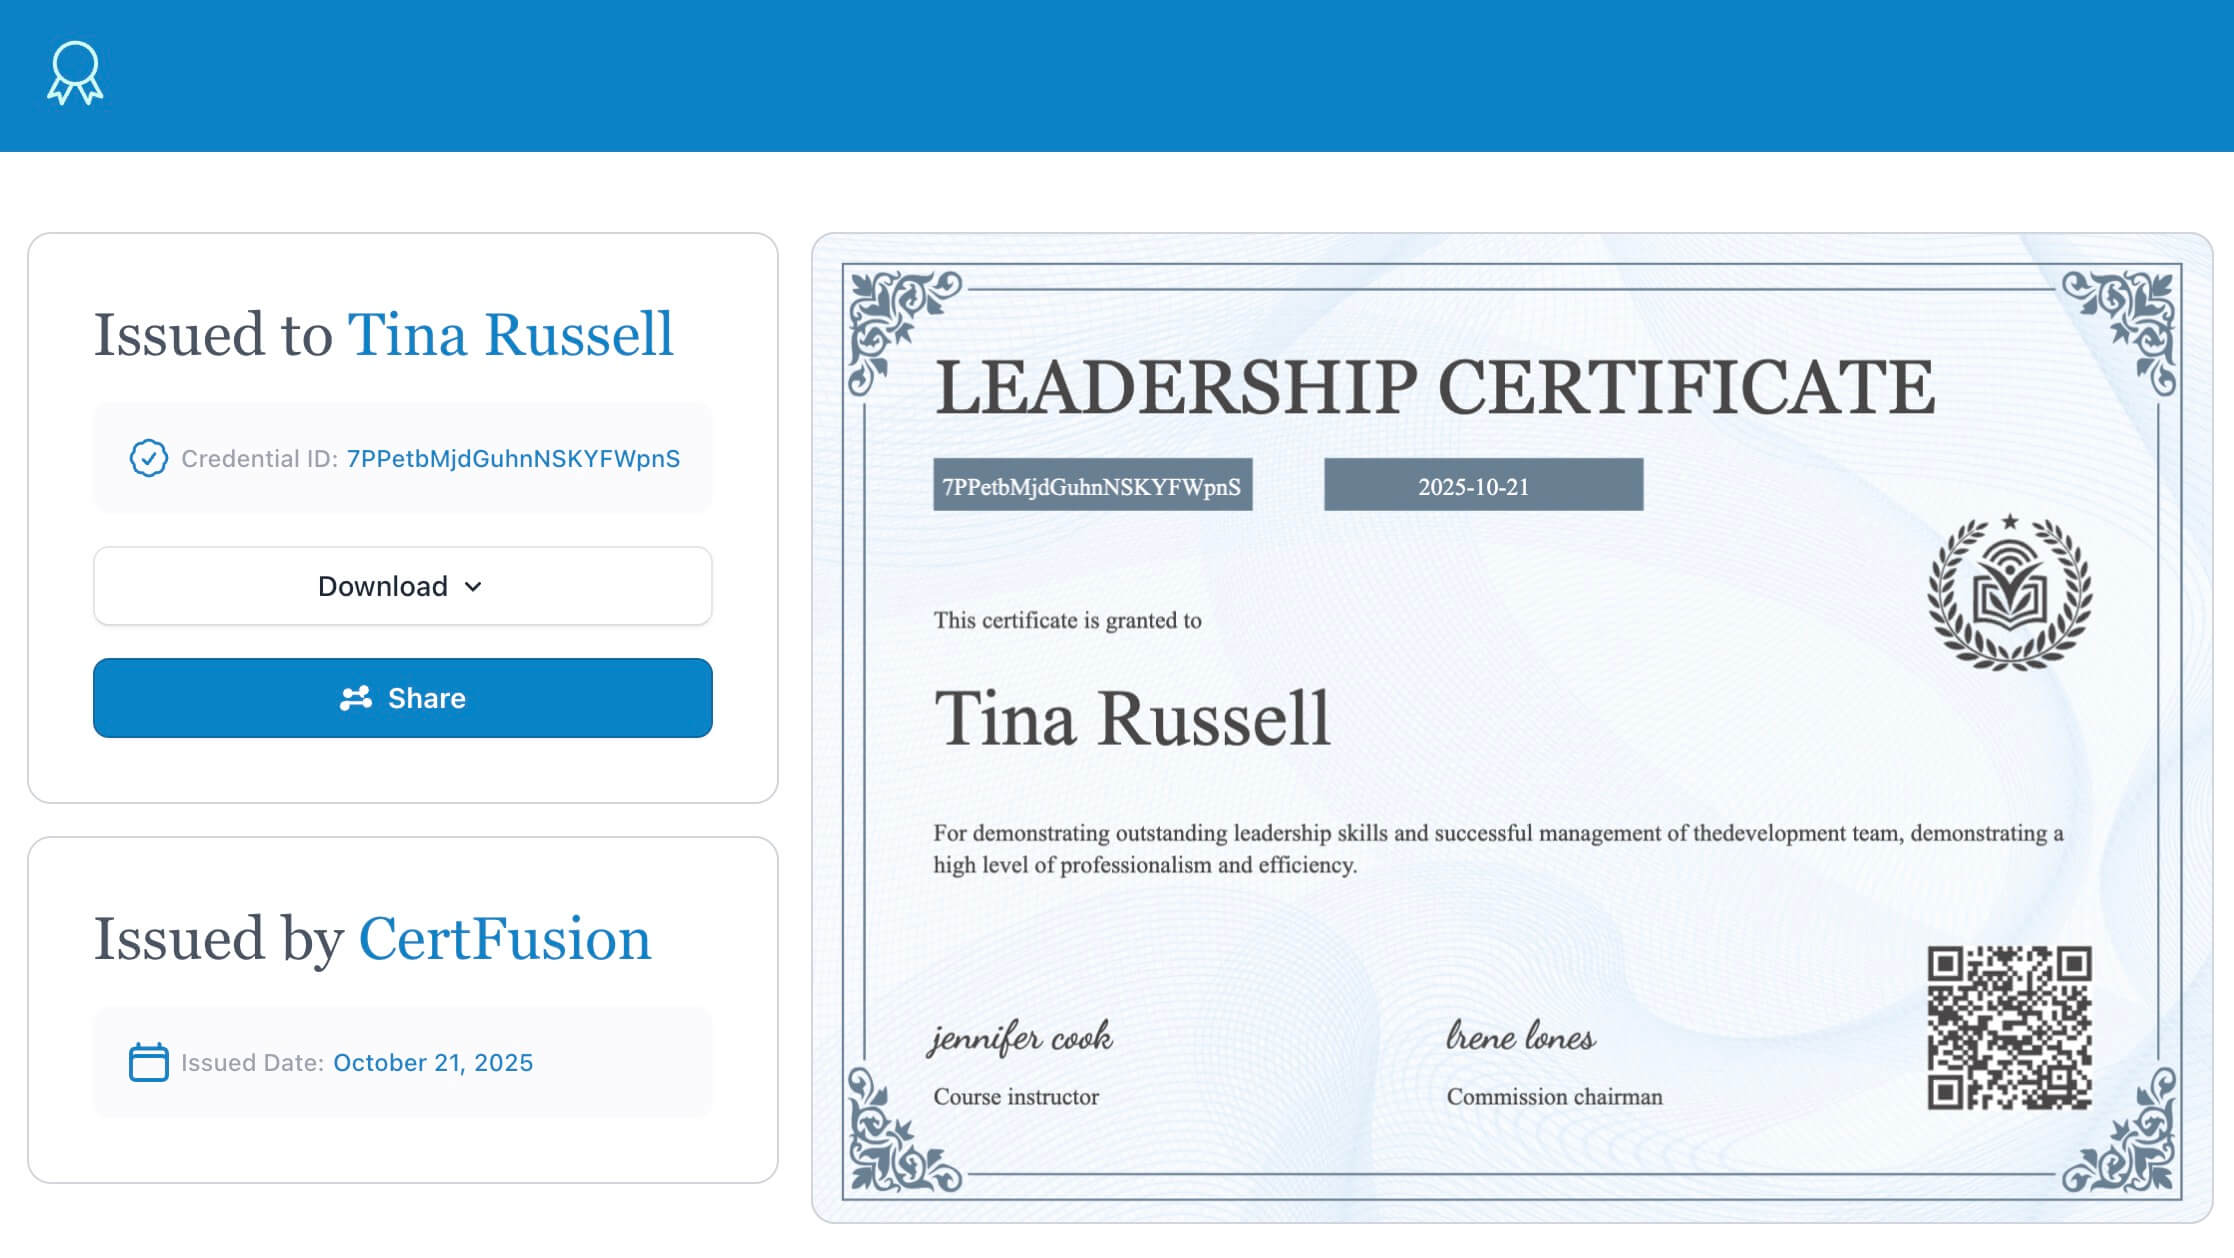
💡 Platforms like CertFusion let you design, issue, and send certificates automatically — no manual printing required.
7. Finishing Touches
For extra polish:
- Sign certificates before printing (digitally or by hand)
- Add a seal or embossed stamp
- Use a high-resolution logo (300 DPI minimum)
- Store digital copies in cloud folders for easy reprints
8. Troubleshooting Common Print Issues
| Problem | Likely Cause | Fix |
|---|---|---|
| Certificate cropped | Wrong page size or “Fit to Page” on | Set to “Actual Size” |
| Colors too dark | Printer ink saturation high | Choose “Normal” mode |
| Blurry logo | Low-resolution image | Replace with 300 DPI logo |
| Text cutoff | Margins too narrow | Set margins ≥ 0.5 inch |
Final Thoughts
Printing a certificate of completion should feel rewarding — it’s the final step in recognizing achievement. By using the right file type, paper, and printer settings, your certificates will look professional and consistent every time.
👉 Download free, print-ready Certificate of Completion Templates in Word, PDF, and Figma to get started instantly.
Table of Contents
Related Articles
Discover more insights and stories that might interest you