How to Generate E-Certificates for Webinars (Step-by-Step Guide)
Webinars are a powerful way to educate, engage, and grow your audience. But after the event ends, how do you reward your attendees and keep the momentum going?
The answer: e-certificates.
Issuing certificates is a great way to boost participation, build credibility, and offer attendees something tangible to share or add to their resumes. In this post, we’ll show you exactly how to create and send e-certificates after a webinar — the smart, automated way.
Why Send Certificates After Your Webinar?
Before we dive into the HOW, let’s talk about WHY webinar certificates are worth it:
- Boost live attendance – People are more likely to show up when they know there’s a certificate waiting at the end. It adds a sense of value and commitment.
- Build credibility – A certificate makes your webinar feel more official and professional. It shows that your content is structured and meaningful.
- Increase shareability – Attendees often post their certificates on LinkedIn or social media. That means more visibility and organic promotion for your brand.
- Create a follow-up moment – Sending certificates gives you a natural reason to reconnect with attendees after the event, keeping your relationship warm.
Step 1: Choose a Certificate Generator
You could design certificates manually using Canva or PowerPoint, but that becomes a nightmare when you're dealing with dozens — or hundreds — of attendees.
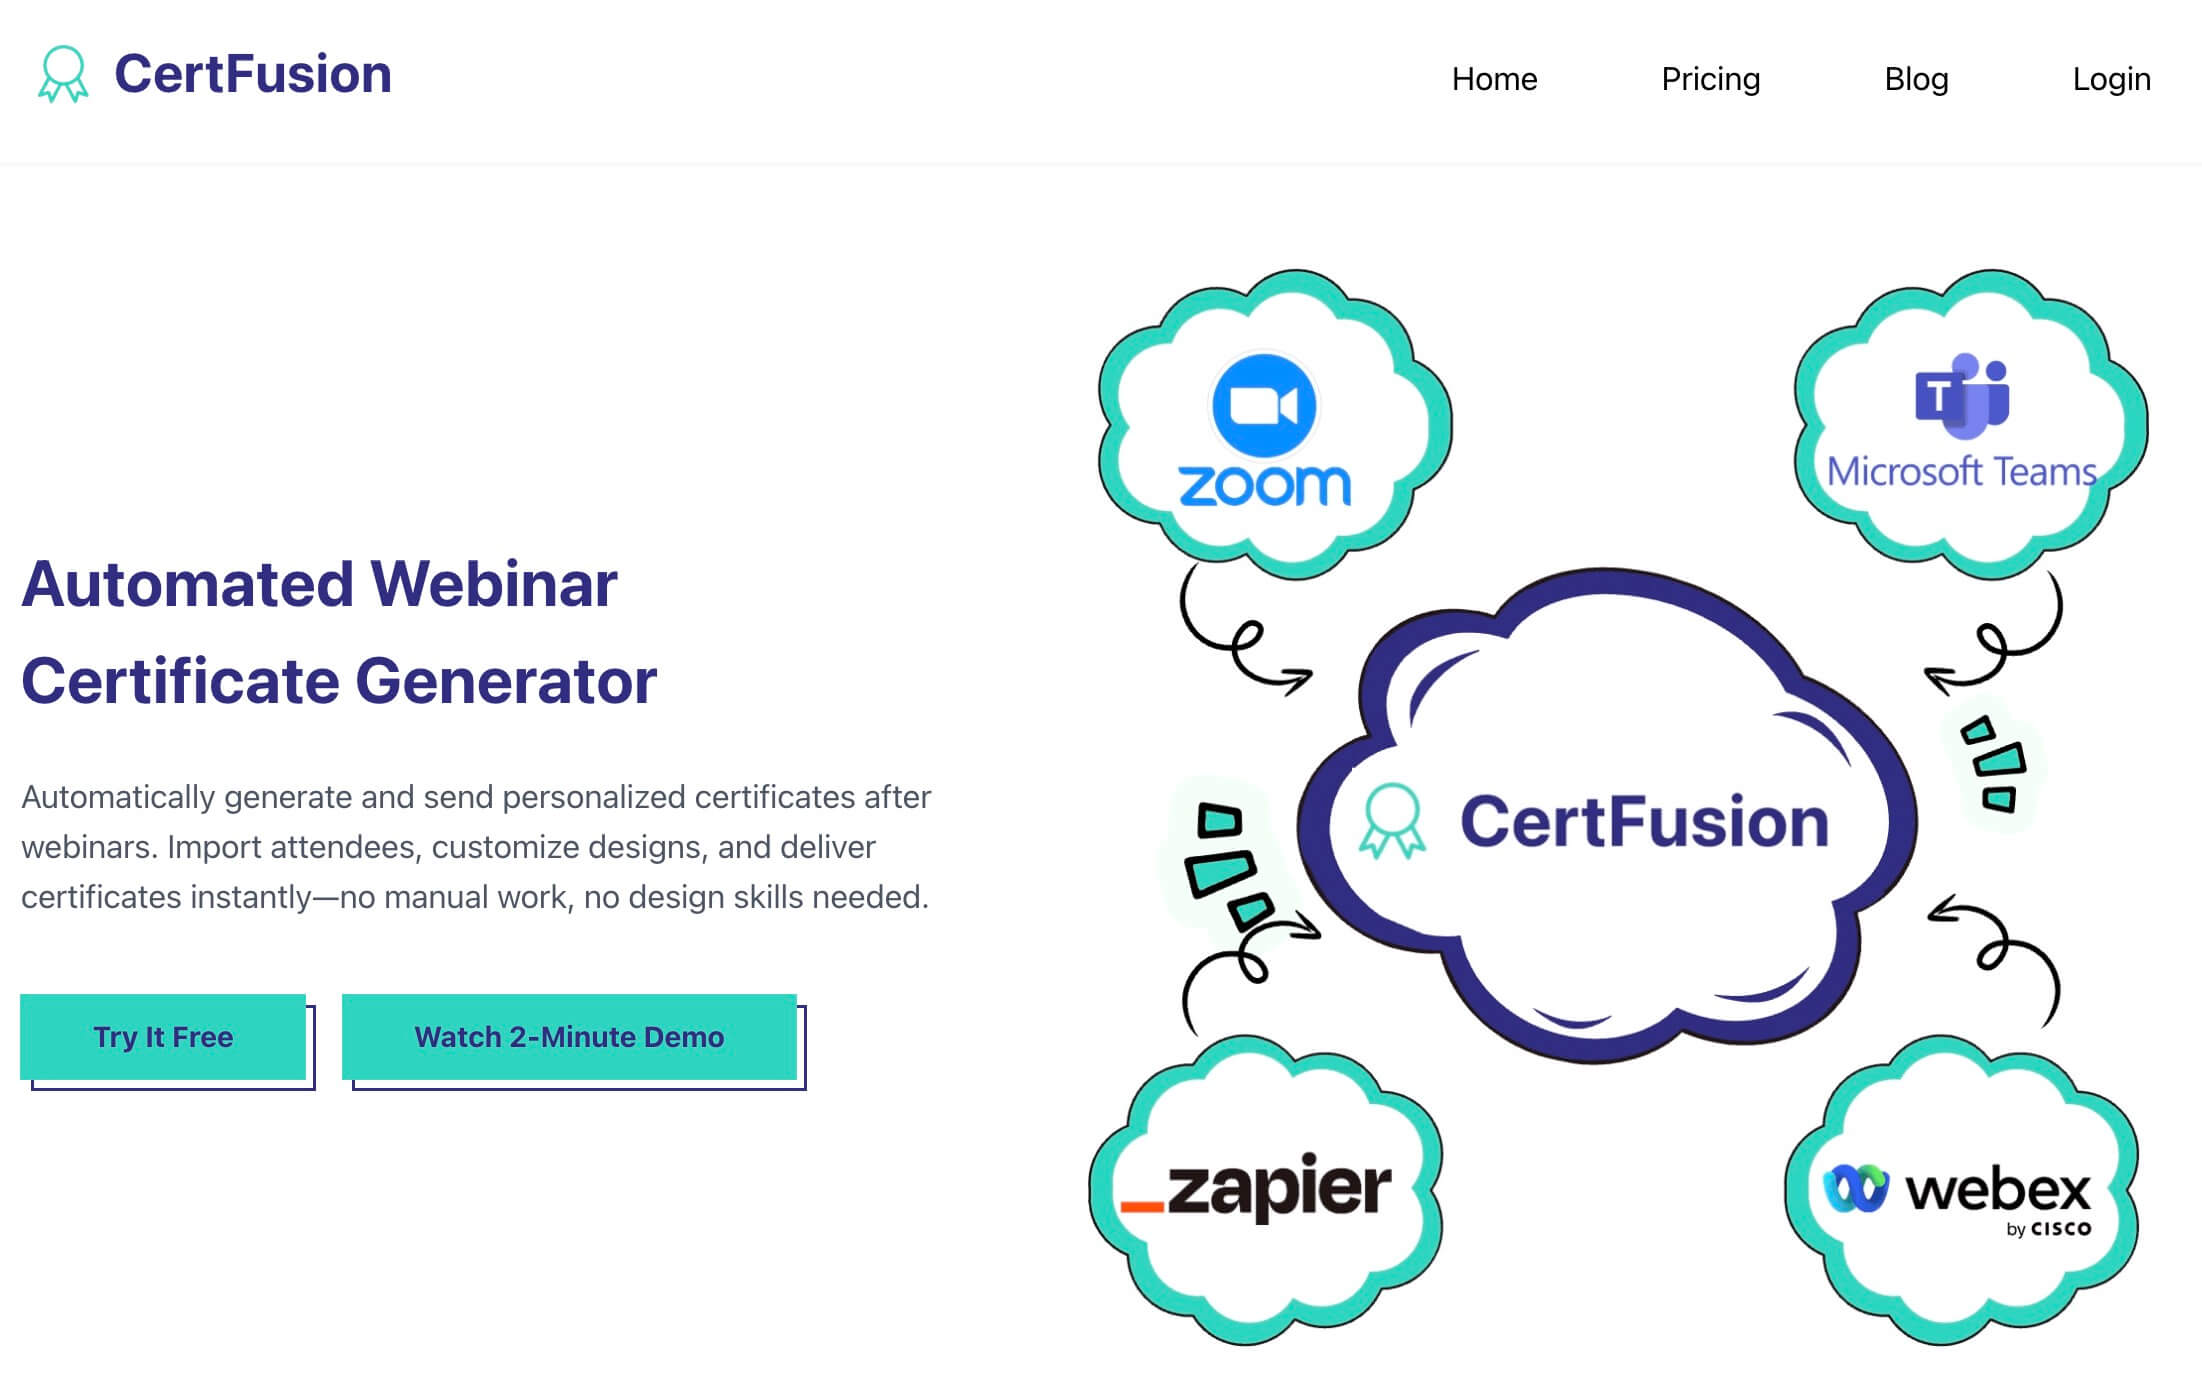
Instead, use an online tool like CertFusion that automates the process.
With CertFusion, you can:
- Import attendees from Zoom, Microsoft Teams, Webex, or forms
- Customize certificate templates (name, title, date, signature, etc.)
- Automatically send certificates via email
- Track delivery and verification
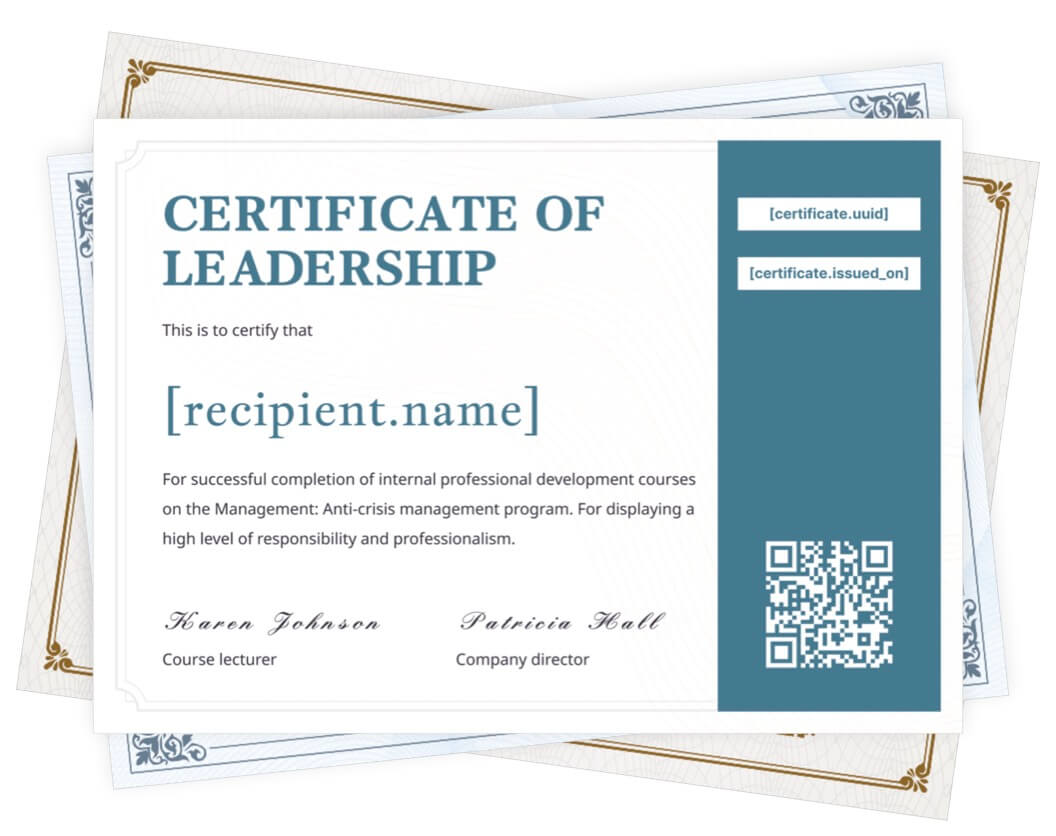
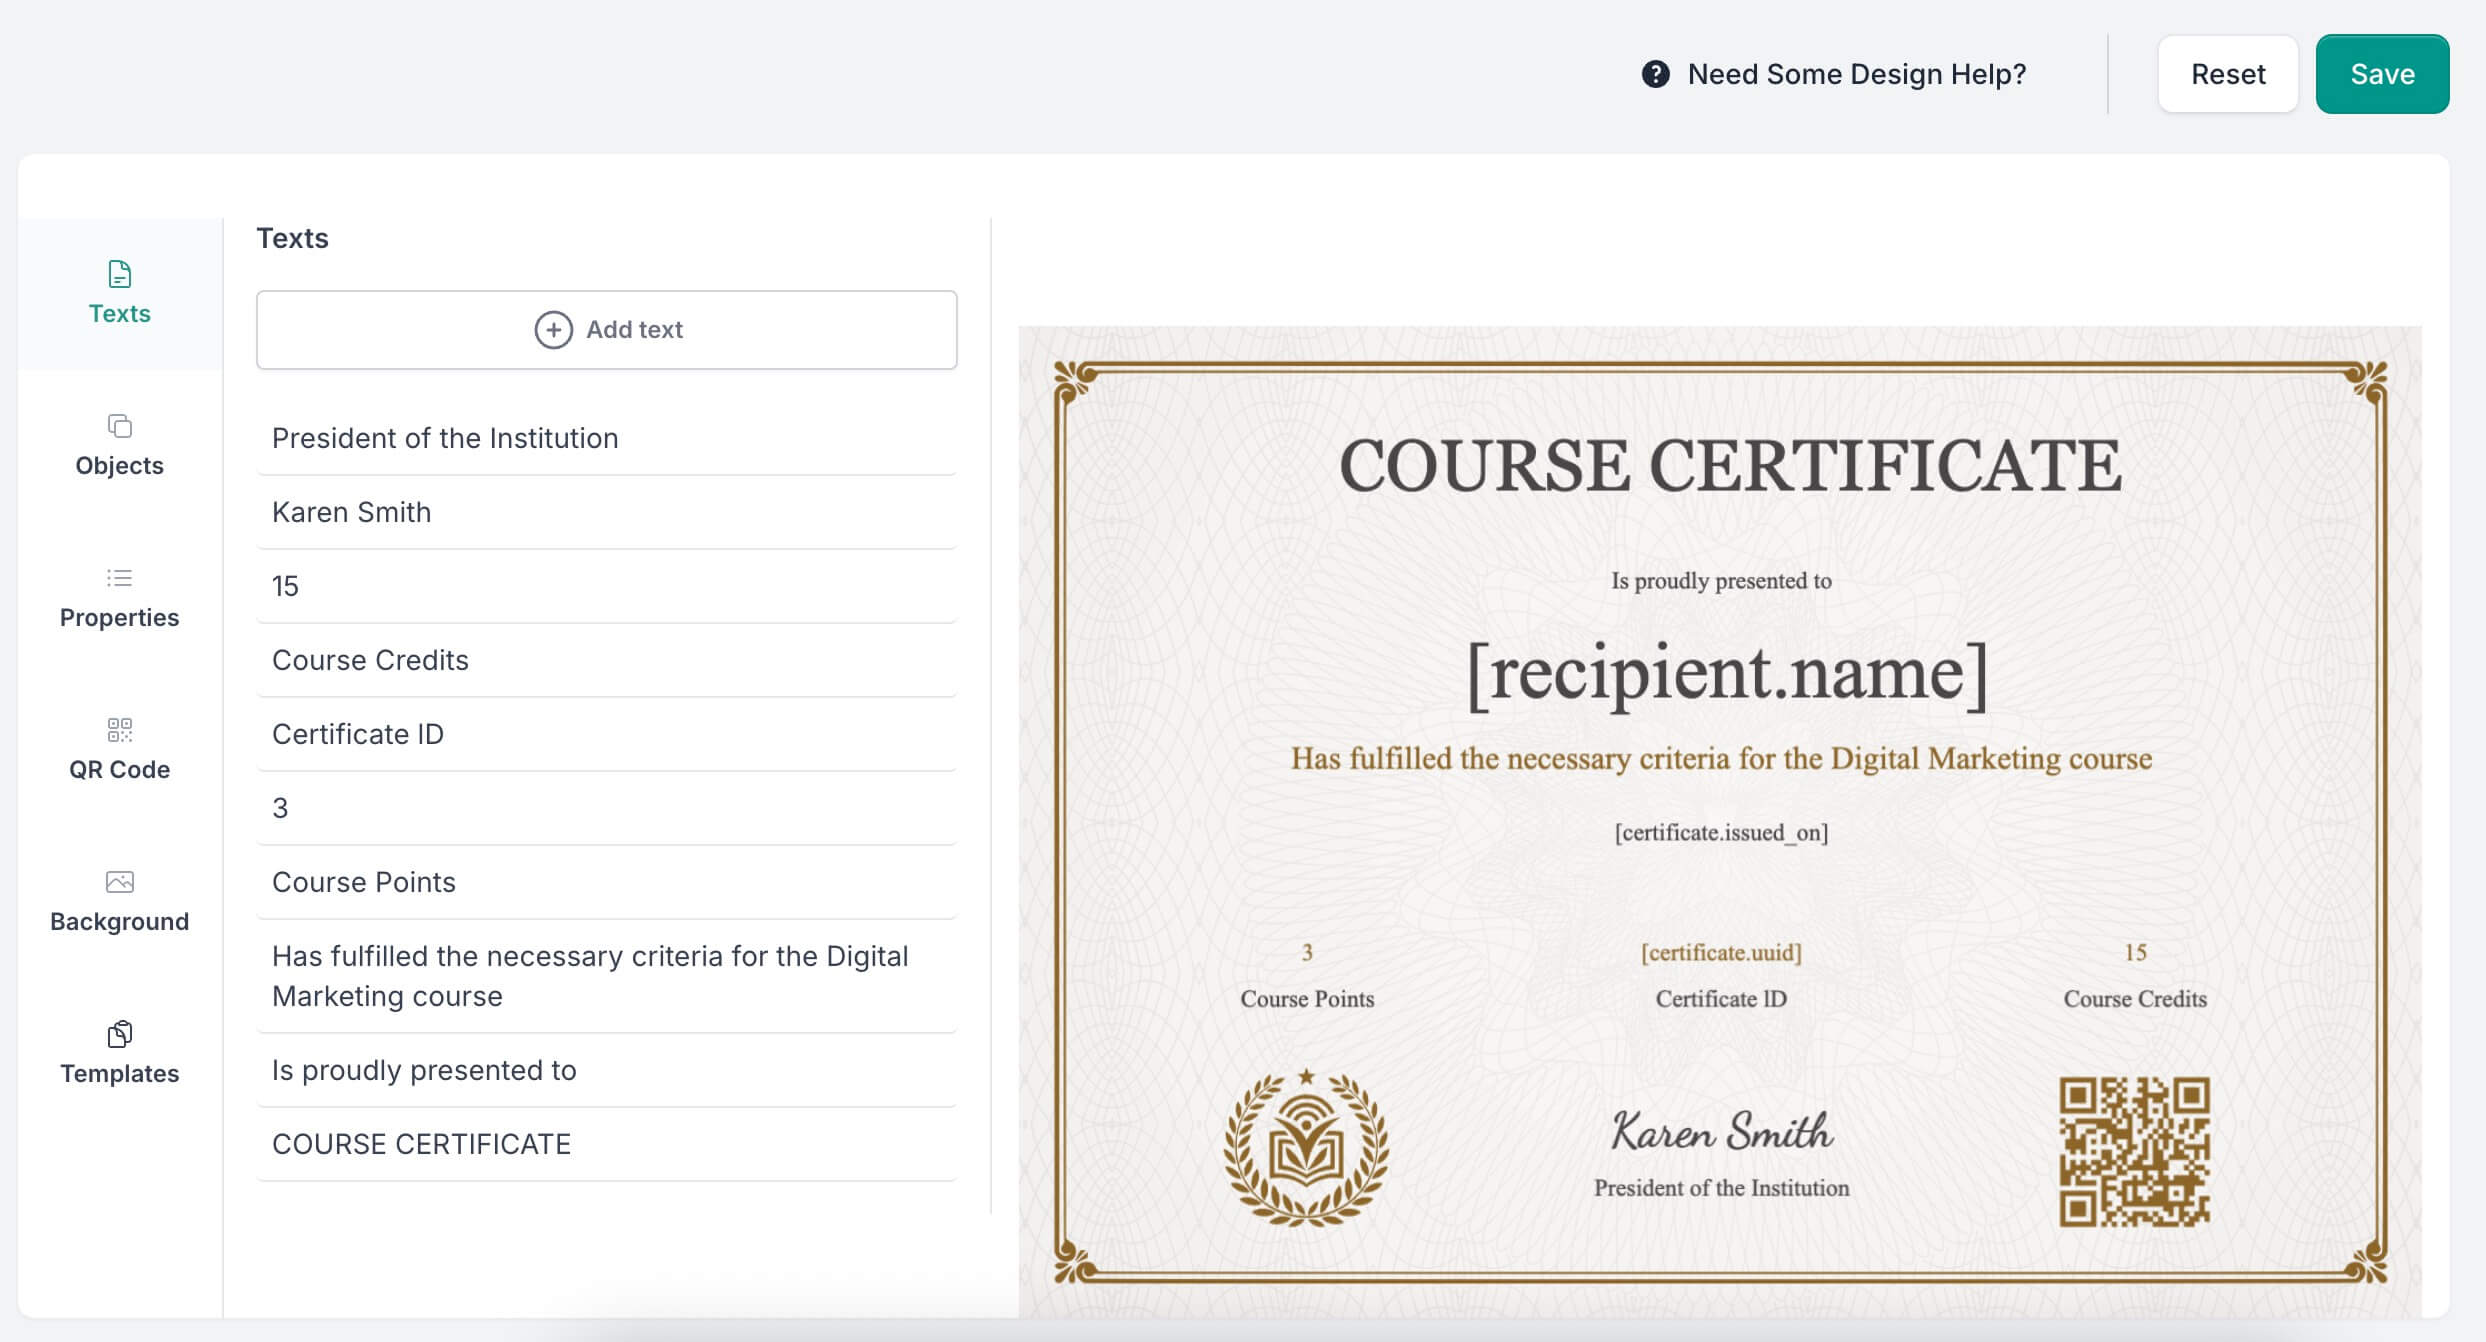
Step 2: Customize Your Certificate Template
Once you’ve signed up, choose a template or upload your own design.
Add your:
- Event title (e.g., “Marketing Masterclass: July 2025”)
- Host or organization name
- Certificate message (e.g., “This certifies that [Name] attended the webinar on…”)
- Logo and signature
CertFusion’s editor lets you drag and drop elements and preview certificates instantly.
Step 3: Import Attendee List
You can upload a CSV of names and emails, or integrate directly with your webinar platform.
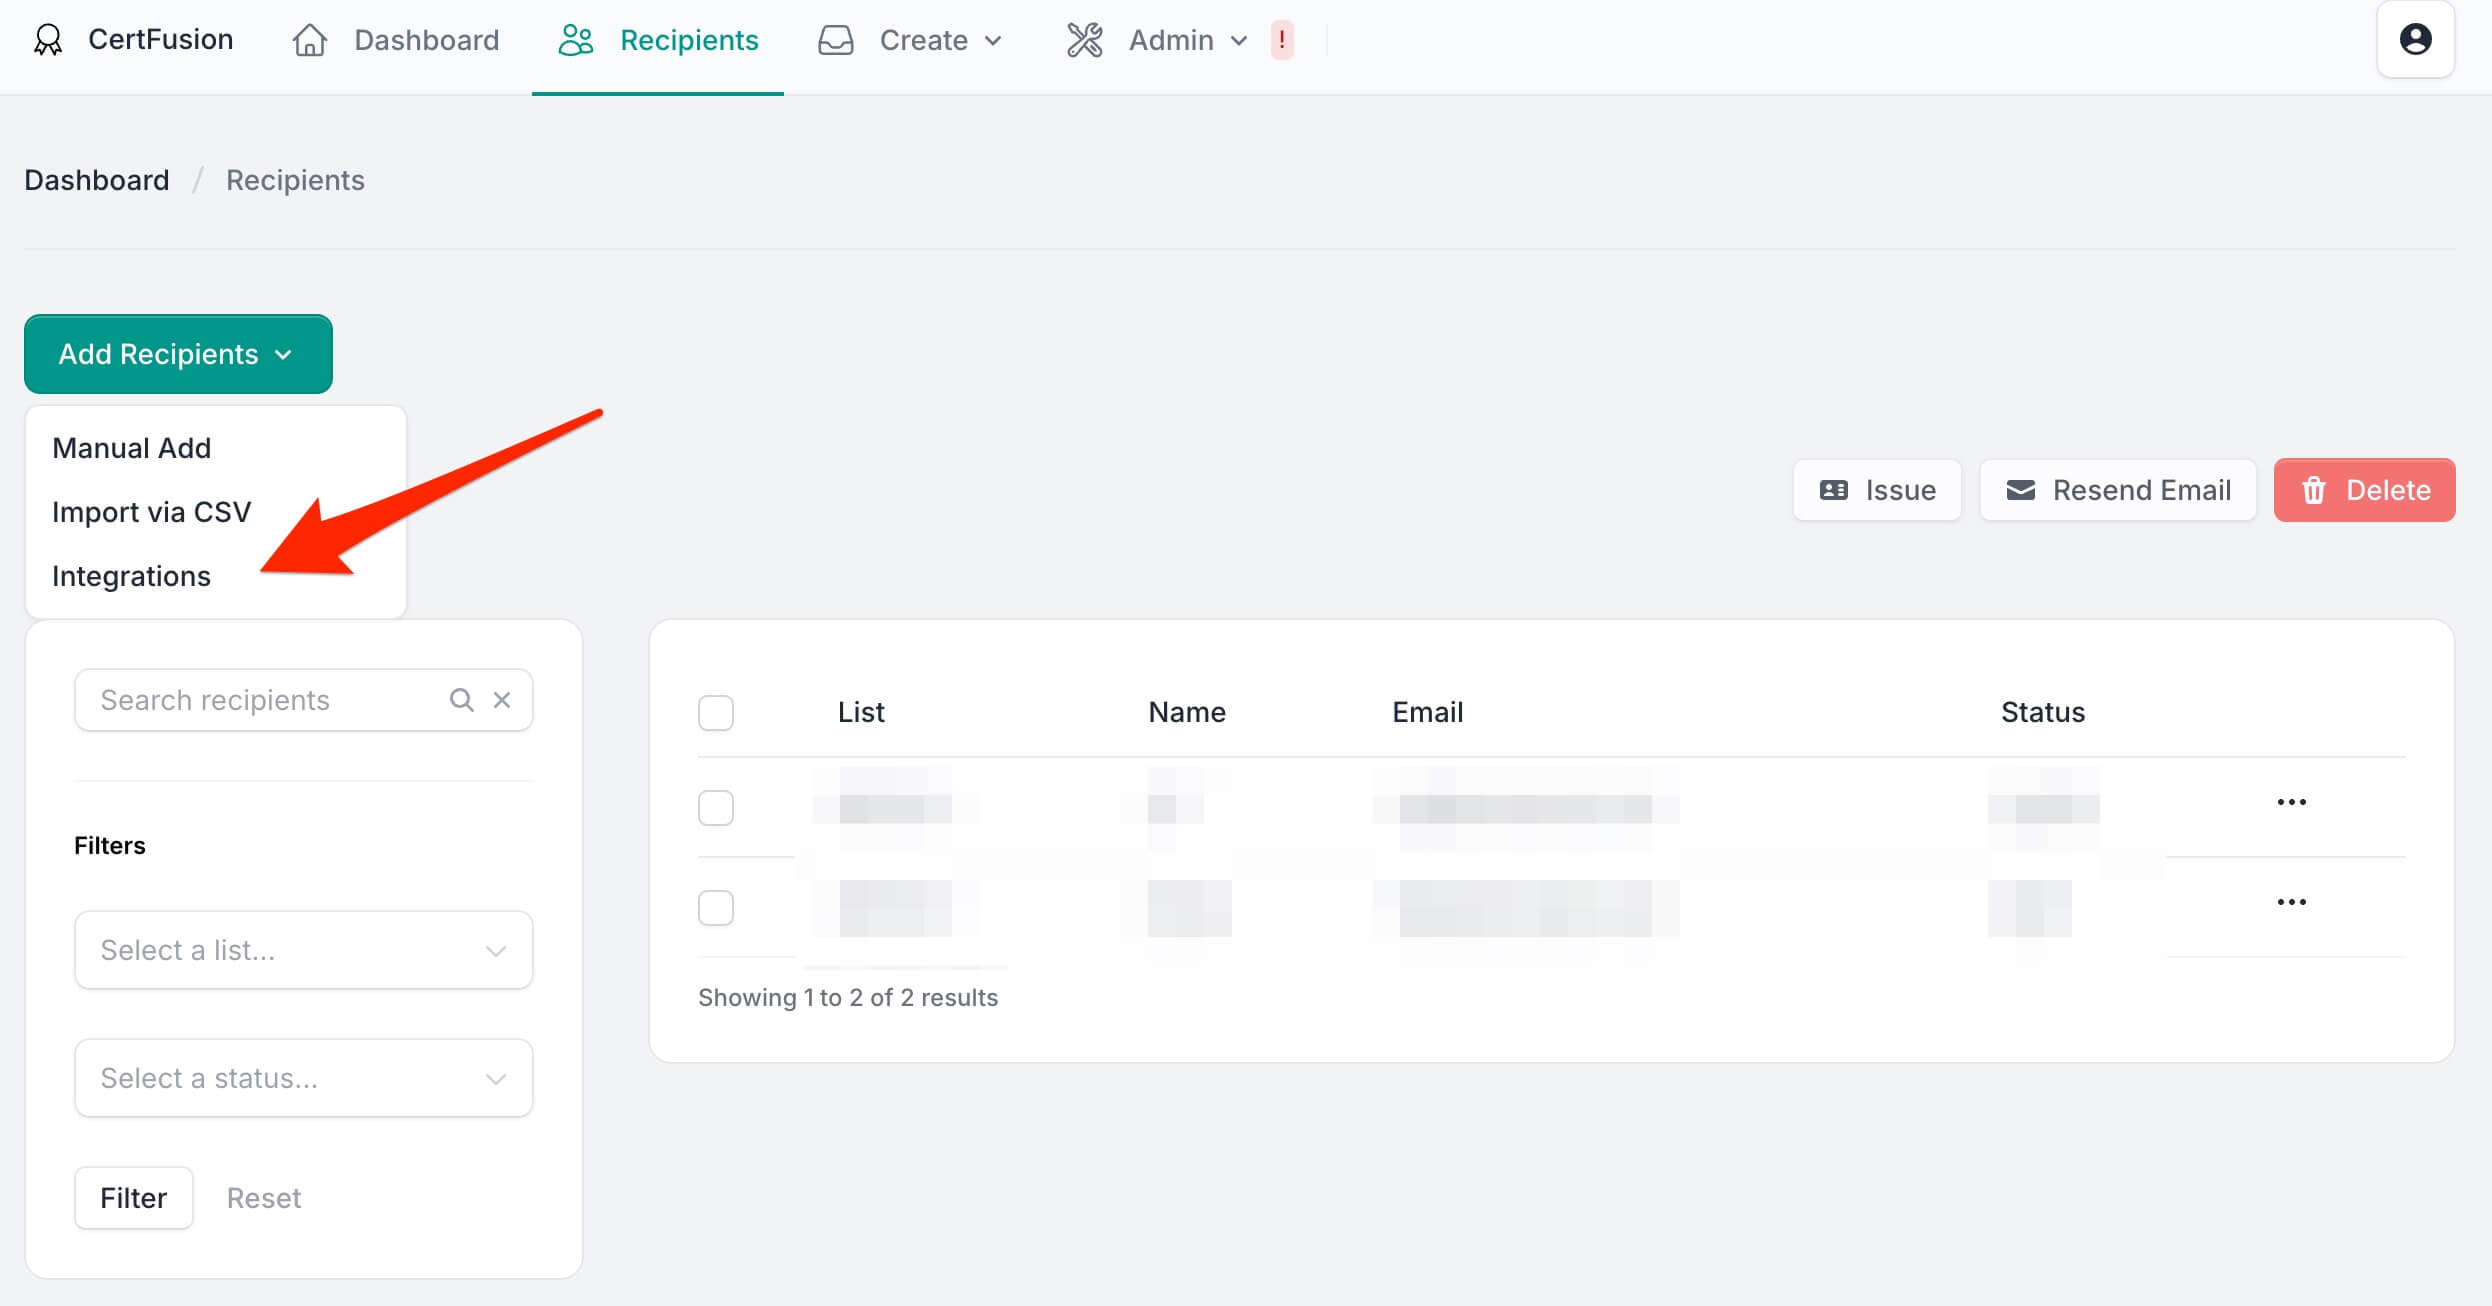
The system will auto-fill names into your template — no manual typing needed.
Step 4: Send or Schedule Certificates
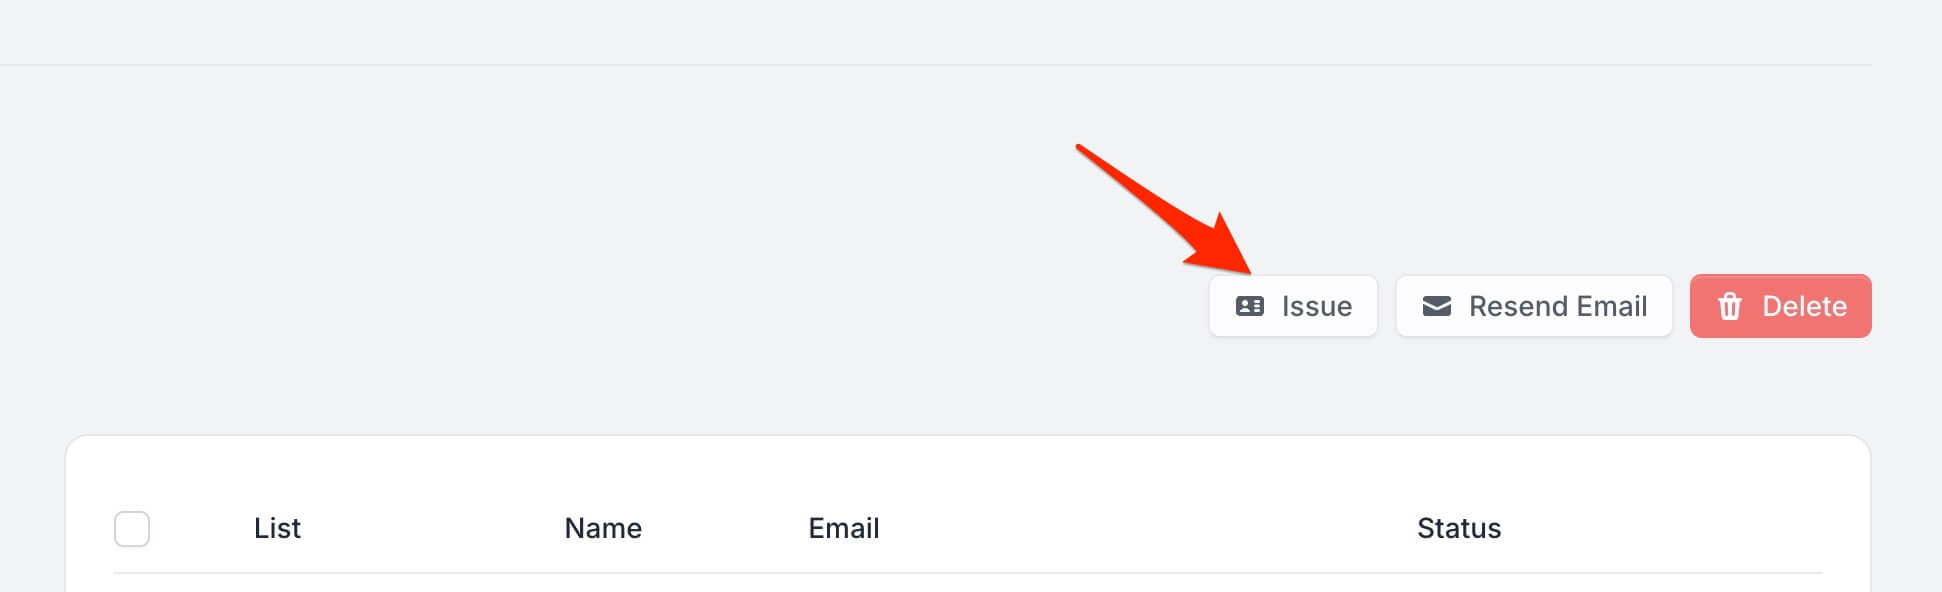
Once everything looks good, hit "Issue".
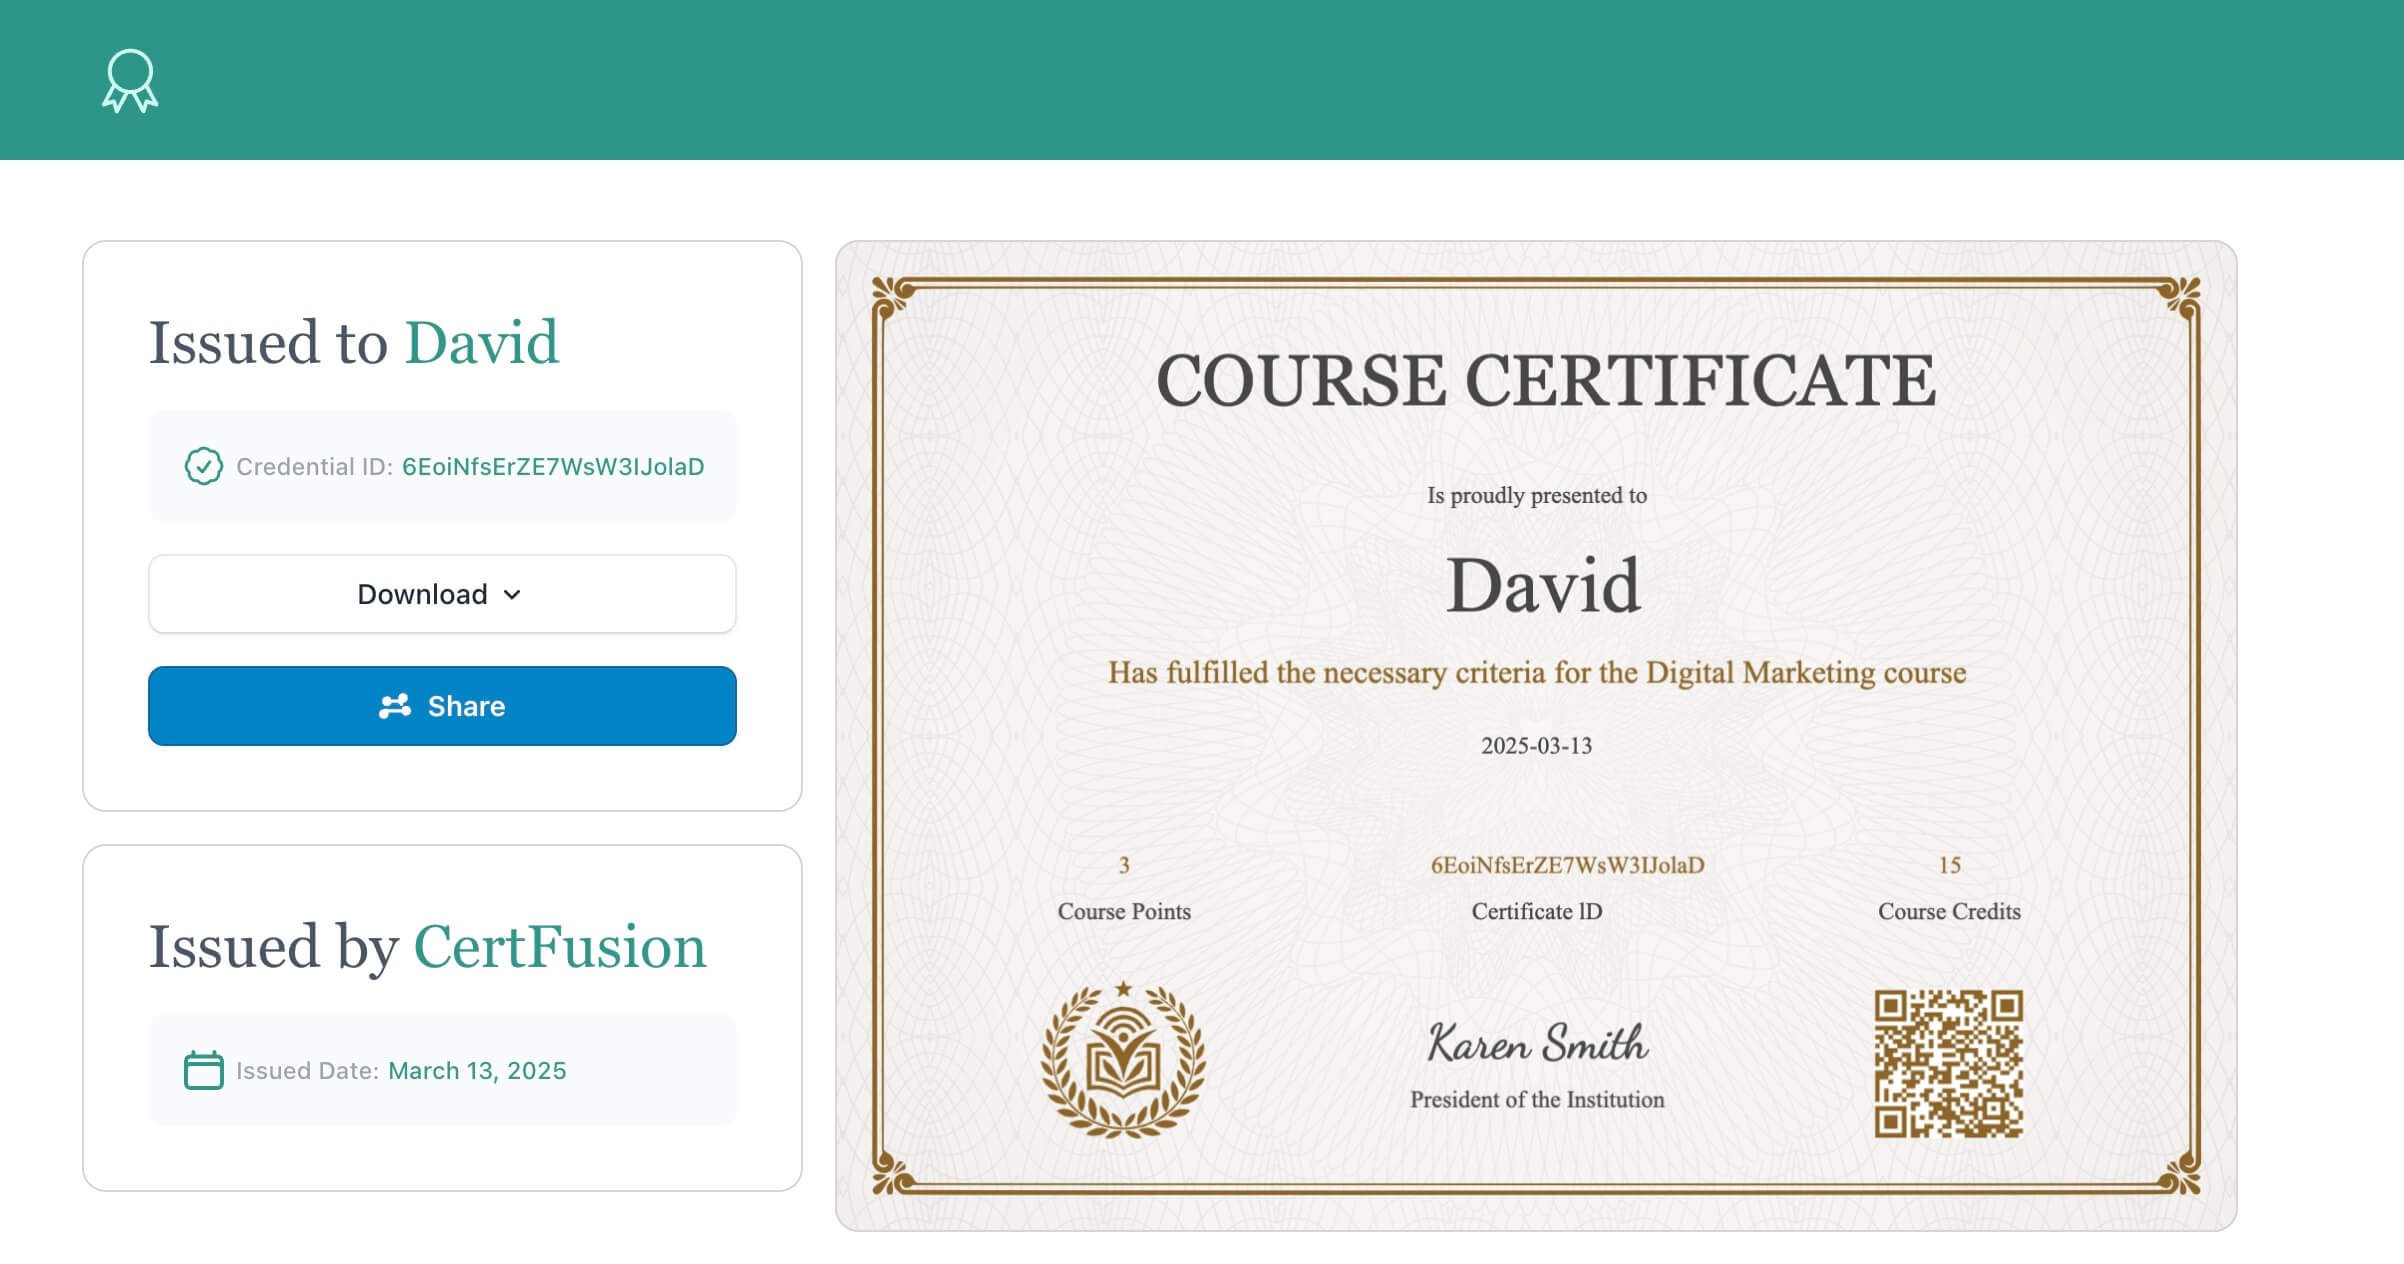
Each attendee will receive a personalized email with their downloadable certificate — either as a PDF or PNG. You can even enable a verification link so others can confirm authenticity.
Step 5: Track & Verify
Want to make your certificates easy to verify?
CertFusion lets you add a unique QR code to each certificate. When someone scans it, they’ll be taken to a secure verification page confirming the certificate's authenticity — perfect for employers, recruiters, or event partners.
Final Thoughts
Creating and sending webinar certificates doesn’t need to be manual, messy, or time-consuming. With the right tool, you can automate the entire workflow in minutes — and give your attendees something they’ll be proud to keep or share.
Ready to try it yourself?
Table of Contents
Related Articles
Discover more insights and stories that might interest you