How to Generate E-Certificate from Google Sheet
If you store participant data in Google Sheets, you can still use CertFusion to issue certificates — even without a direct integration. The simplest way is to export your sheet to CSV and upload it to CertFusion.
Follow this step-by-step guide on how to generate e-certificate from Google Sheet quickly and accurately.
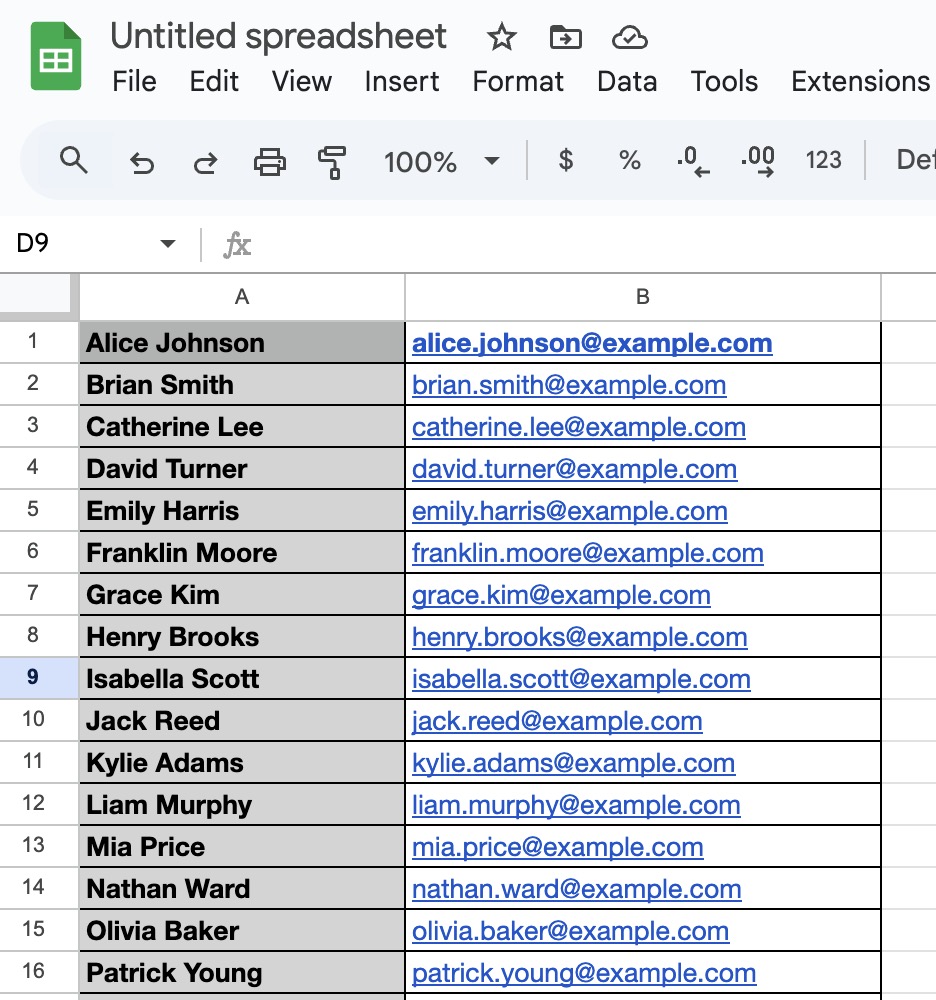
Step 1: Prepare Your Google Sheet
Before exporting, make sure your sheet is well-formatted:
-
Include at least these two columns:
- Name – the participant’s full name.
- Email – where the certificate will be sent.
-
(Optional) Add more columns for details you want to appear on the certificate, such as:
- Course Name
- Completion Date
- Training Hours
- Instructor Name
Tip: Keep column headers short and consistent. For example, use “Name” instead of “Full Name of Participant” to make mapping easier later.
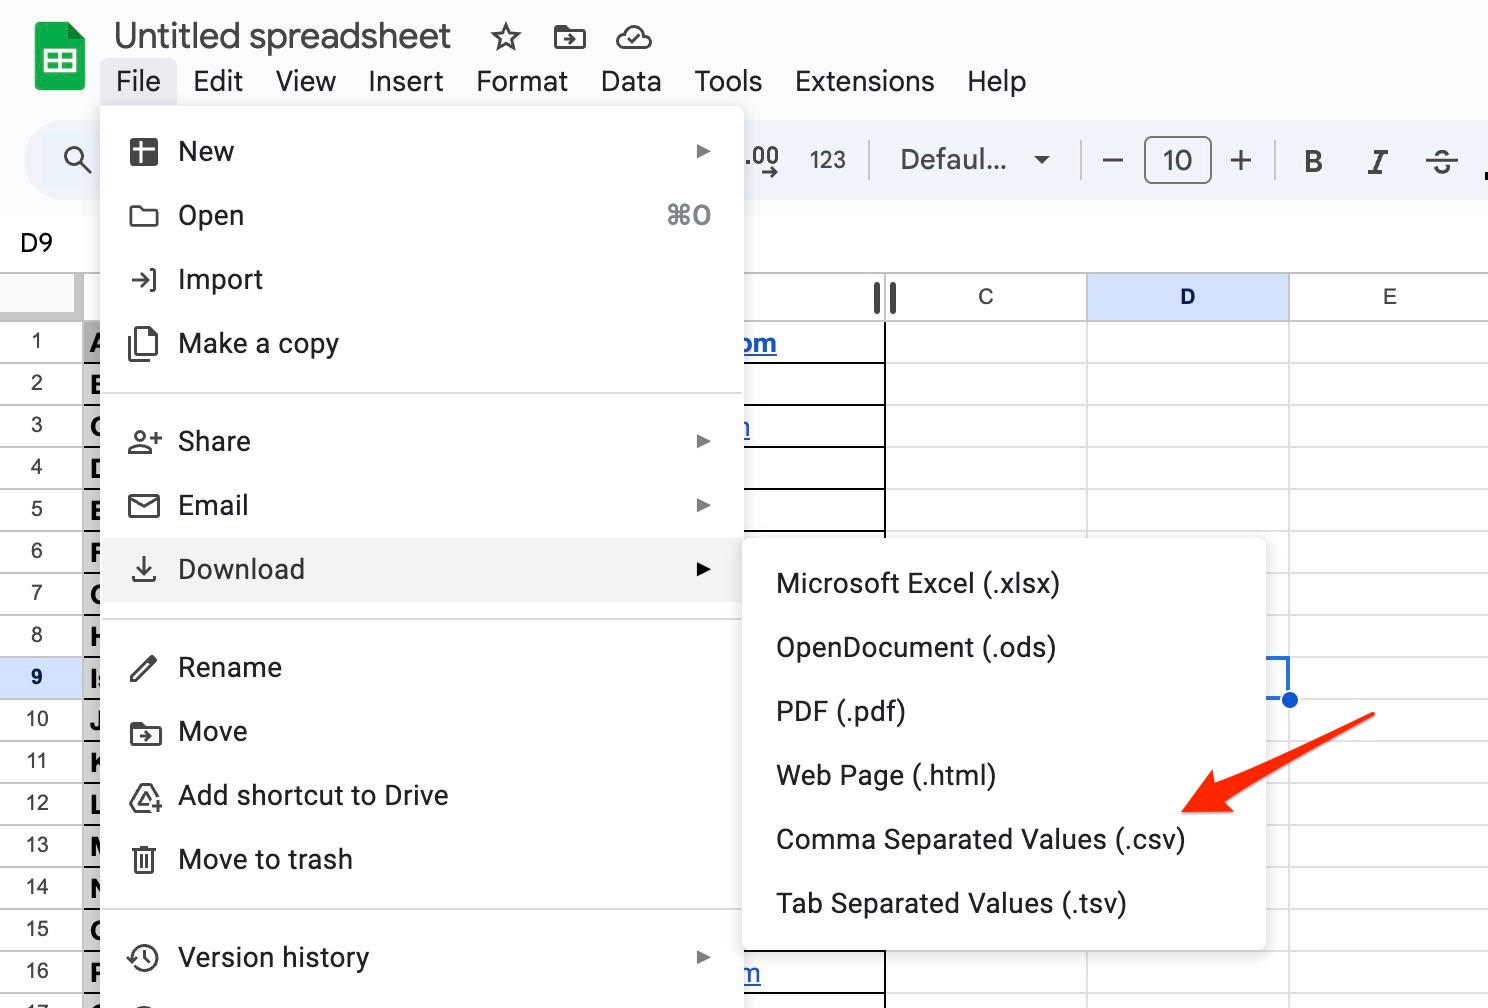
Step 2: Export the Sheet to CSV
- Open your Google Sheet.
- Click File → Download → Comma-separated values (.csv).
- Save the file to your computer — this will be the file you upload to CertFusion.
Best Practice: If you update your Google Sheet often, download a fresh CSV each time to make sure your participant data is up to date.
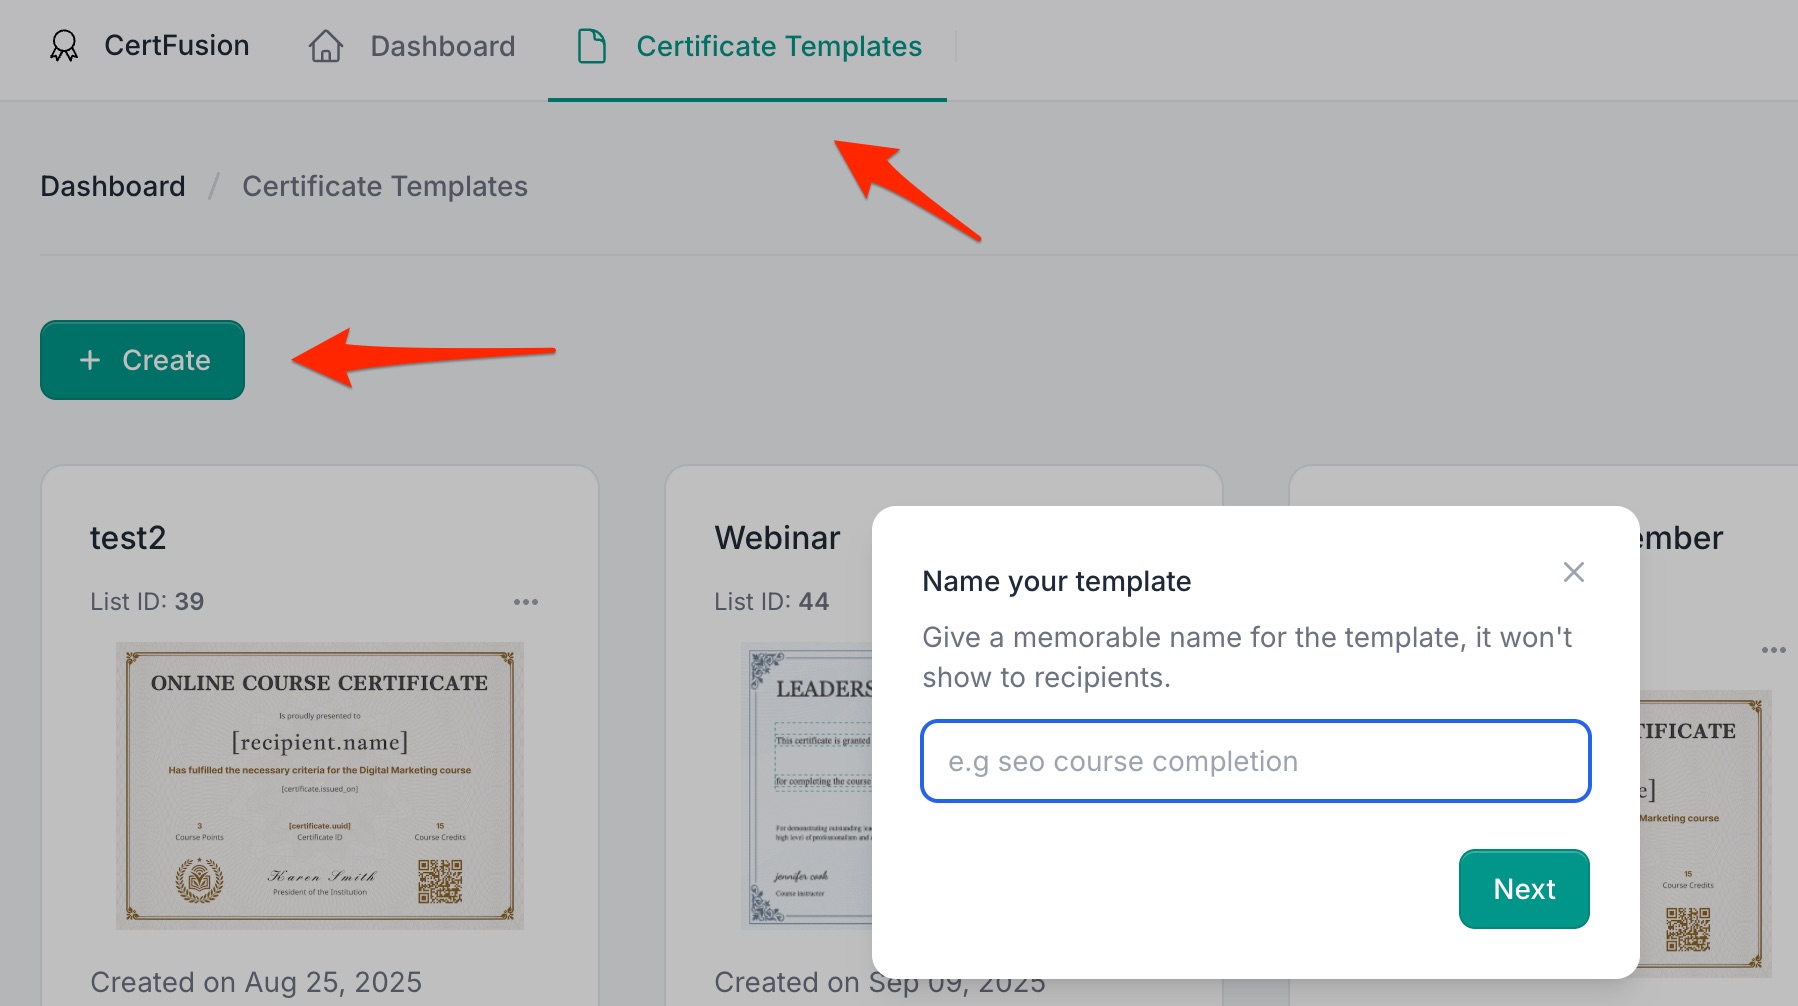
Step 3: Create or Select a Certificate Template
-
Log in to your CertFusion dashboard.
-
Go to Certificate Templates and either:
- Select an existing template, or
- Click Create and design a new one using the drag-and-drop editor.
-
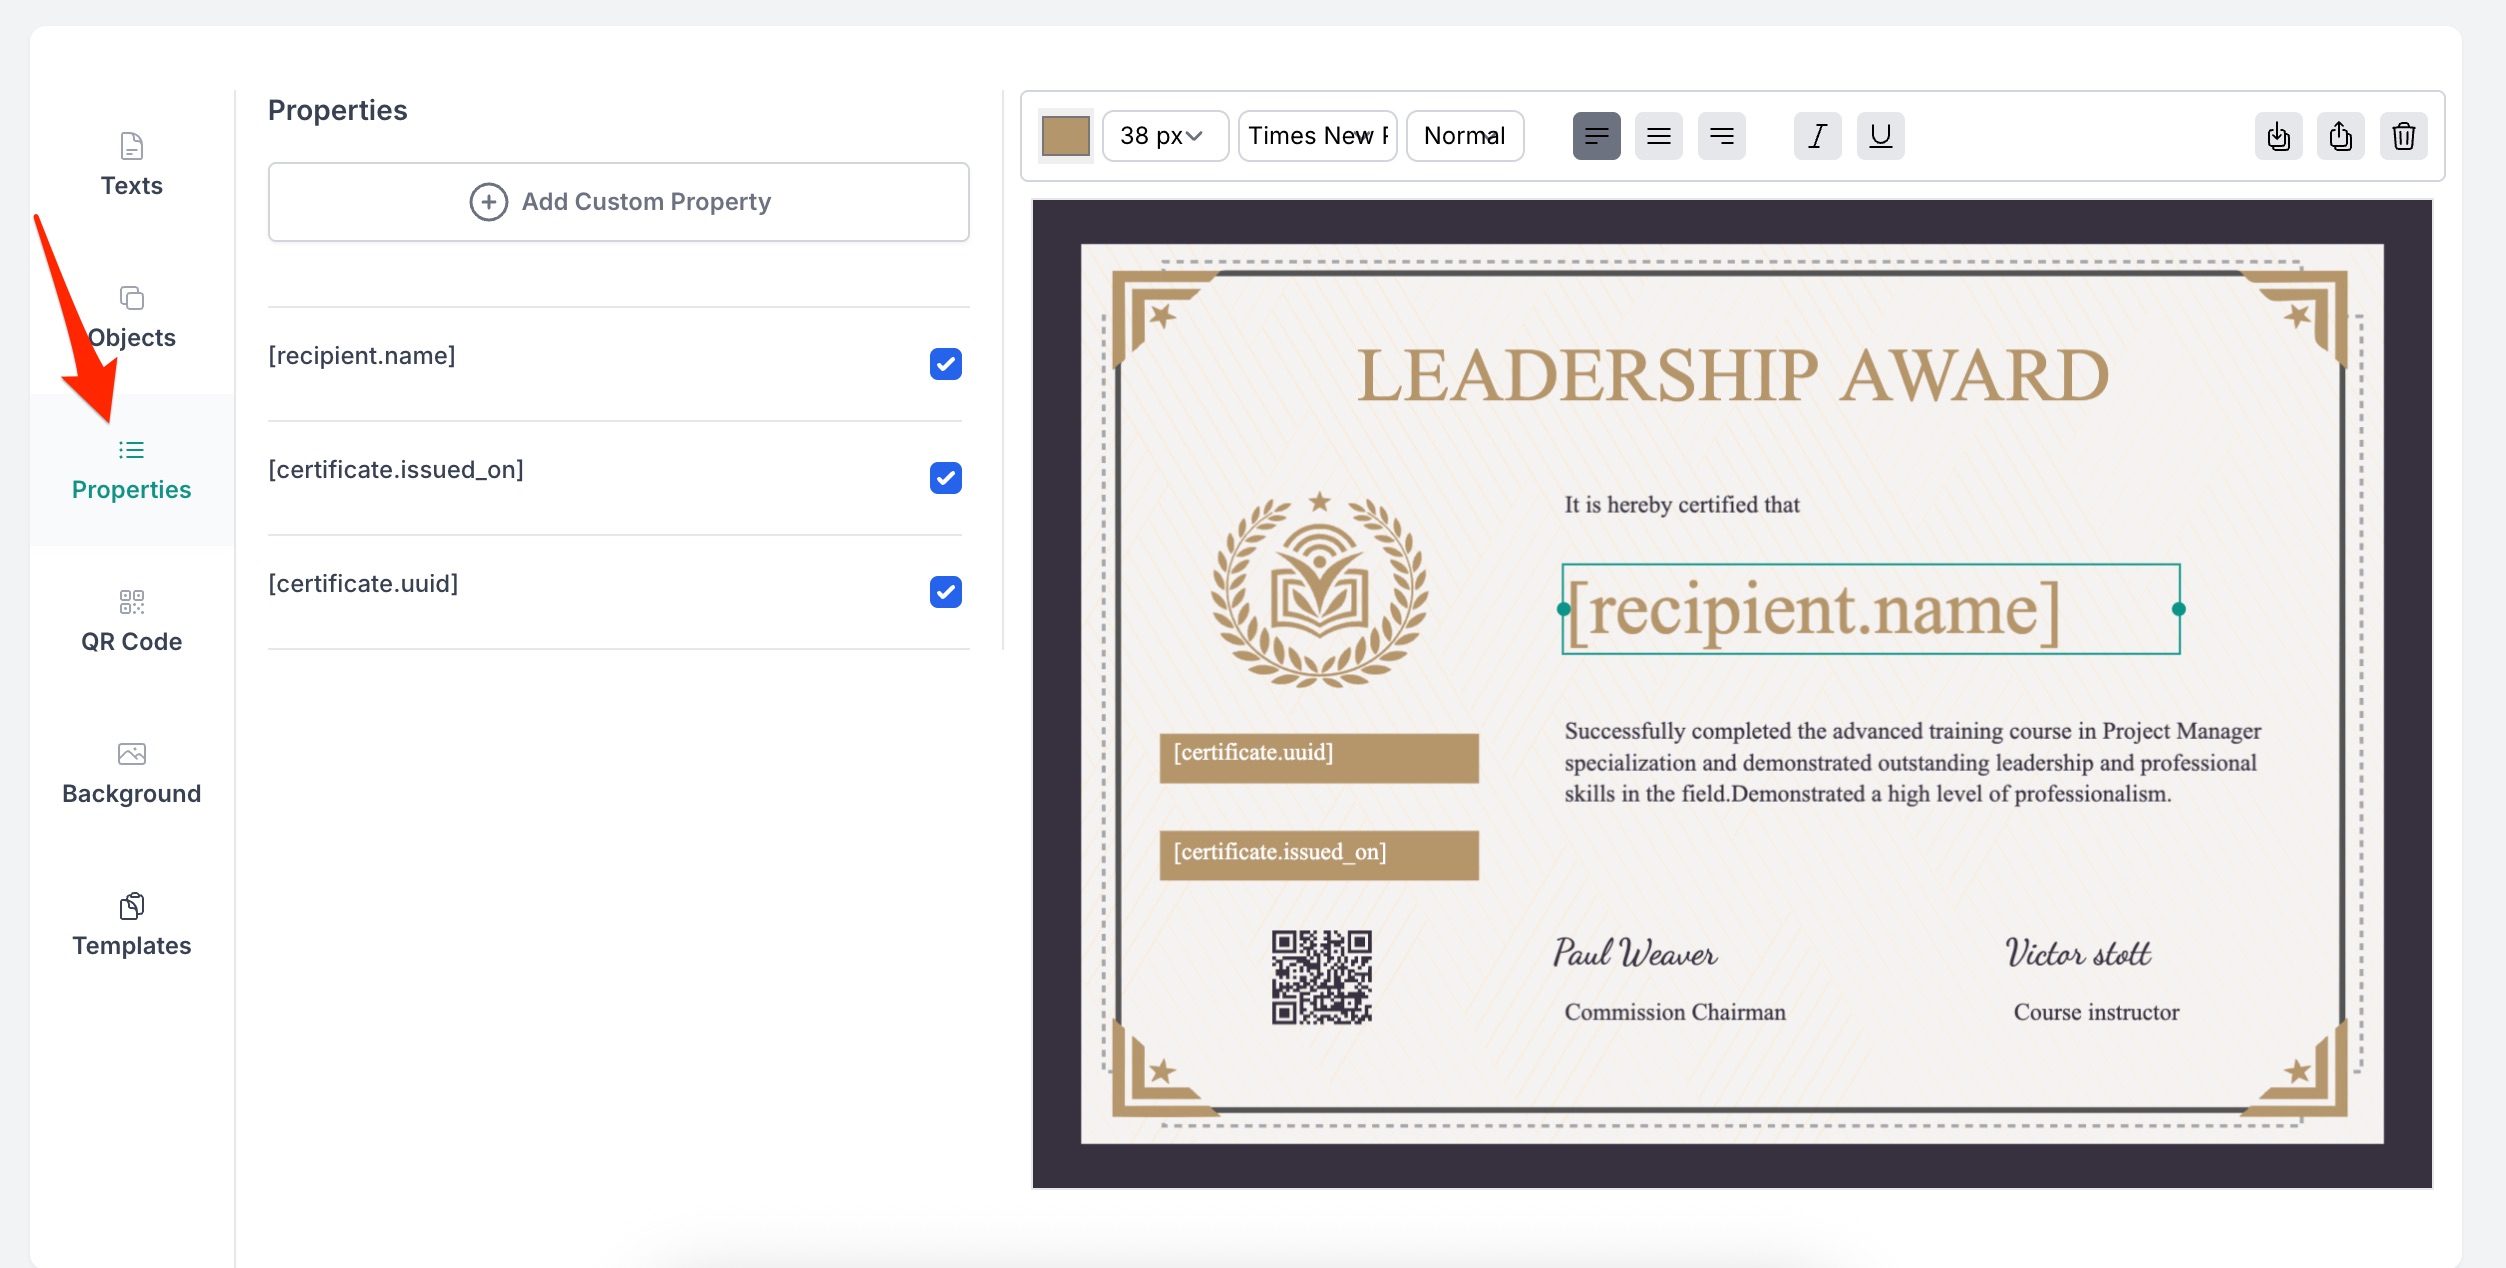
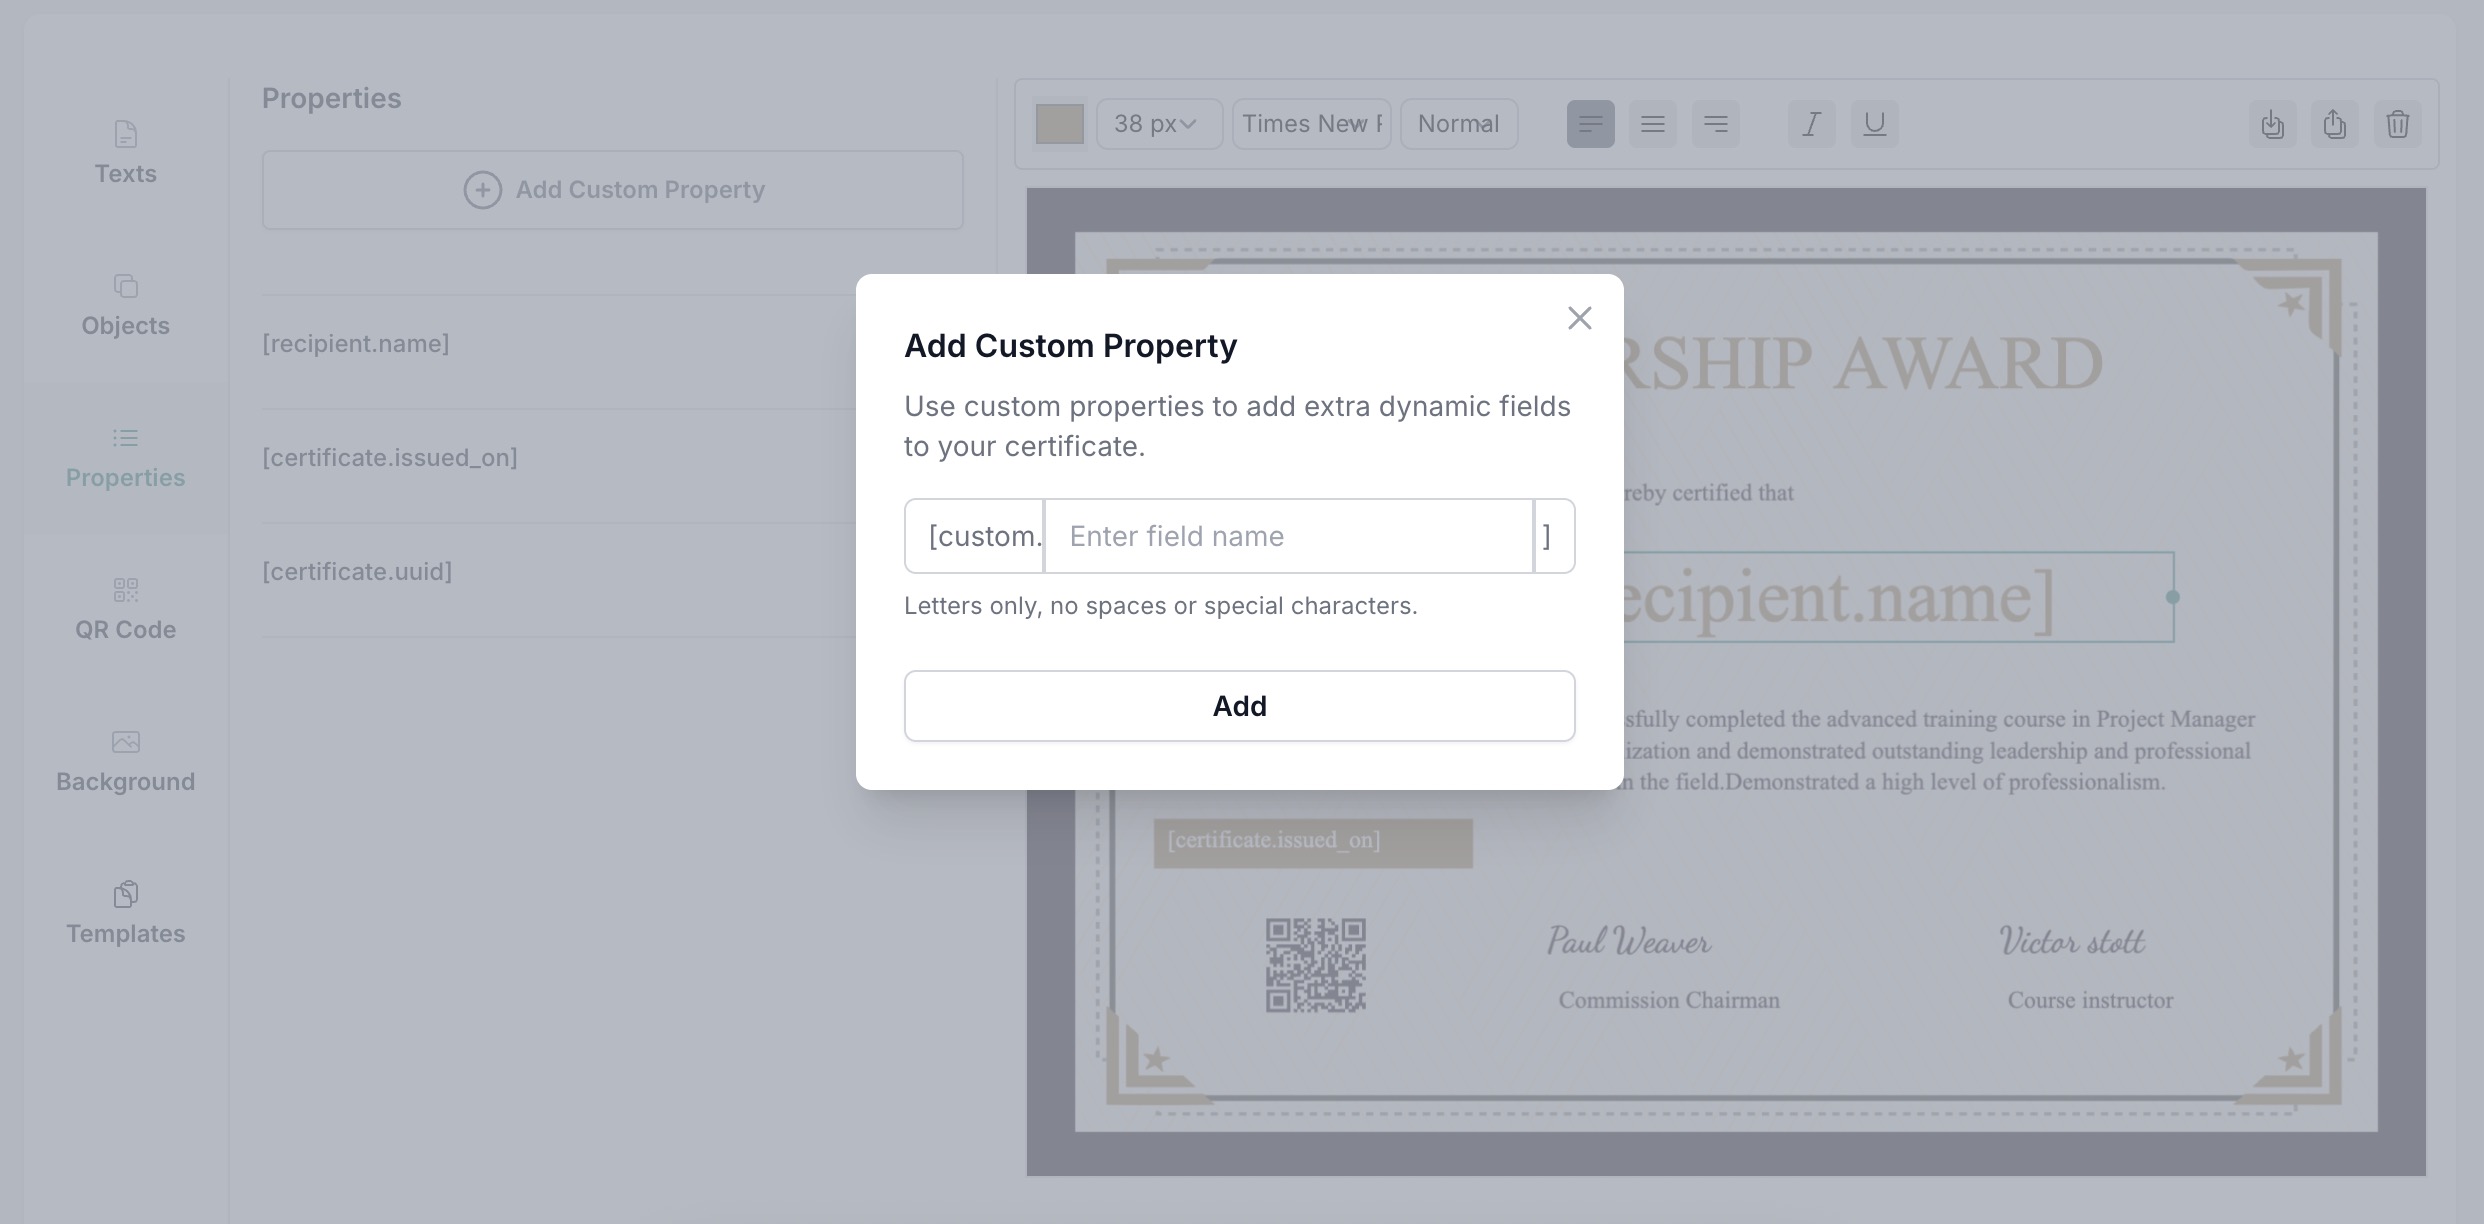
Add dynamic fields so each certificate is personalized automatically. CertFusion supports:
- Recipient Name – will be filled using the “Name” column.
- Issued Date – auto-filled on generation.
- Certificate UUID – a unique ID for verification.
-
(Optional) Add Custom Fields for any extra data you want from the Google Sheet.
Step 4: Upload the CSV File
-
Go to Recipients in your dashboard.
-
Click Import CSV and select the file you exported.
-
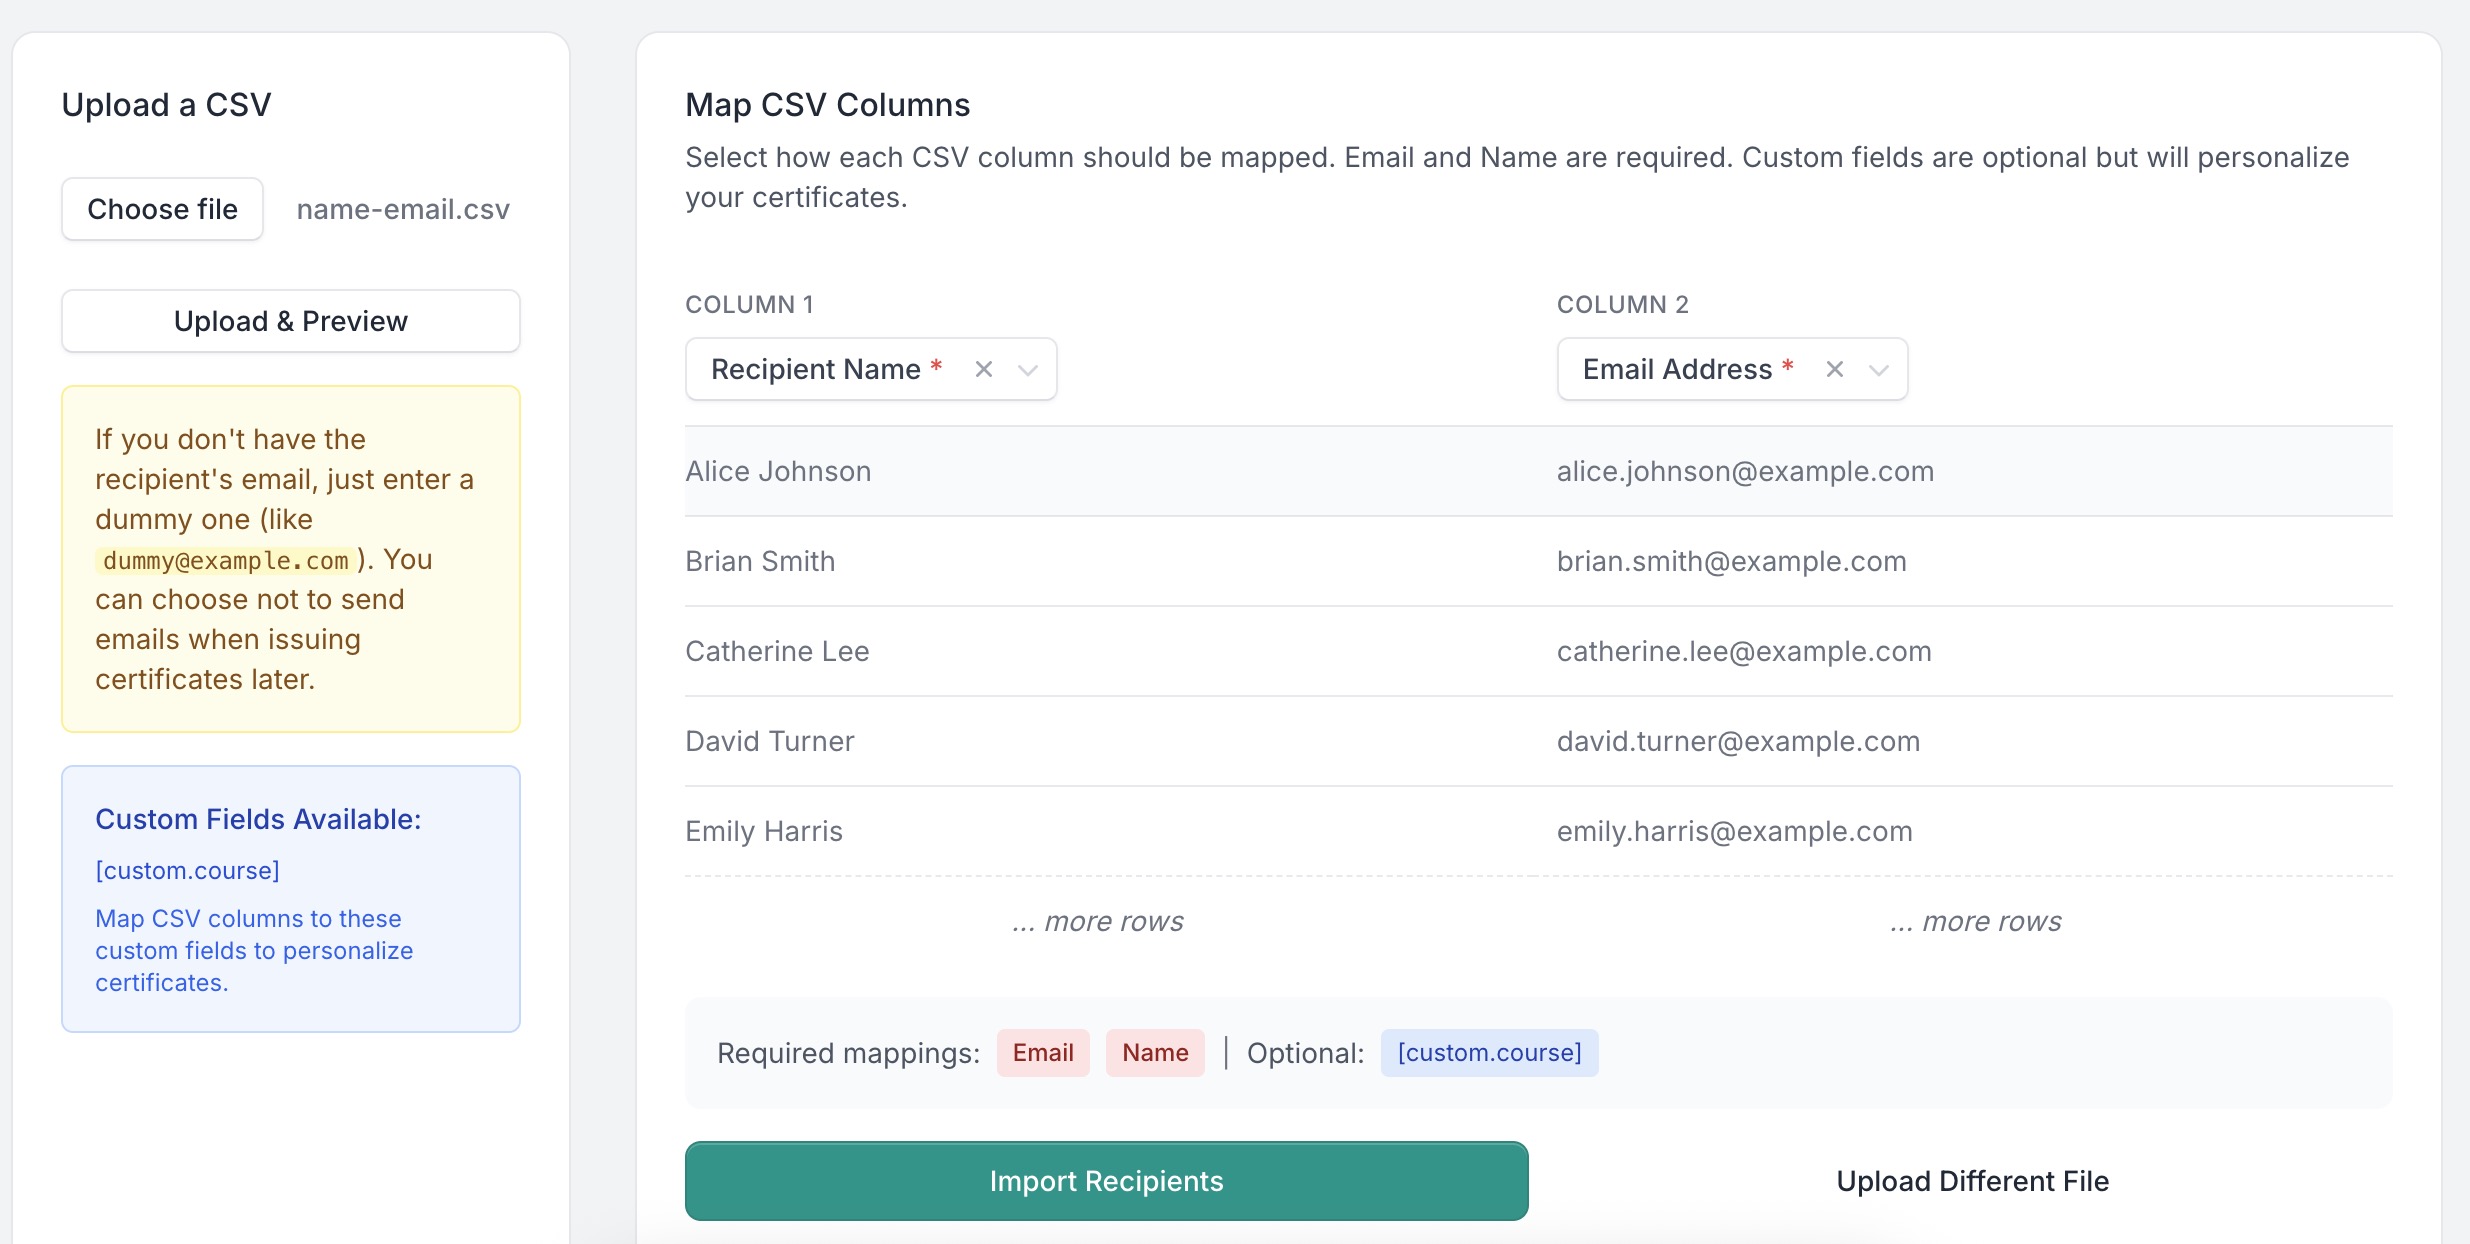
Map your columns to the correct certificate fields:
- Name → Recipient Name
- Email → Email Address
- Any other columns → Custom Fields you added in your template
-
Preview the mapped data to ensure everything looks correct.
-
Click Import Recipients to import the csv content.
Step 5: Issue Certificates
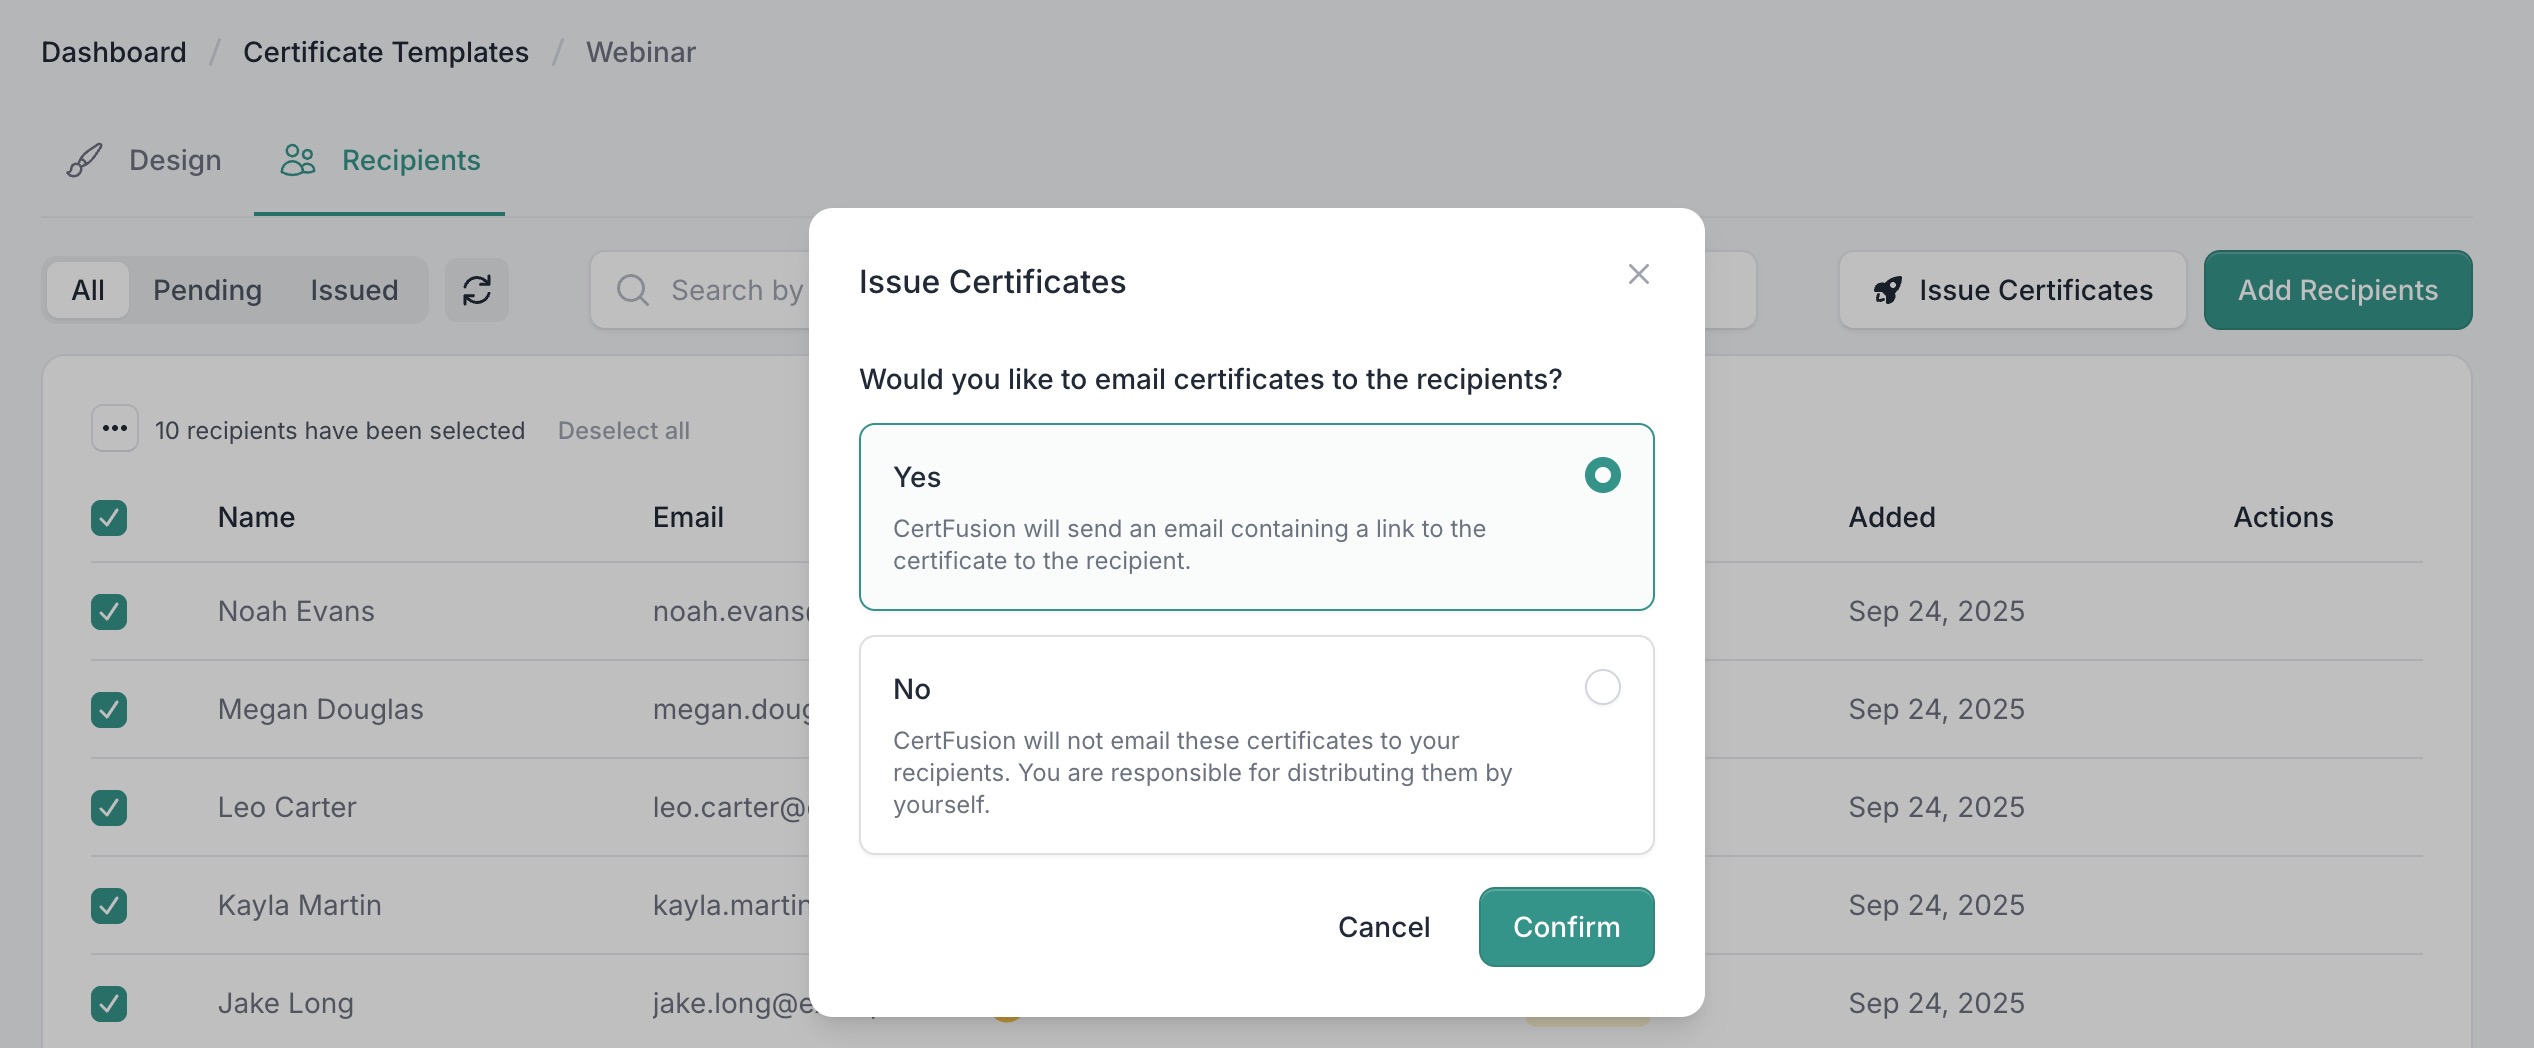
Once the participants are imported:
- Select all recipients you want to issue certificates to.
- Click Issue Certificates.
CertFusion will generate a unique certificate for each participant, filling in:
- Recipient Name from your sheet
- Issued Date automatically
- Certificate UUID for secure verification
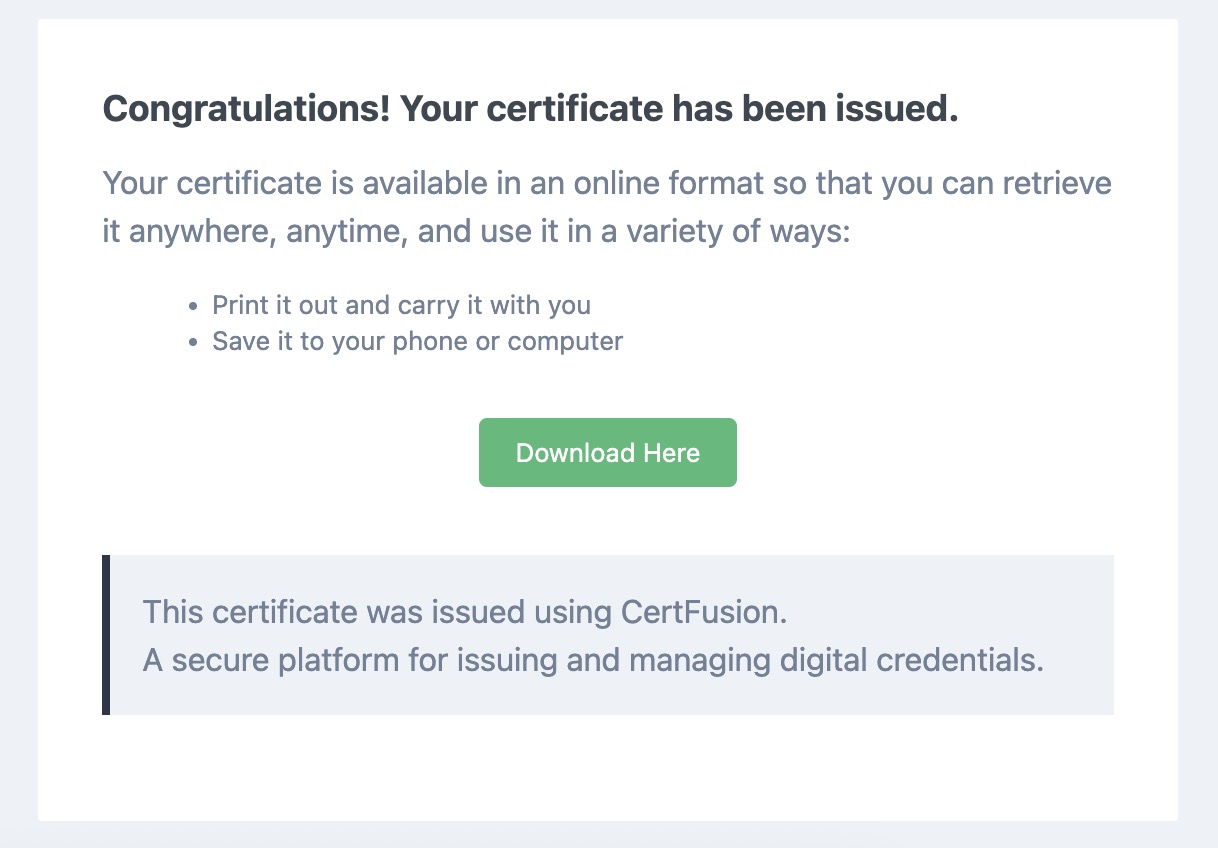
Each participant will then receive an email containing:
- A unique link to view their certificate online
- Options to download the PDF
- A way to verify authenticity directly on the hosted verification page
Step 6: Track & Resend (Optional)
From the Recipients page, you can:
- Check delivery status (see who opened/downloaded their certificate)
- Resend emails if a participant missed theirs
- Export recipient data for record-keeping
Why Use CertFusion with Google Sheets
- Fast: Turn a spreadsheet into professional certificates in minutes.
- Dynamic: Automatically fills in recipient name, issued date, and unique certificate UUID.
- Flexible: Map any extra columns to custom fields for richer certificates.
- Reliable: Scales to thousands of participants without manual effort.
Next Steps
Now you know how to generate e-certificate from Google Sheet with CertFusion.
📌 Pro Tip: Keep a “Certificate Status” column in your Google Sheet so you know which rows you’ve already uploaded, helping you avoid duplicate sends.
👉 Log in to CertFusion and try uploading your first sheet today — you’ll generate certificates for your entire list in just a few clicks.
Table of Contents
Related Articles
Discover more insights and stories that might interest you