How to Create a Certificate (Step-by-Step Guide)
A certificate is an effective way to acknowledge progress, recognize skills, and motivate learners. Whether you're giving awards to students, employees, course participants, or event attendees, this guide shows you exactly how to create a certificate step-by-step.
Throughout the guide, you'll find image placeholders — simply replace them with your final visuals.
Step-by-Step Guide: How to Create a Certificate
Step 1: Choose Your Format (Word, Google Docs, Canva, or Online Tool)
Start by selecting where you'll design the certificate.
Common options:
- Microsoft Word – simple and printable
- Google Docs – collaborative editing
- Canva – easy drag-and-drop design
- CertFusion – automatic certificate generation with IDs and QR codes

Step 2: Select a Layout or Template
Choosing a template saves time and ensures a professional look. Pick a style that matches your purpose:
- Classic (borders, serif fonts)
- Modern (bold fonts, color blocks)
- Minimal (white space, clean lines)
- Academic (seals, ribbons, formal elements)
- Corporate (neutral tones, structured layout)

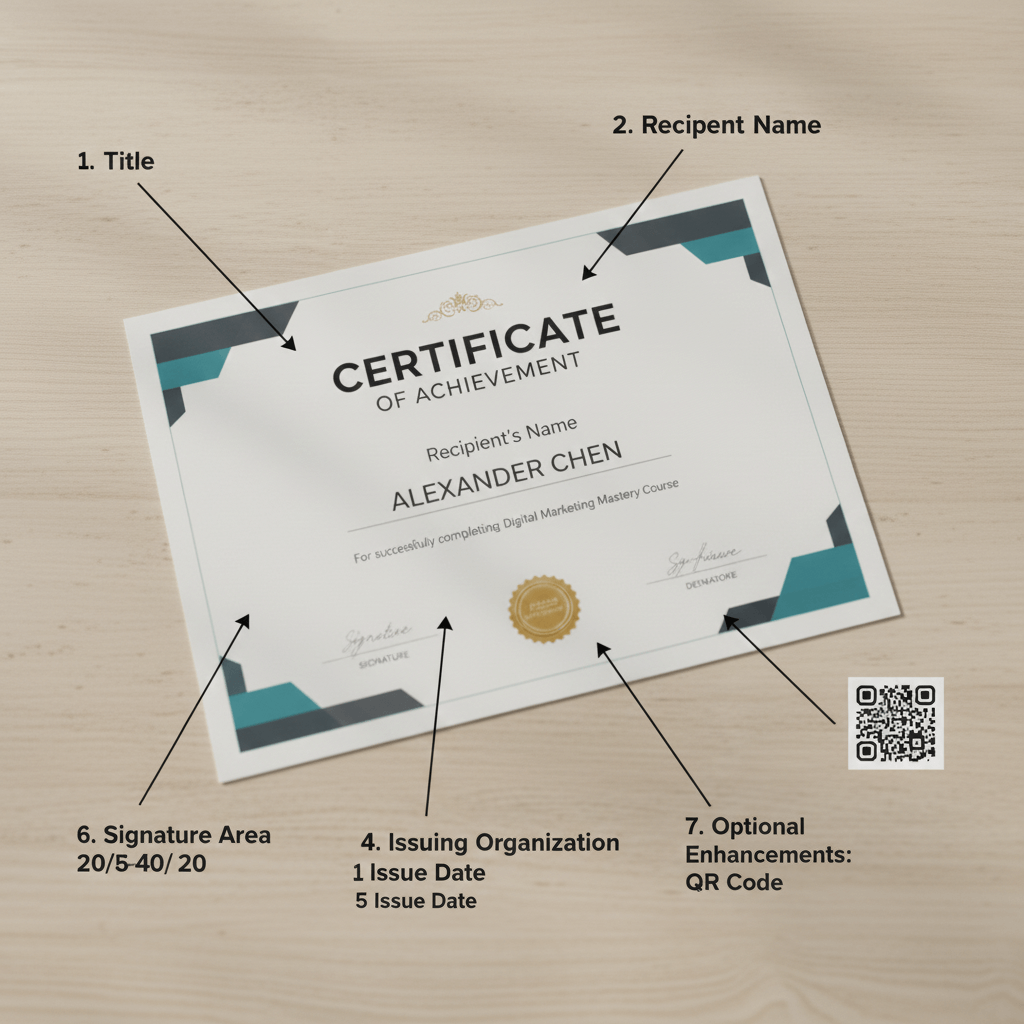
Step 3: Add the Required Certificate Fields
A proper certificate includes:
1. Certificate Title
Examples:
- Certificate of Completion
- Certificate of Achievement
- Certificate of Leadership
- Certificate of Participation
2. Recipient's Name
Usually the largest text element.
3. Description
E.g.,
"For completing the Advanced First Aid Training Program."
4. Issuing Organization or Instructor
5. Issue Date
6. Signature Area
7. Optional Enhancements
- Seal or emblem
- Certificate ID
- QR code for verification
Step 4: Choose Fonts and Colors
Fonts
Use 2–3:
- Serif: classic and formal (e.g., Playfair Display)
- Sans-serif: modern and clean (e.g., Montserrat)
- Script: decorative accents only
Colors
Stick to:
- 1 primary color (navy, green, gold)
- 1 accent color
- A neutral background
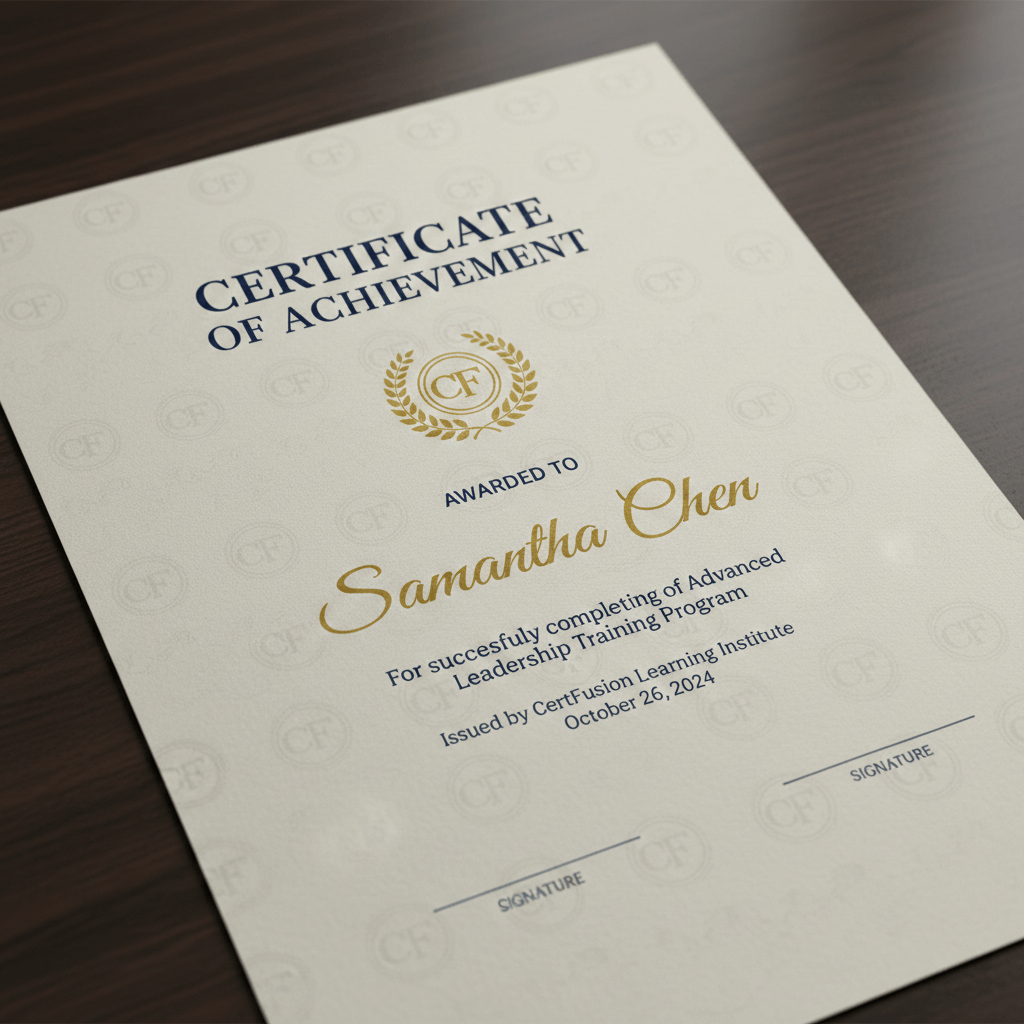
Step 5: Add Your Branding
Branding makes your certificate trusted and instantly recognizable.
Include:
- Logo
- Brand colors
- Watermark
- Department or program name
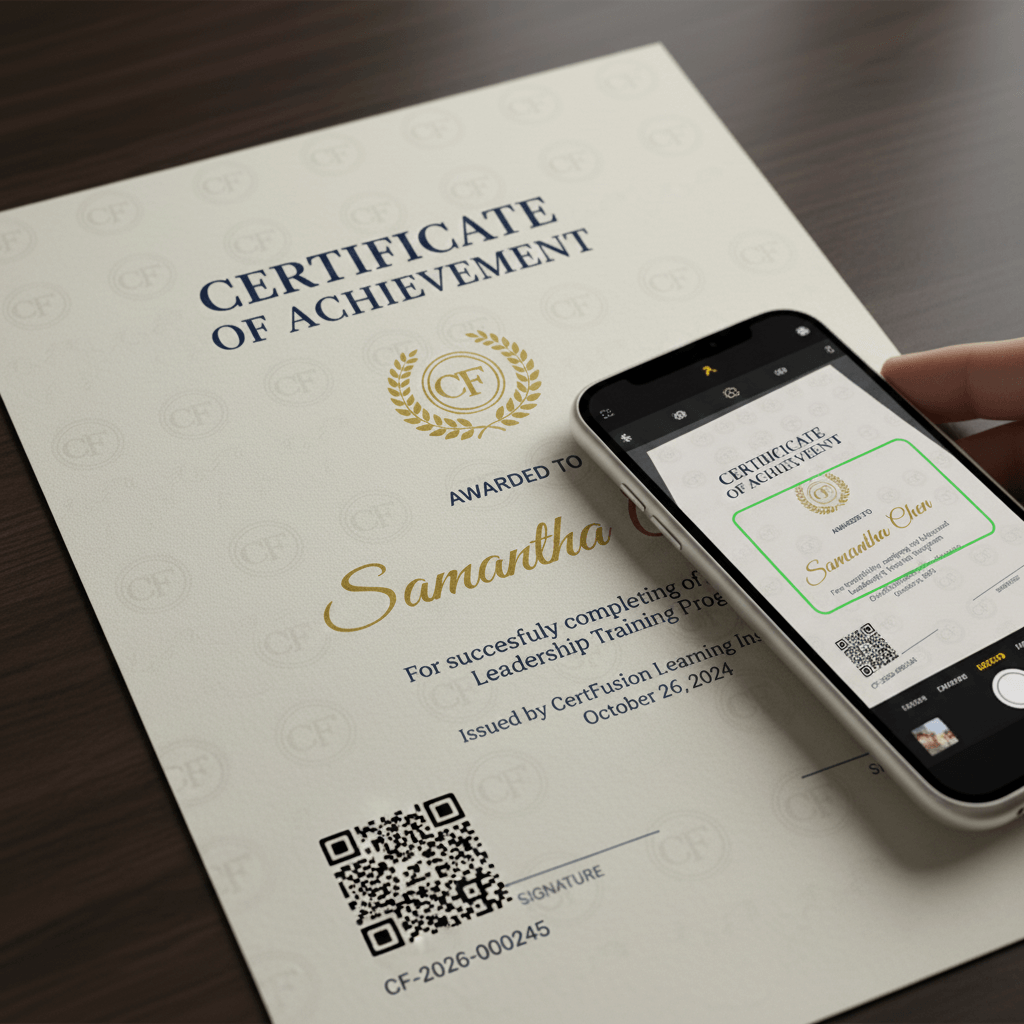
Step 6: Add Validation (Optional but Highly Recommended)
To prevent fraud and increase credibility:
Certificate ID
Example: CF-2026-000245
QR Code
Links to:
- Certificate verification page
- Student record
- Achievement details
Tools like CertFusion generate these automatically.
Step 7: Review Everything Carefully
Double-check:
- Name spelling
- Alignment
- Certificate wording
- Correct date
- Branding consistency
Step 8: Export and Print (or Send Digitally)
For print
Export as high-resolution PDF (300 DPI).
For digital delivery
- PDF format recommended
- Make sure QR codes remain clear and scannable
- Attach shareable images for social media

Certificate Wording Examples
Here are some phrasing ideas:
- "is hereby awarded this certificate for outstanding performance in…"
- "has successfully completed…"
- "in recognition of dedication and excellence in…"
Download Free Certificate Templates
Get free templates in:
- Word
- Figma
- Editable layouts
Download here.
Final Thoughts
Creating a certificate is simple when you follow a structured approach—choose a format, pick a layout, add essential fields, brand it, validate it, and export. If you need to automate certificates for courses, workshops, or training centers, tools like CertFusion can generate and send them instantly.
Table of Contents
Related Articles
Discover more insights and stories that might interest you