How to Create a Certificate of Completion (Step-by-Step Guide)
A certificate of completion is more than a piece of paper — it’s proof of effort and achievement. Whether you’re running an online course, a corporate training, or a workshop, designing one that looks professional helps participants feel recognized and valued.
In this guide, we’ll walk you through how to create a certificate of completion from start to finish, including layout tips, writing examples, and free templates you can download.
Step 1: Choose Your Format
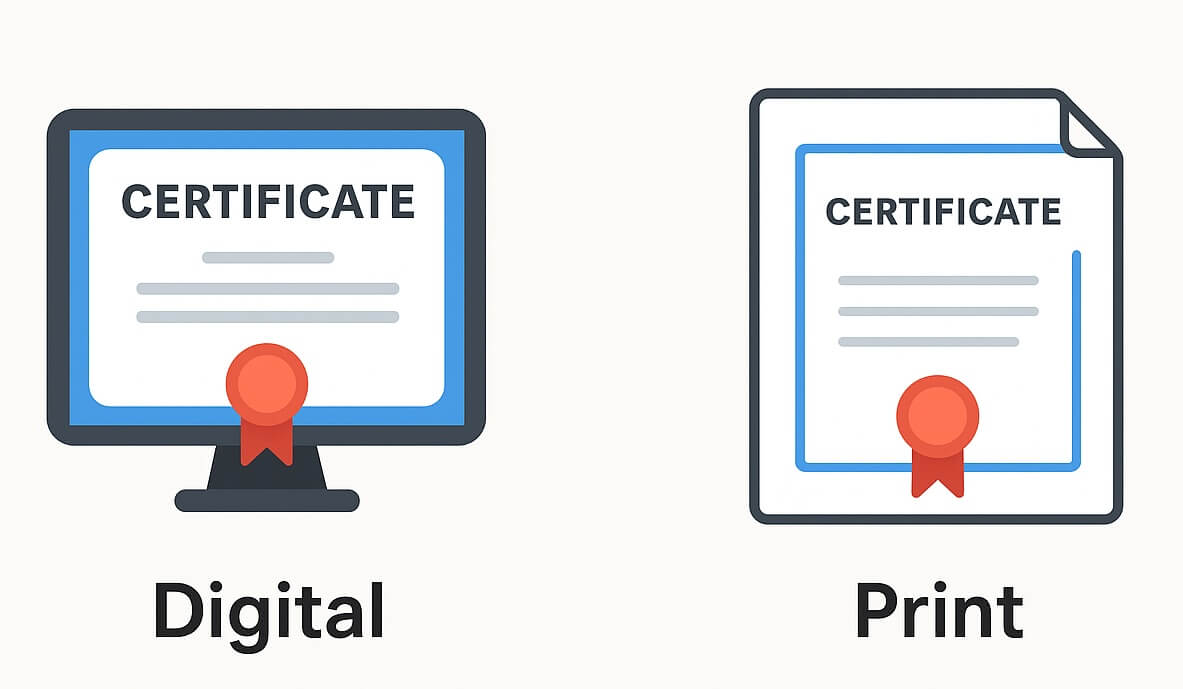
Before you start designing, decide how you’ll deliver your certificate.
- Printable format (Word or PDF): Perfect for in-person events and framed displays.
- Digital format (online certificate generator): Great for virtual courses and instant delivery.
💡 Tip: If you want editable templates you can print or share online, check out our Certificate of Completion Templates collection.
Step 2: Add Essential Information
Every certificate of completion should include a few key details:
| Section | What to Include |
|---|---|
| Title | “Certificate of Completion” or “Completion Award” |
| Recipient Name | The name of the participant |
| Description Text | A short statement of what they completed |
| Event or Course Name | e.g. “Advanced Excel Training Program” |
| Date | Date of completion or award |
| Signature Area | Name and title of the issuer or instructor |
| Organization Logo | Adds authenticity and branding |
Step 3: Write the Certificate Text
Keep your wording formal but friendly. Here are a few examples:
Example 1 – Professional tone
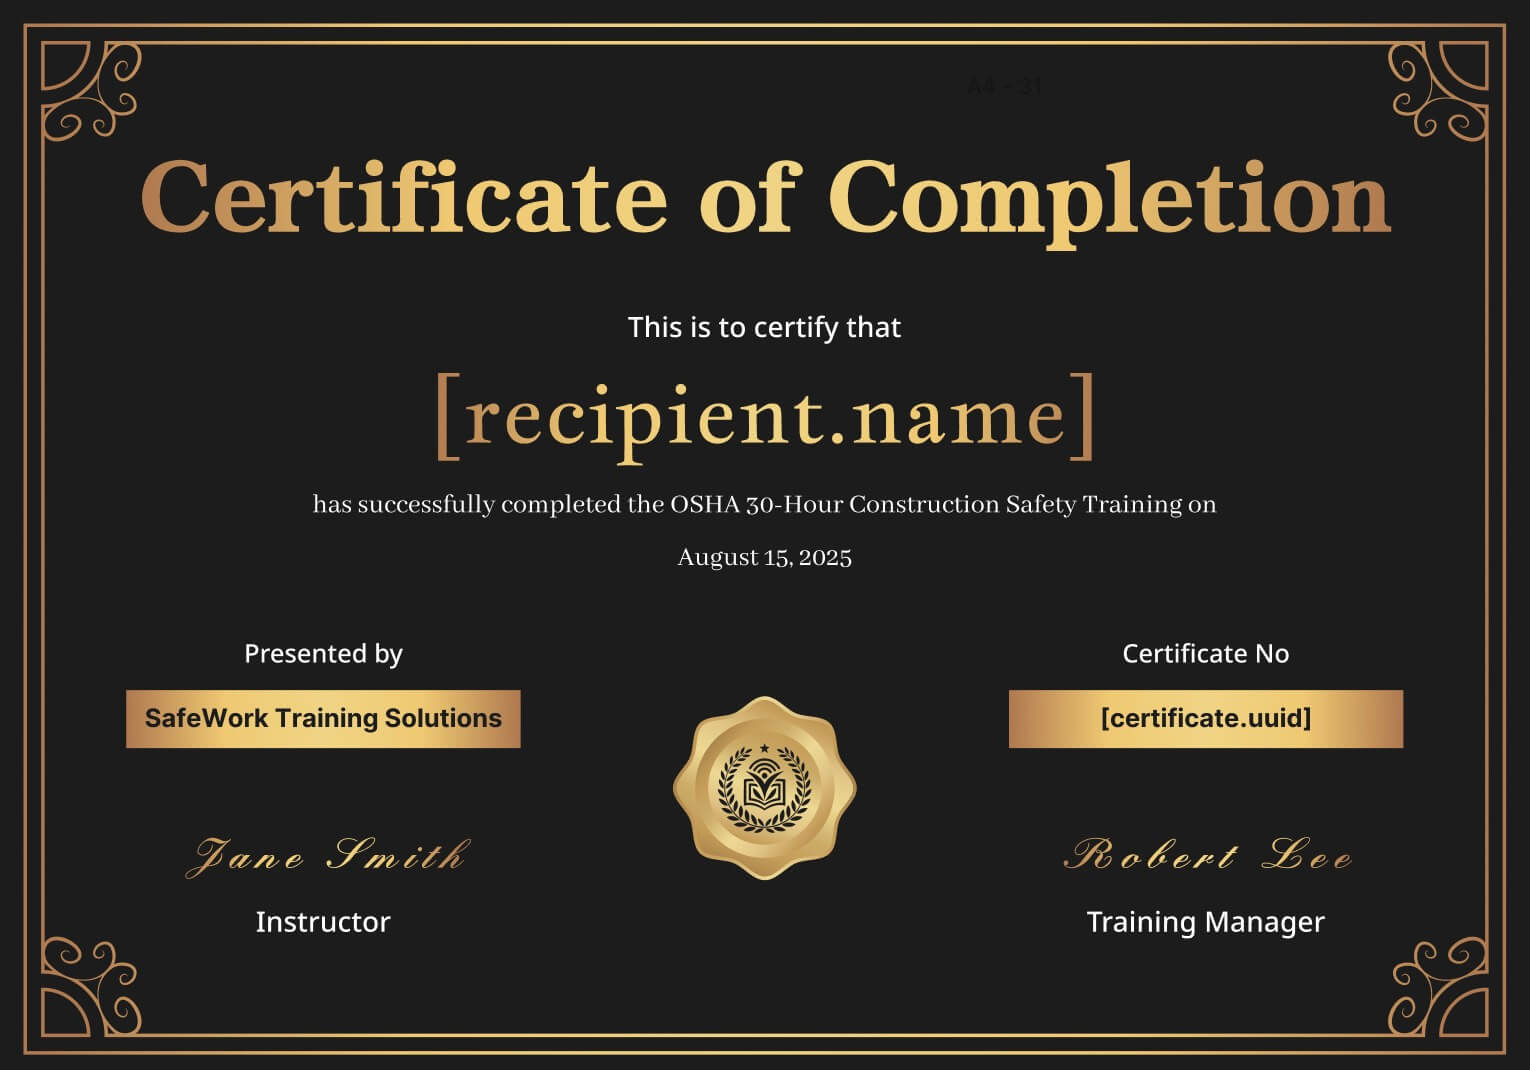
This Certificate of Completion is proudly presented to [Name] for successfully completing the [Course Name] on [Date].
Example 2 – Educational tone
This is to certify that [Name] has completed all course requirements for [Program Name].
Example 3 – Workshop tone
Presented to [Name] in recognition of participation and successful completion of the [Workshop Name].
For more sample wording ideas, check out our Certificate of Completion Wording Examples.
Step 4: Design the Layout
You don’t need to be a designer — just keep it clean and balanced.
Design tips:
- Use two font styles maximum (one for titles, one for body text).
- Add a border or subtle background pattern for structure.
- Keep enough white space for readability.
- Use brand colors or neutral tones like navy, gold, or black.
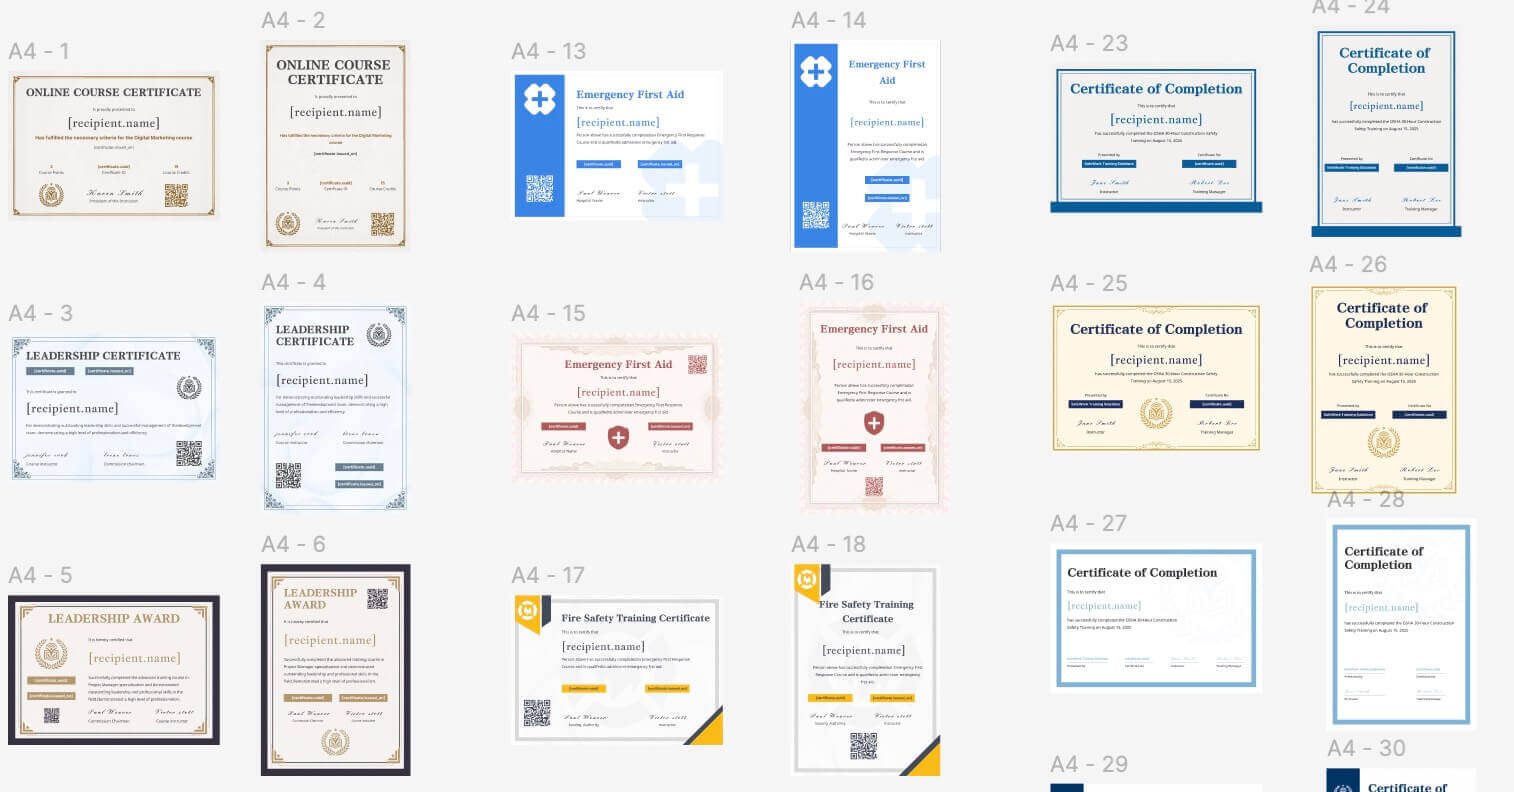
If you’d rather skip manual design, you can start with a professionally designed template from our Certificate of Completion Template Gallery.
Step 5: Add Signatures and Logos
To make it official:
- Include your organization’s logo at the top or corner.
- Add a signature line (digital or scanned signature).
- Optionally include a seal or emblem for credibility.

Step 6: Export and Print (or Send Digitally)
When your certificate is ready:
- Export it as PDF for printing or sharing.
- Print on matte or textured A4 paper for a premium feel.
- Or, generate and email certificates automatically using an online certificate generator.
💡 If you want to create and distribute certificates online automatically, try CertFusion — it handles design, delivery, and tracking.
Final Thoughts
Creating a certificate of completion doesn’t have to be complicated. With the right layout, clear wording, and thoughtful design, you can make a document that learners are proud to receive.
👉 Ready to start? Download and customize your free Certificate of Completion Templates — available in Word, PDF, and Google Docs formats.
Table of Contents
Related Articles
Discover more insights and stories that might interest you