How to Auto Generate Certificates with Different Names of Participants
When hosting courses, webinars, or workshops, you often need to issue certificates to many participants — each with a unique name. CertFusion allows you to auto generate certificates with different names of participants, saving you time and eliminating manual errors.
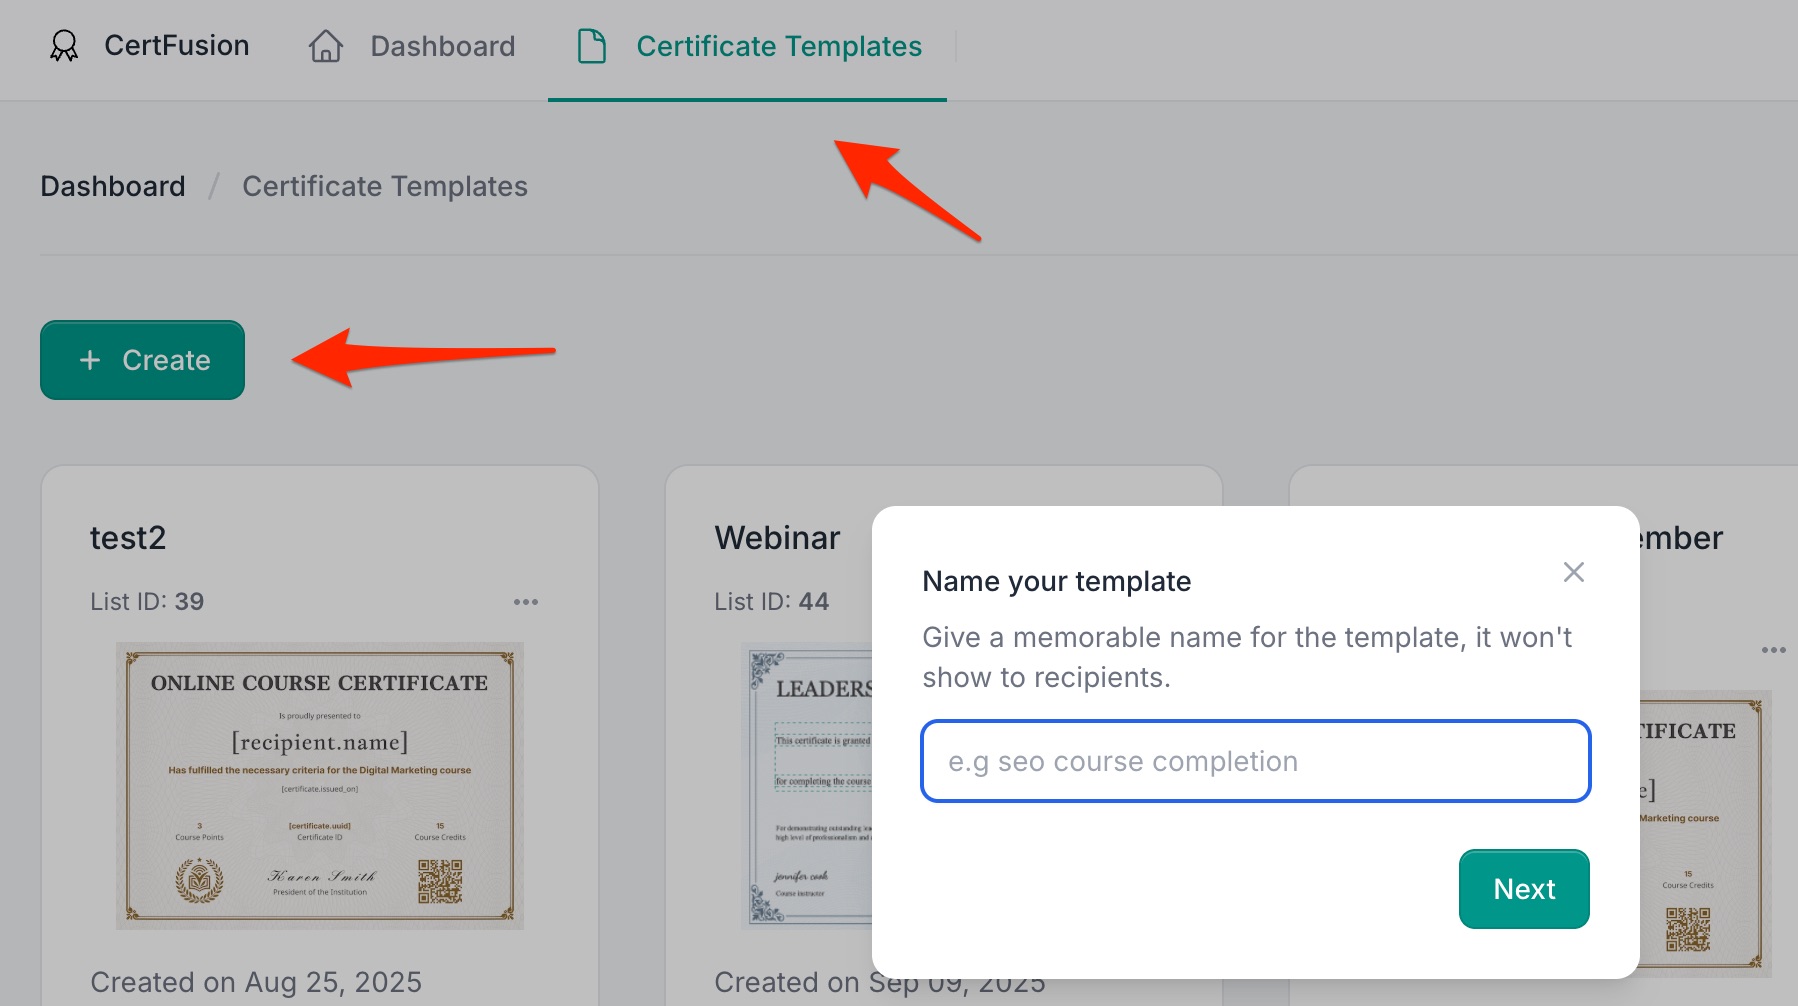
Step 1: Create a Certificate Template
-
Log in to your CertFusion dashboard.
-
Go to Certificate Templates → Create or select an existing template.
-
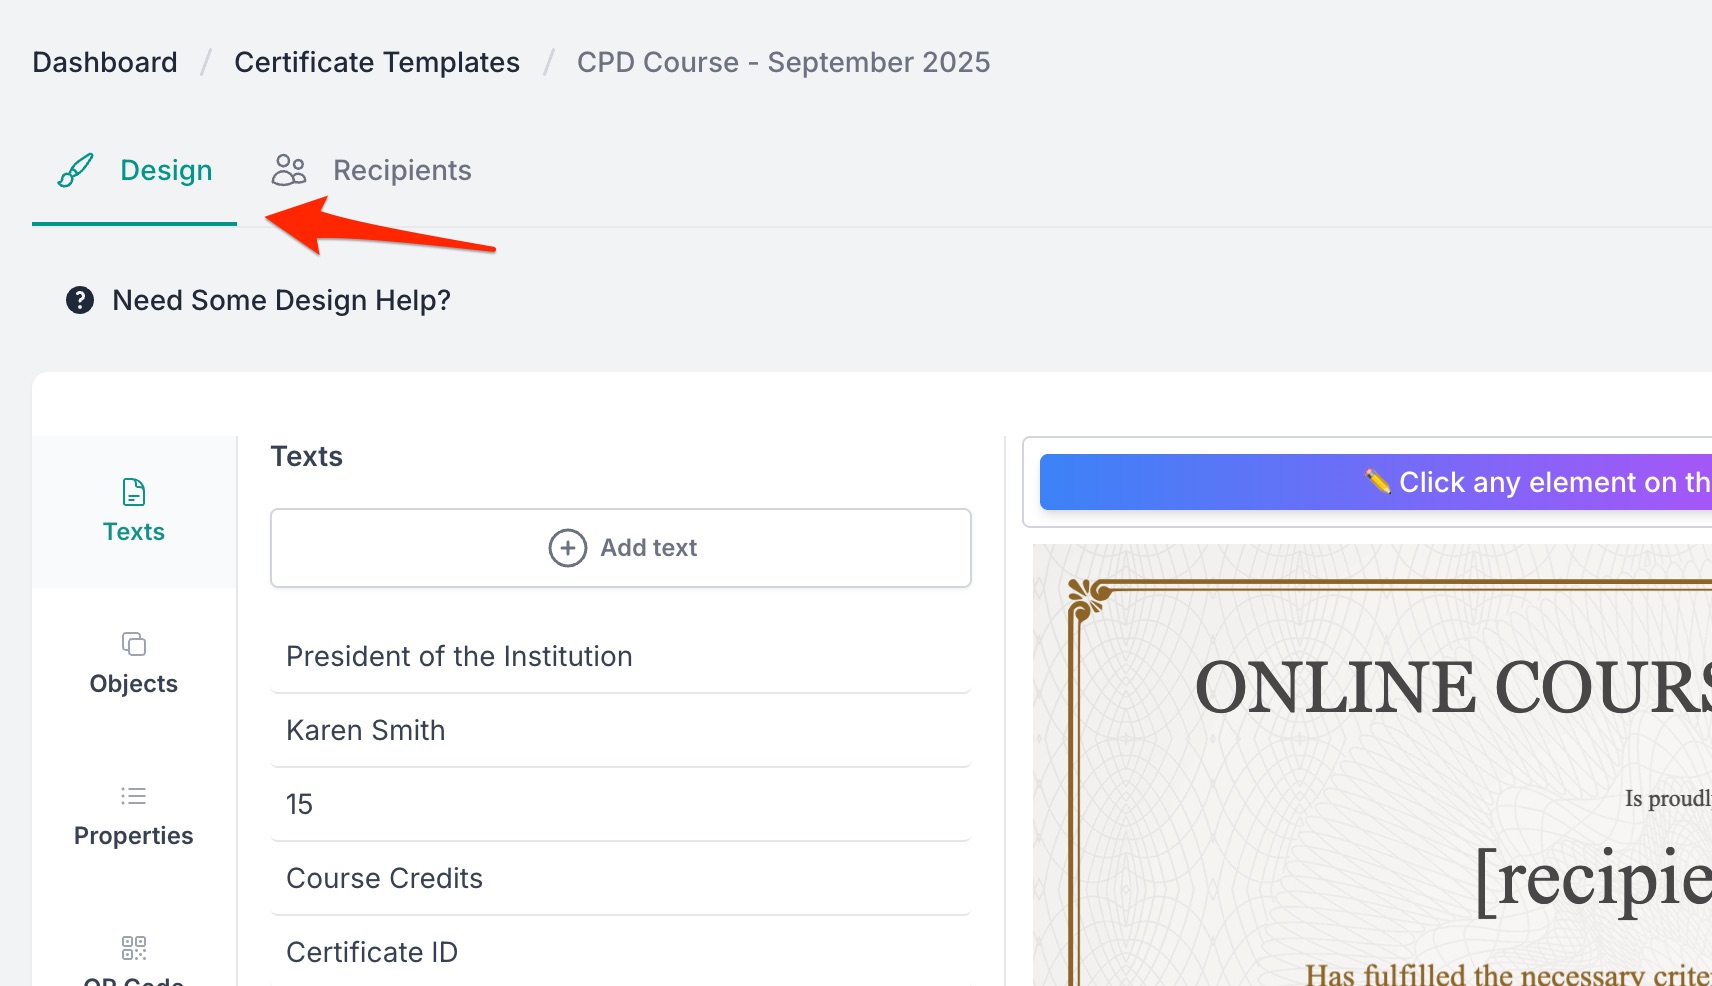
Design your certificate using the drag-and-drop editor.
-
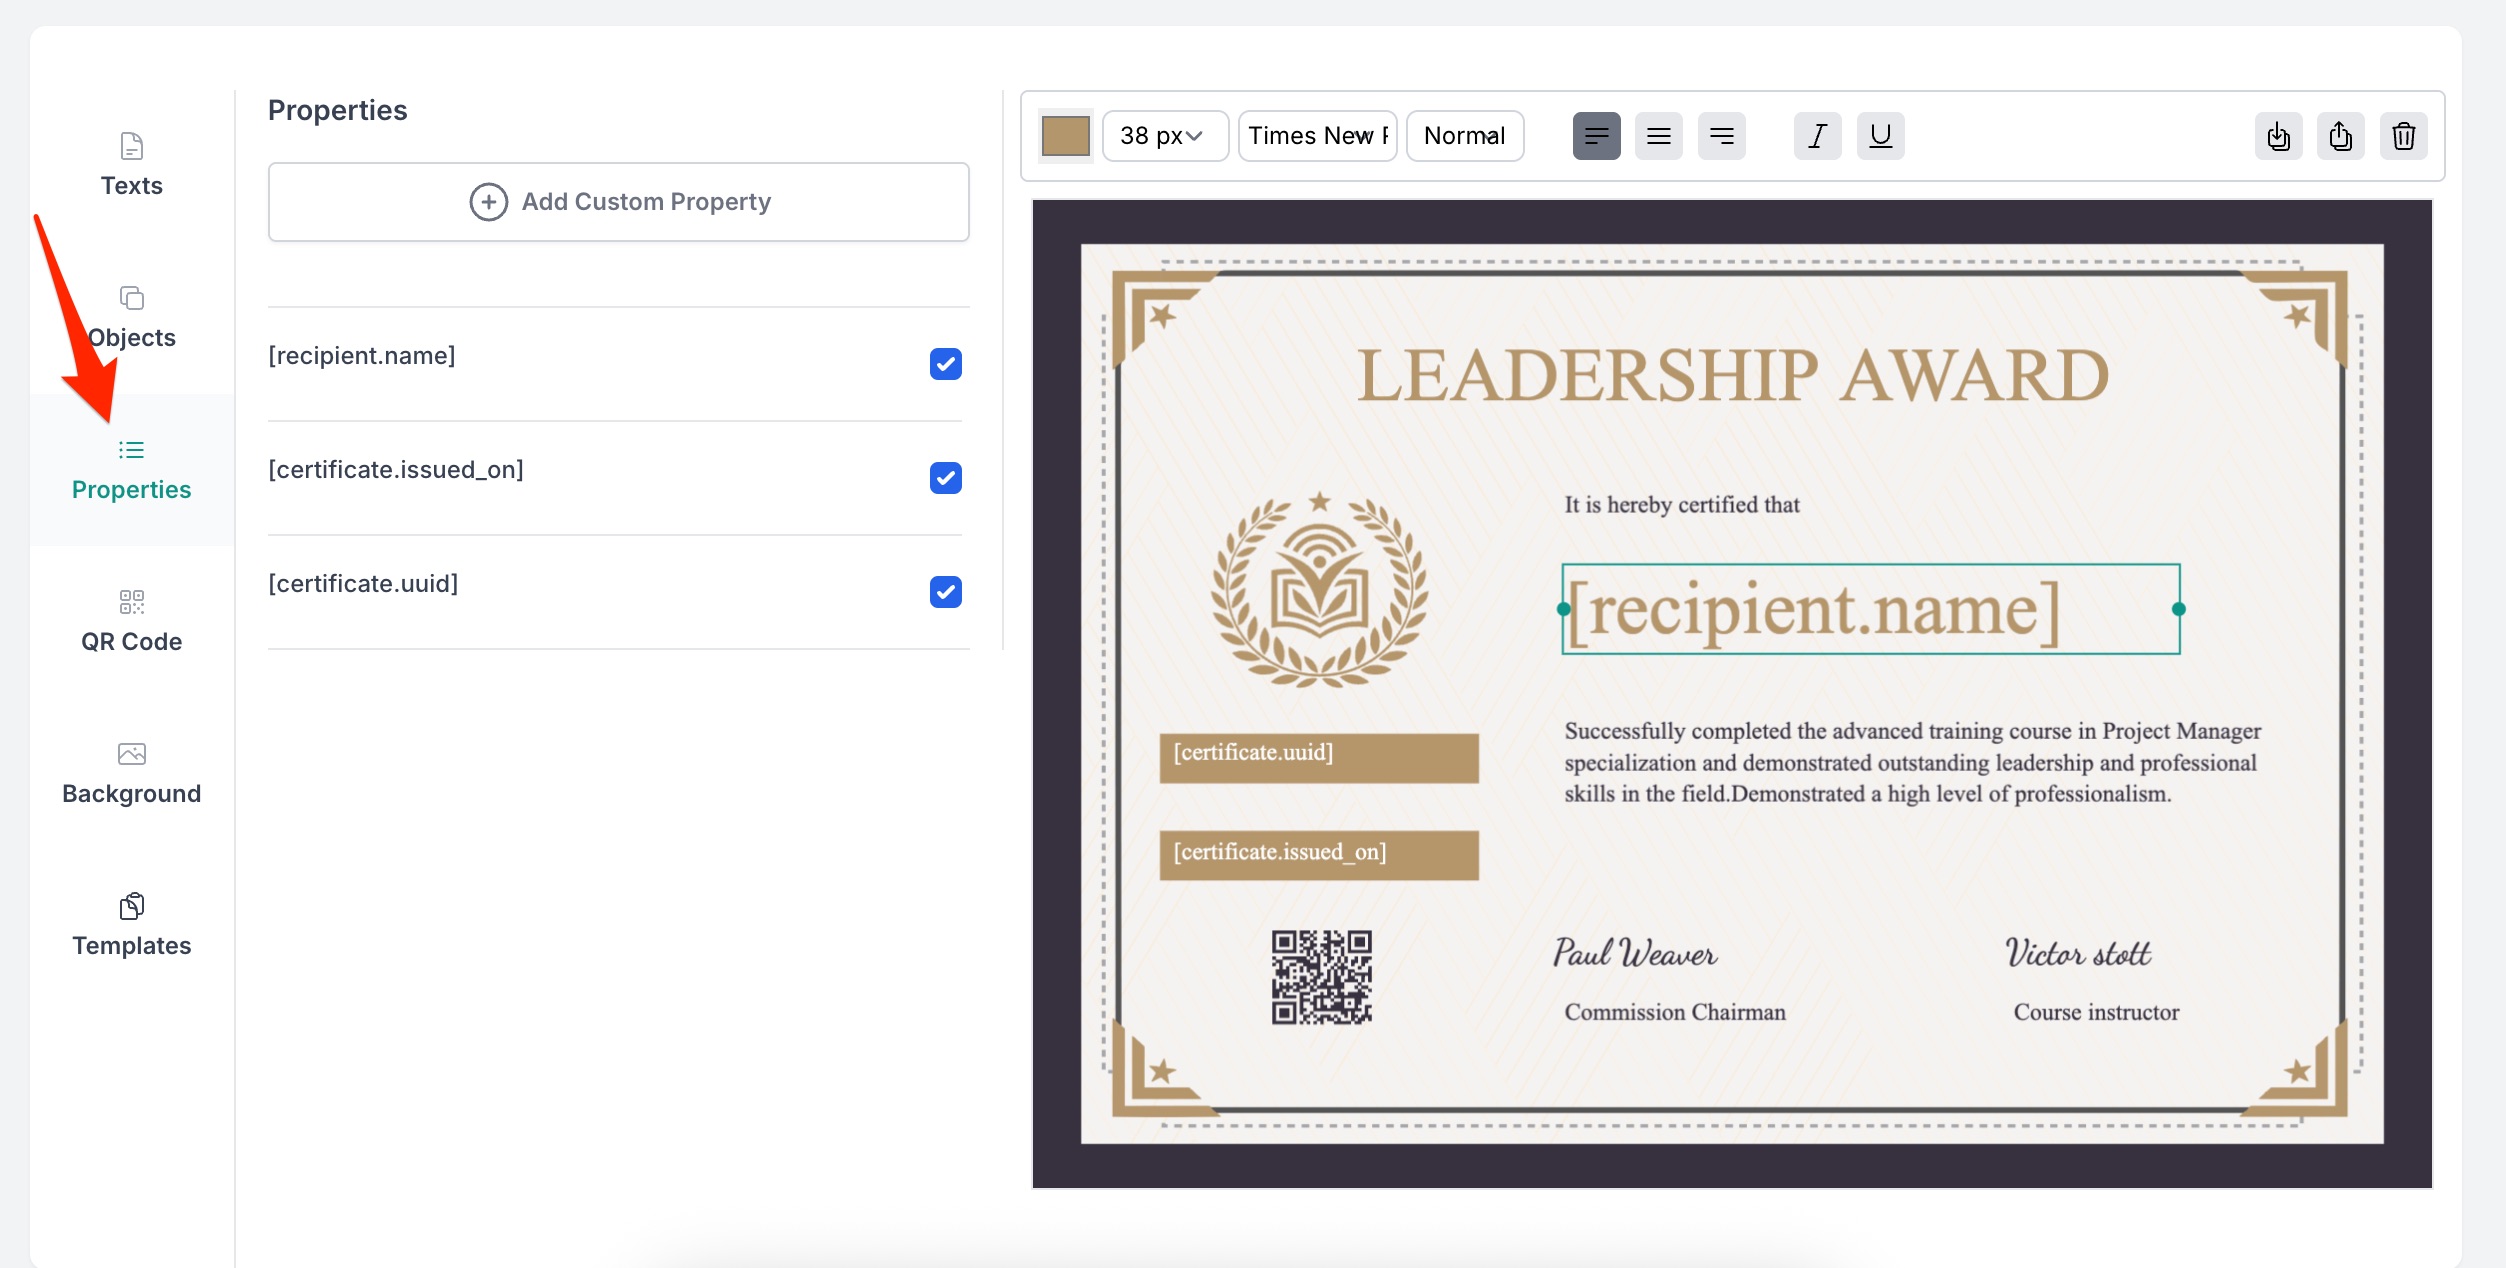
Insert dynamic fields to personalize certificates:
- Recipient Name – automatically filled for each participant.
- Issued Date – filled automatically when the certificate is generated.
- Certificate UUID – unique for verification.
-
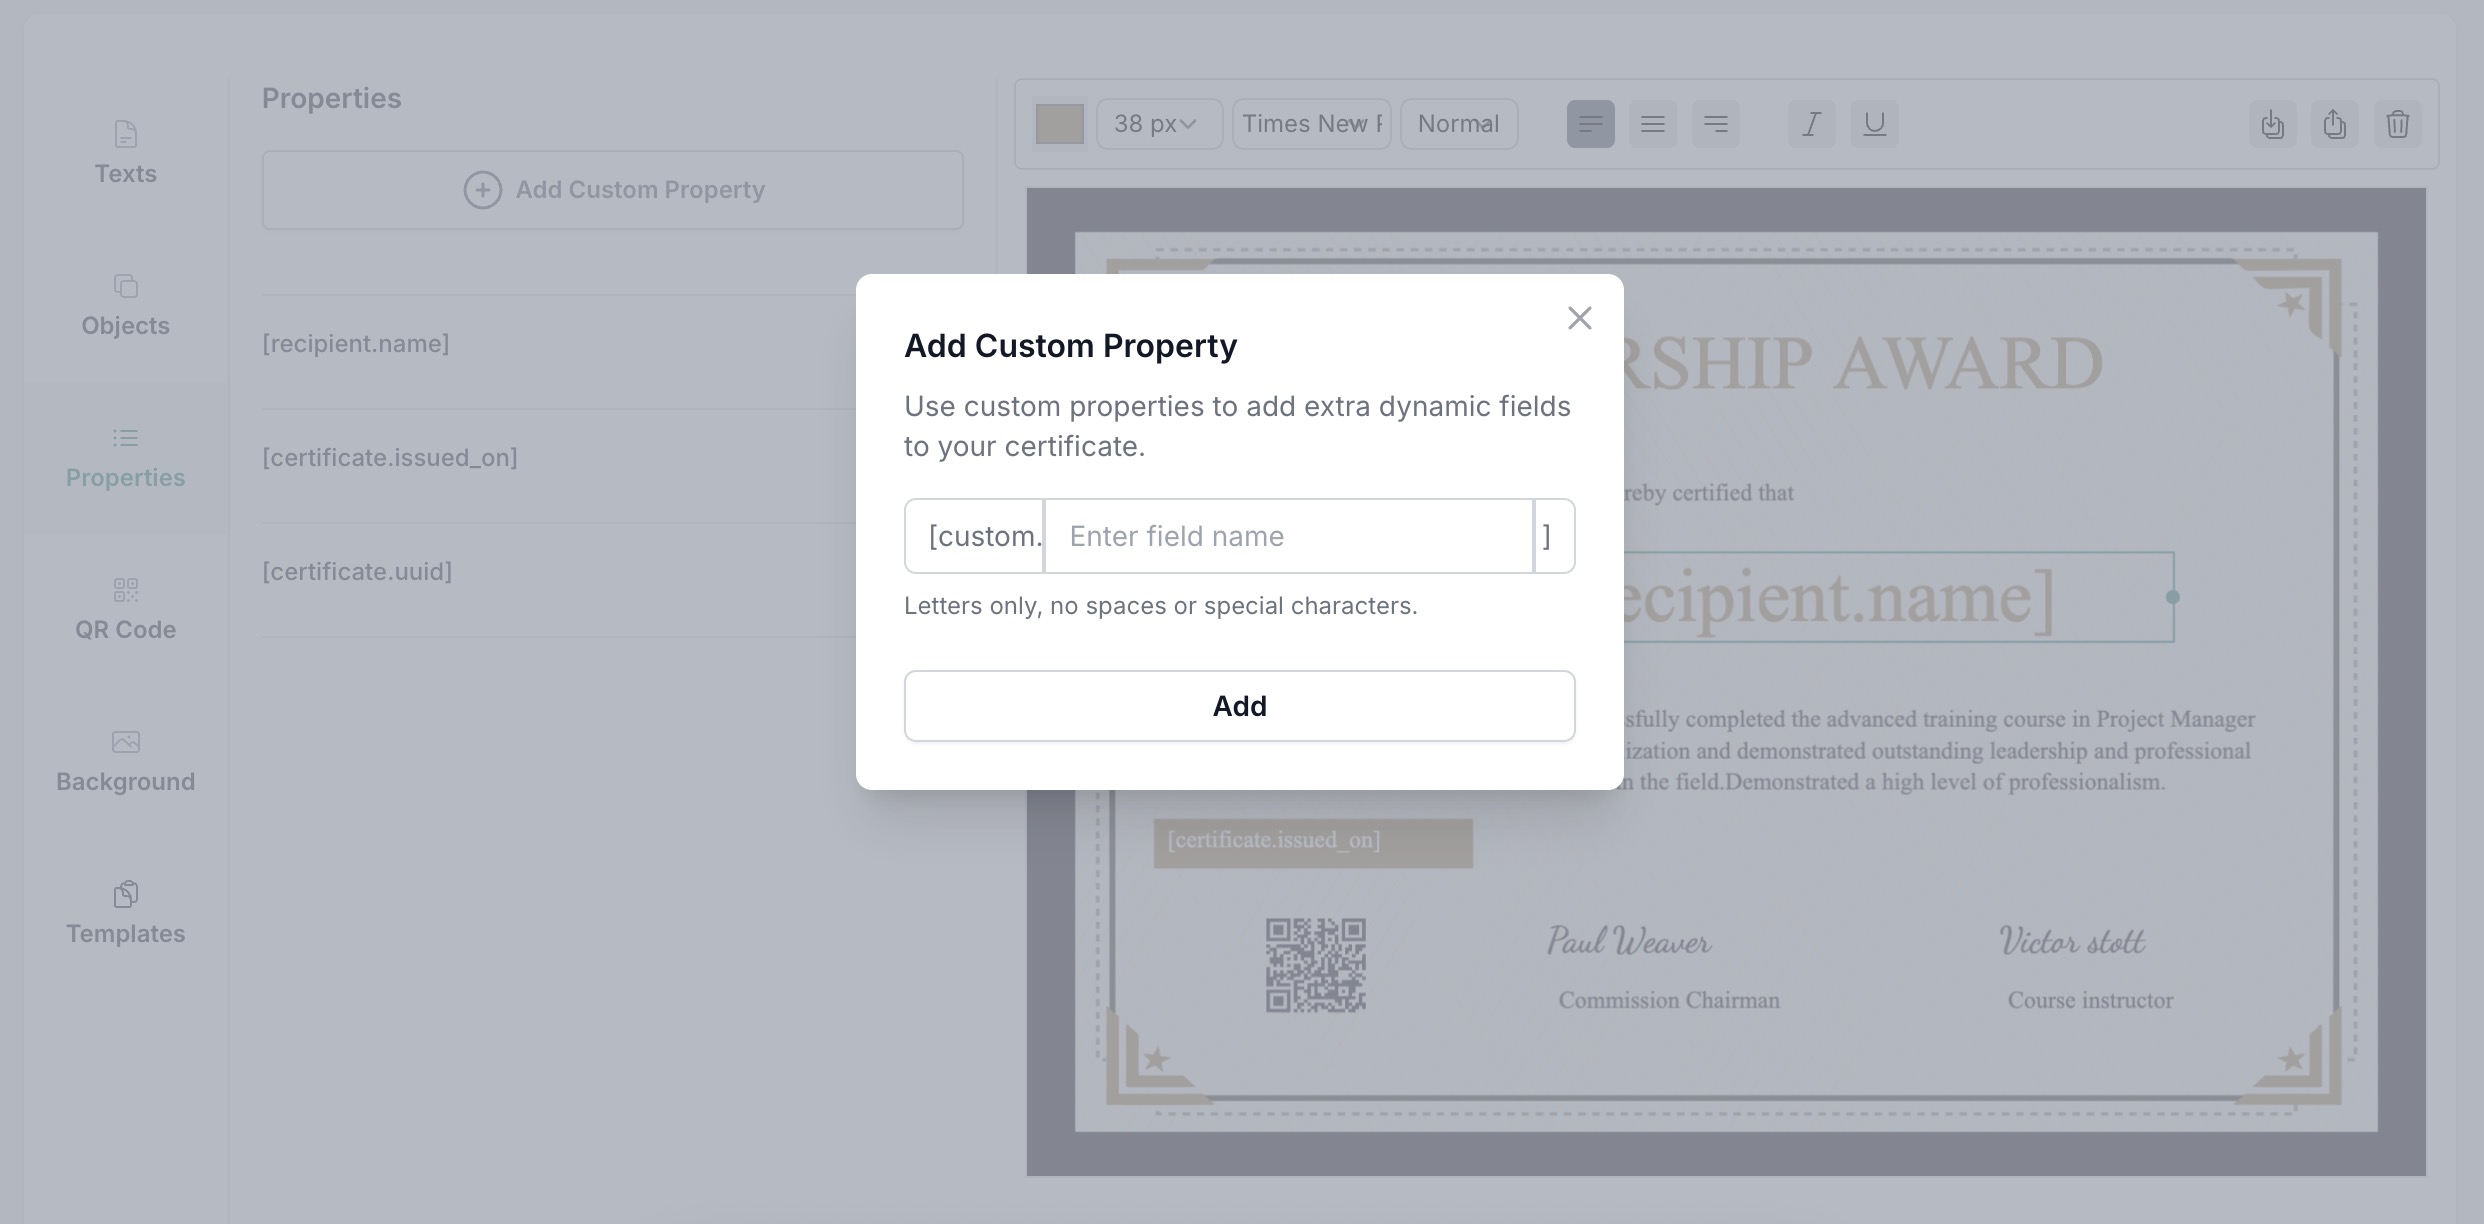
(Optional) Add Custom Fields if you want to include additional participant-specific information, such as:
- Course Name
- Completion Hours
- Instructor Name
Step 2: Import Participant Data
CertFusion allows multiple ways to bring in participant names:
- CSV Upload / Excel Sheet: Export your participant list and import it directly into CertFusion.
- Form Integrations: Connect Typeform, Tally, or Google Form (via add-on) to automatically receive participant submissions.
- Webinar Integrations: Sync Zoom or Webex attendance lists.
Tip: Ensure that each participant has a Name and Email field — these are required for certificate generation.

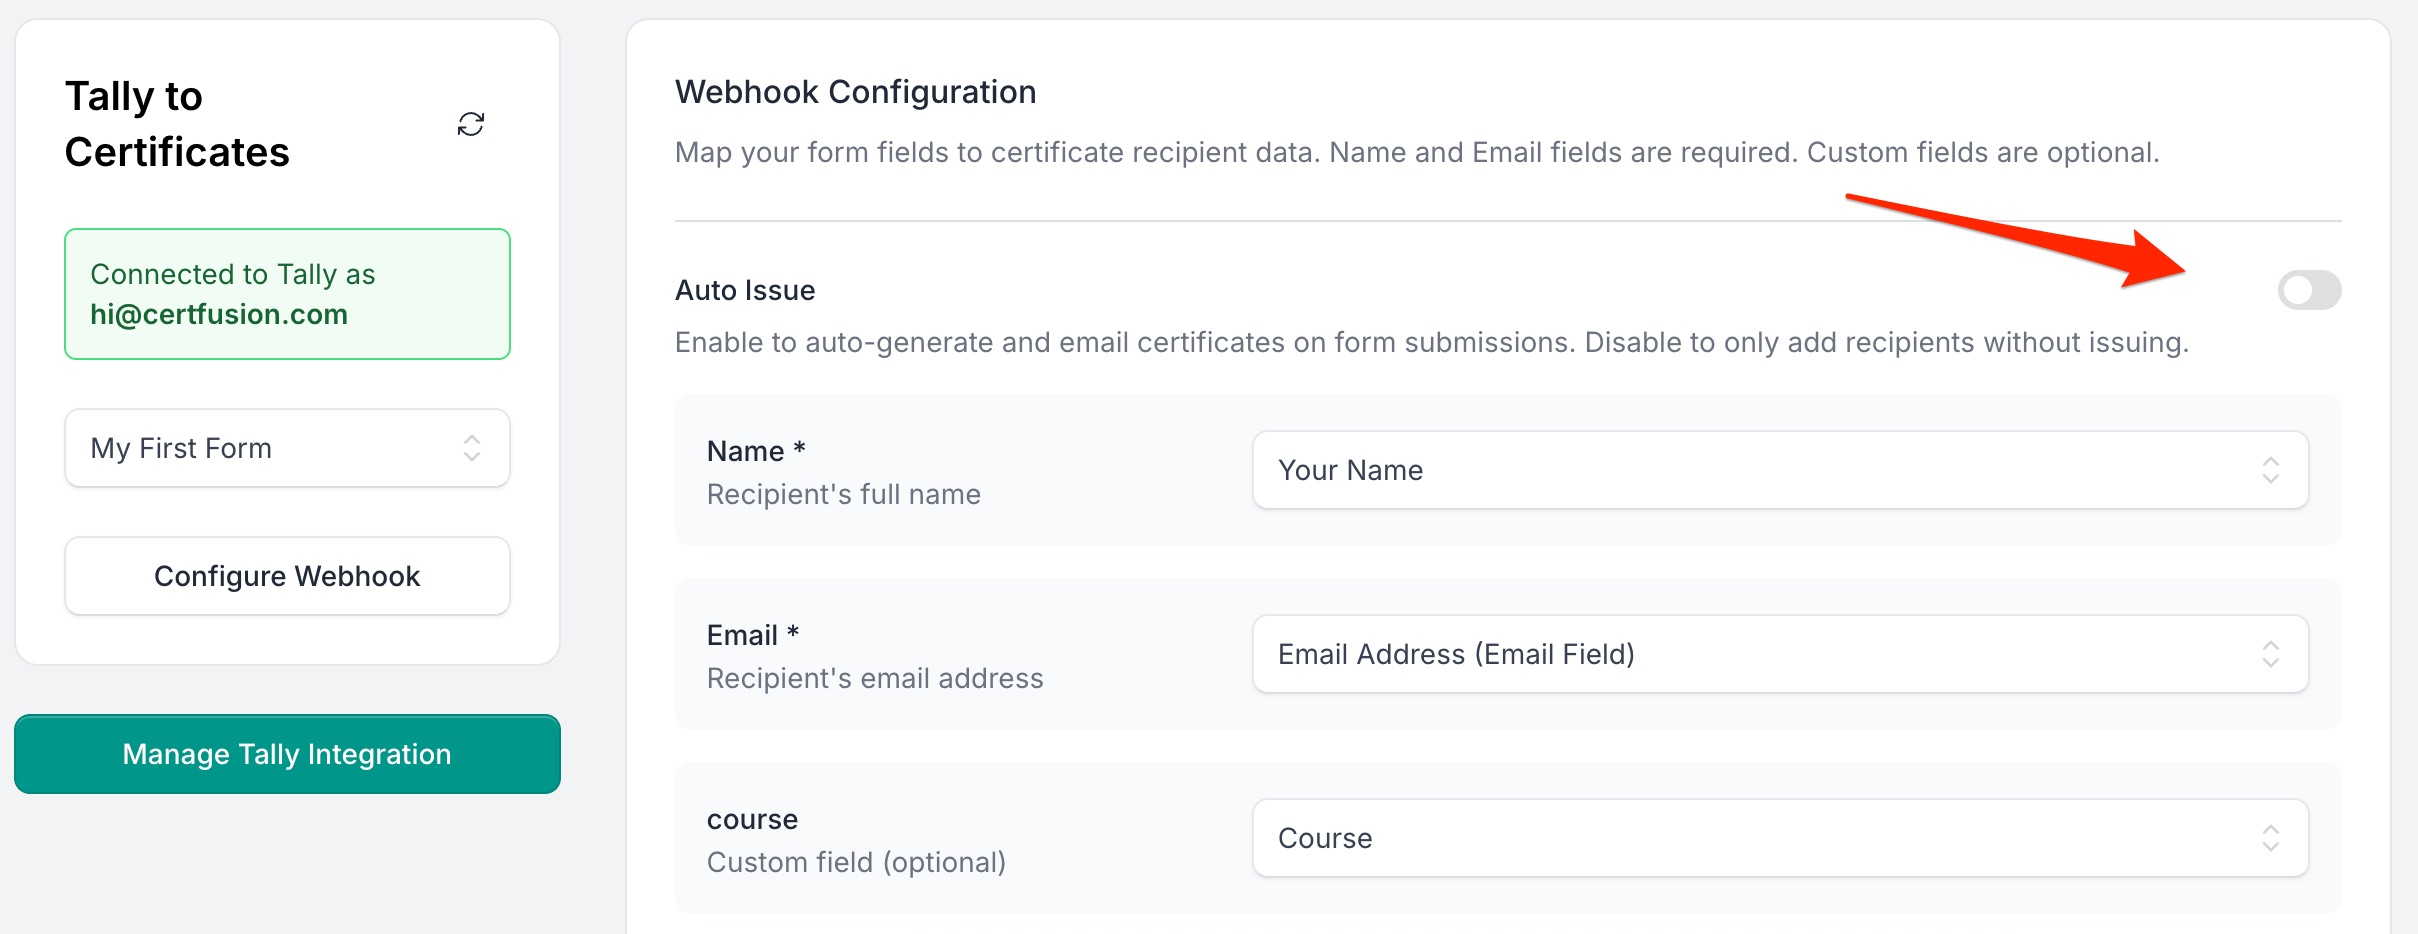
Step 3: Map Fields
-
Map the imported data to your certificate fields:
- Name column → Recipient Name
- Email column → Email Address
- Other columns → Custom Fields (optional)
-
Review the preview to ensure all names and data are correct.
Step 4: Enable Auto-Issuance
Depending on your data source:
-
For Form or Webinar Integrations:
-
Toggle Auto-Issue Certificates so every new submission automatically generates a personalized certificate.
-
-
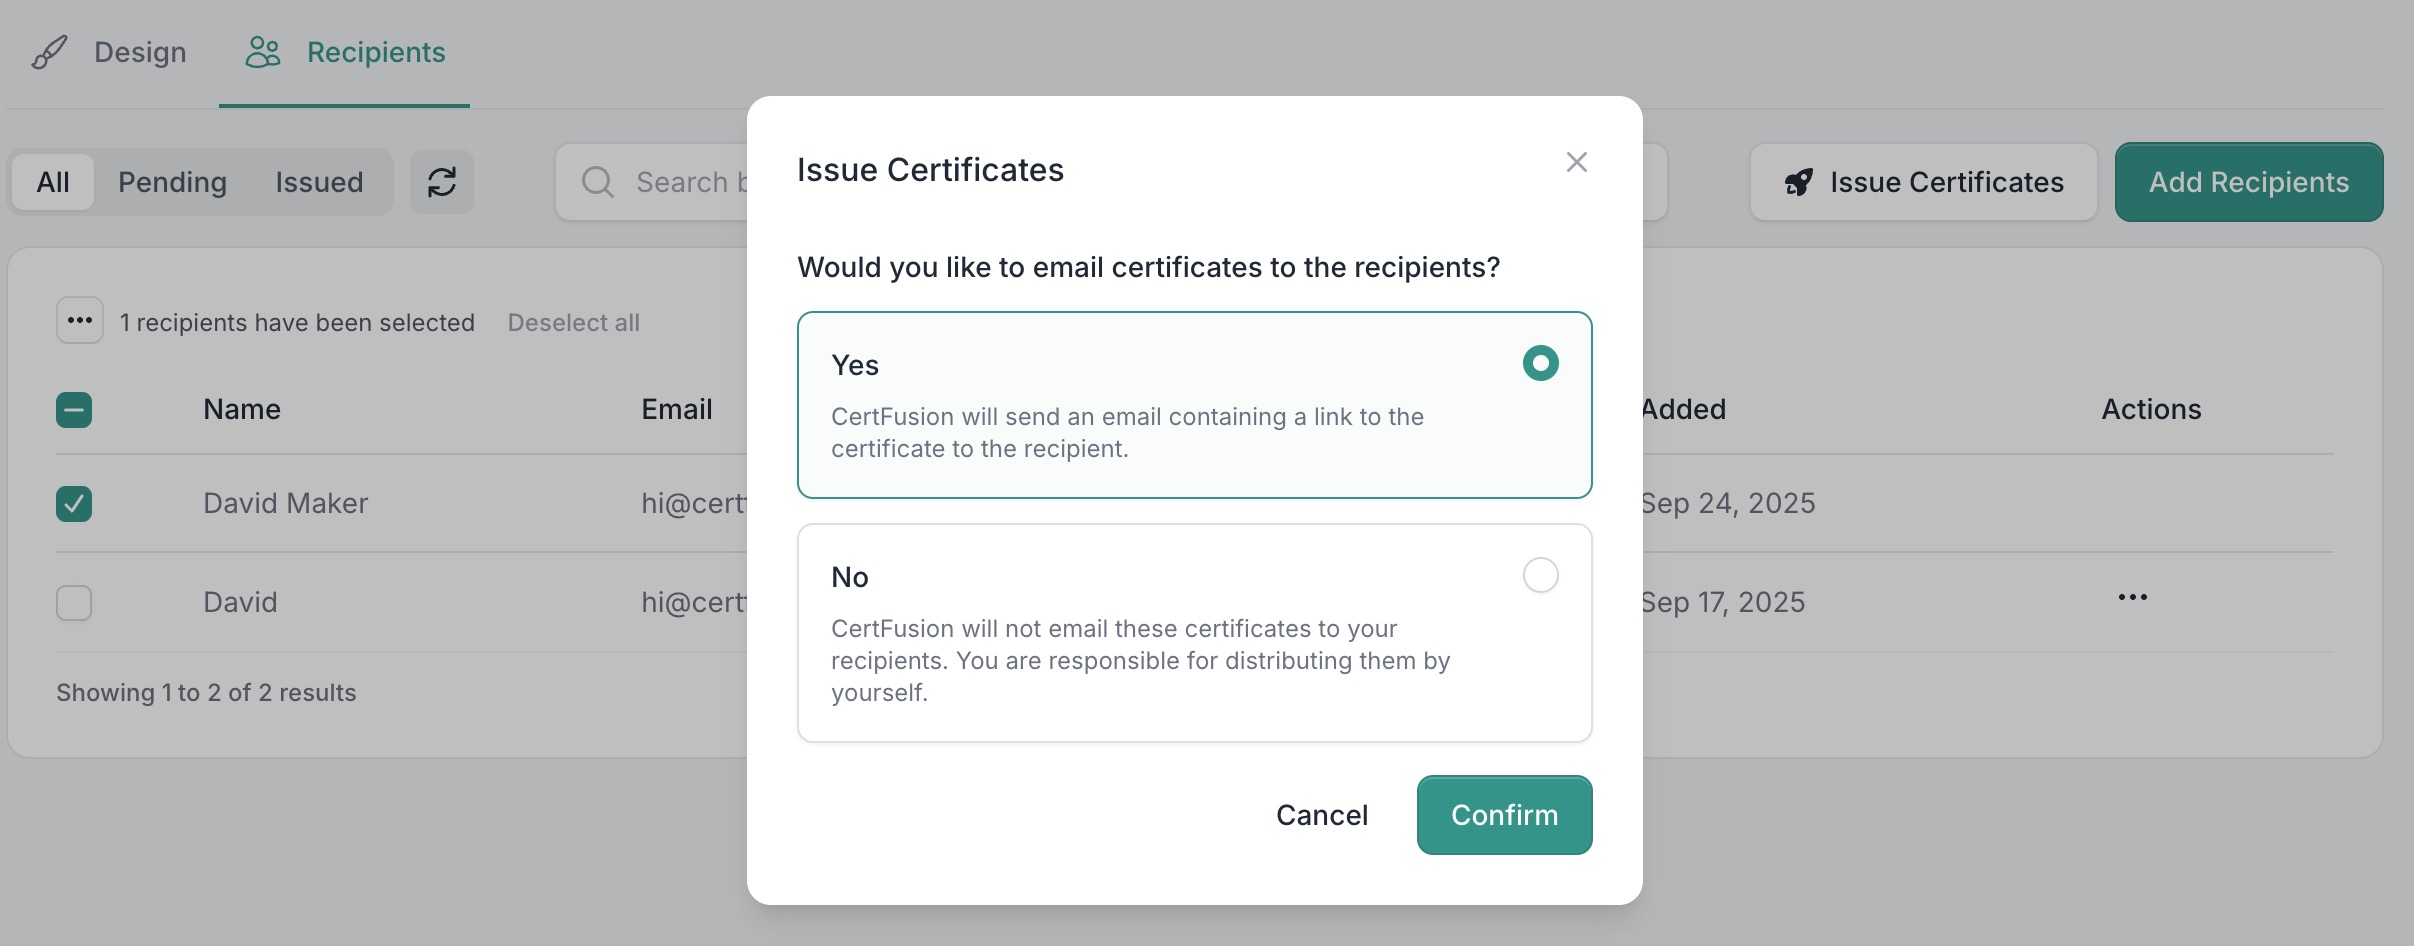
For CSV / Manual Upload:
-
Select the recipients you want to issue certificates to.
-
Click Issue Certificates — each certificate will have the corresponding participant’s name.
-
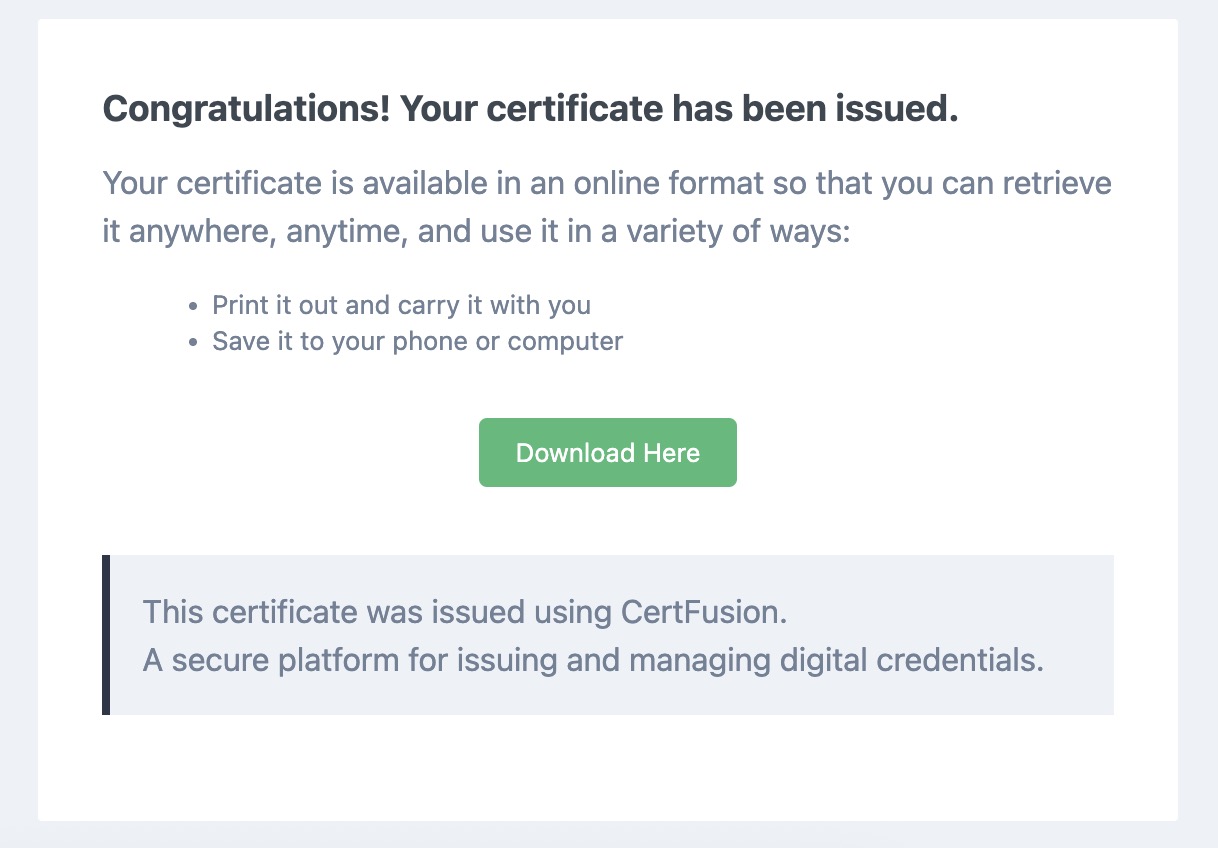
Step 5: Delivery & Verification
After issuance:
-
Each participant receives an email containing:
-
A unique URL to view their certificate online
-
Options to download the PDF
-
A way to verify authenticity
-
-
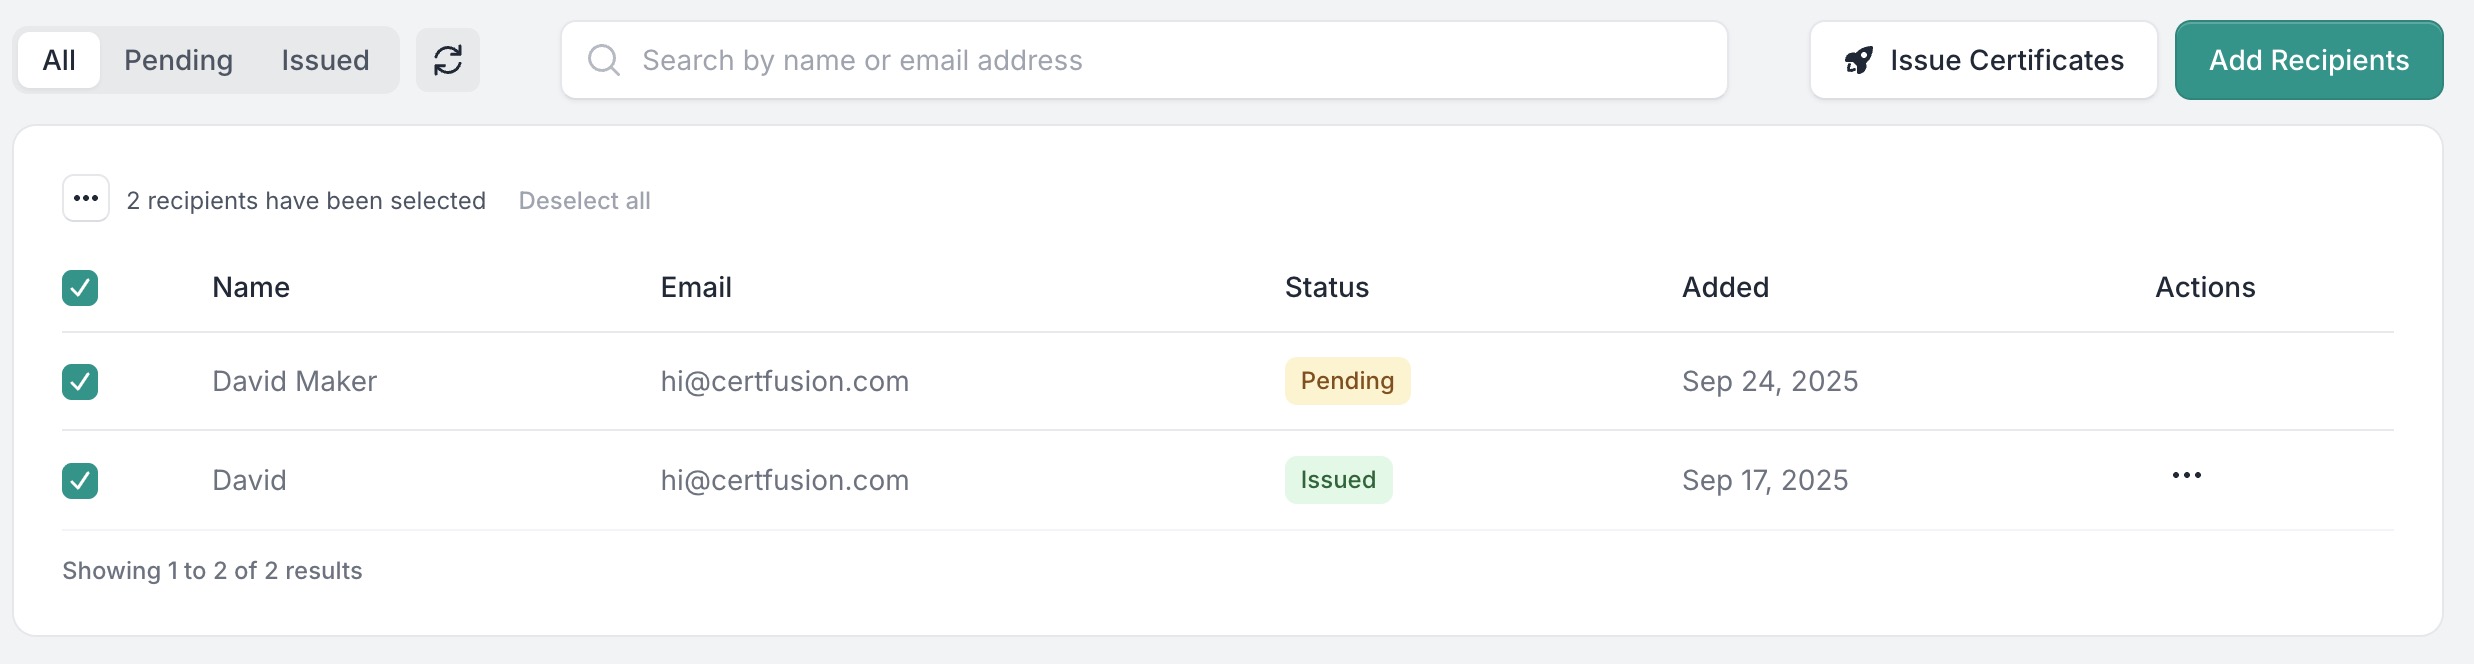
You can track delivery and resends from the Recipients page.
Why Use CertFusion for Multiple Participants
- Fully Automated: No need to manually edit each certificate.
- Dynamic Personalization: Each certificate includes the correct name, issued date, and unique ID.
- Custom Fields: Include additional participant-specific details if needed.
- Scalable: Works for small classes or thousands of participants.
Next Steps
Now you know how to auto generate certificates with different names of participants using CertFusion.
📌 Pro Tip: Test your certificate template with a small sample list first to ensure names appear correctly and formatting looks good before issuing to all participants.
👉 Log in to CertFusion and start generating personalized certificates automatically today.
Table of Contents
Related Articles
Discover more insights and stories that might interest you